




It's the middle of the night, and there's a pile of pump parts waiting for you. Again. Exclusive pumping is one of the most demanding things a parent can do, and figuring out which parts need washing right now versus what can wait is a real mental load on top of an already full plate. You'll find a simple, repeatable routine here to wash, sanitize, dry, and store every part safely, with practical guidance for higher-risk situations like NICU care. By the end, you'll know exactly what to do, and why.
Breast Pump Cleaning Basics: Wash, Sanitize, Sterilize, and Drying Explained
Before you optimize anything, it helps to be clear on what each step actually does. The terms wash, sanitize, and sterilize are often used interchangeably, but they mean different things, and using the right one matters.
Washing removes milk residue and visible dirt from surfaces. It's the non-negotiable foundation: water, soap, and scrubbing that physically lift residue away. No cleaning step means no other step works properly.
Sanitizing goes further. After a thorough wash, sanitizing uses heat or an approved method to reduce bacteria to safe levels. For most healthy, term babies, a once-daily sanitizing step alongside consistent washing is a solid, realistic routine.
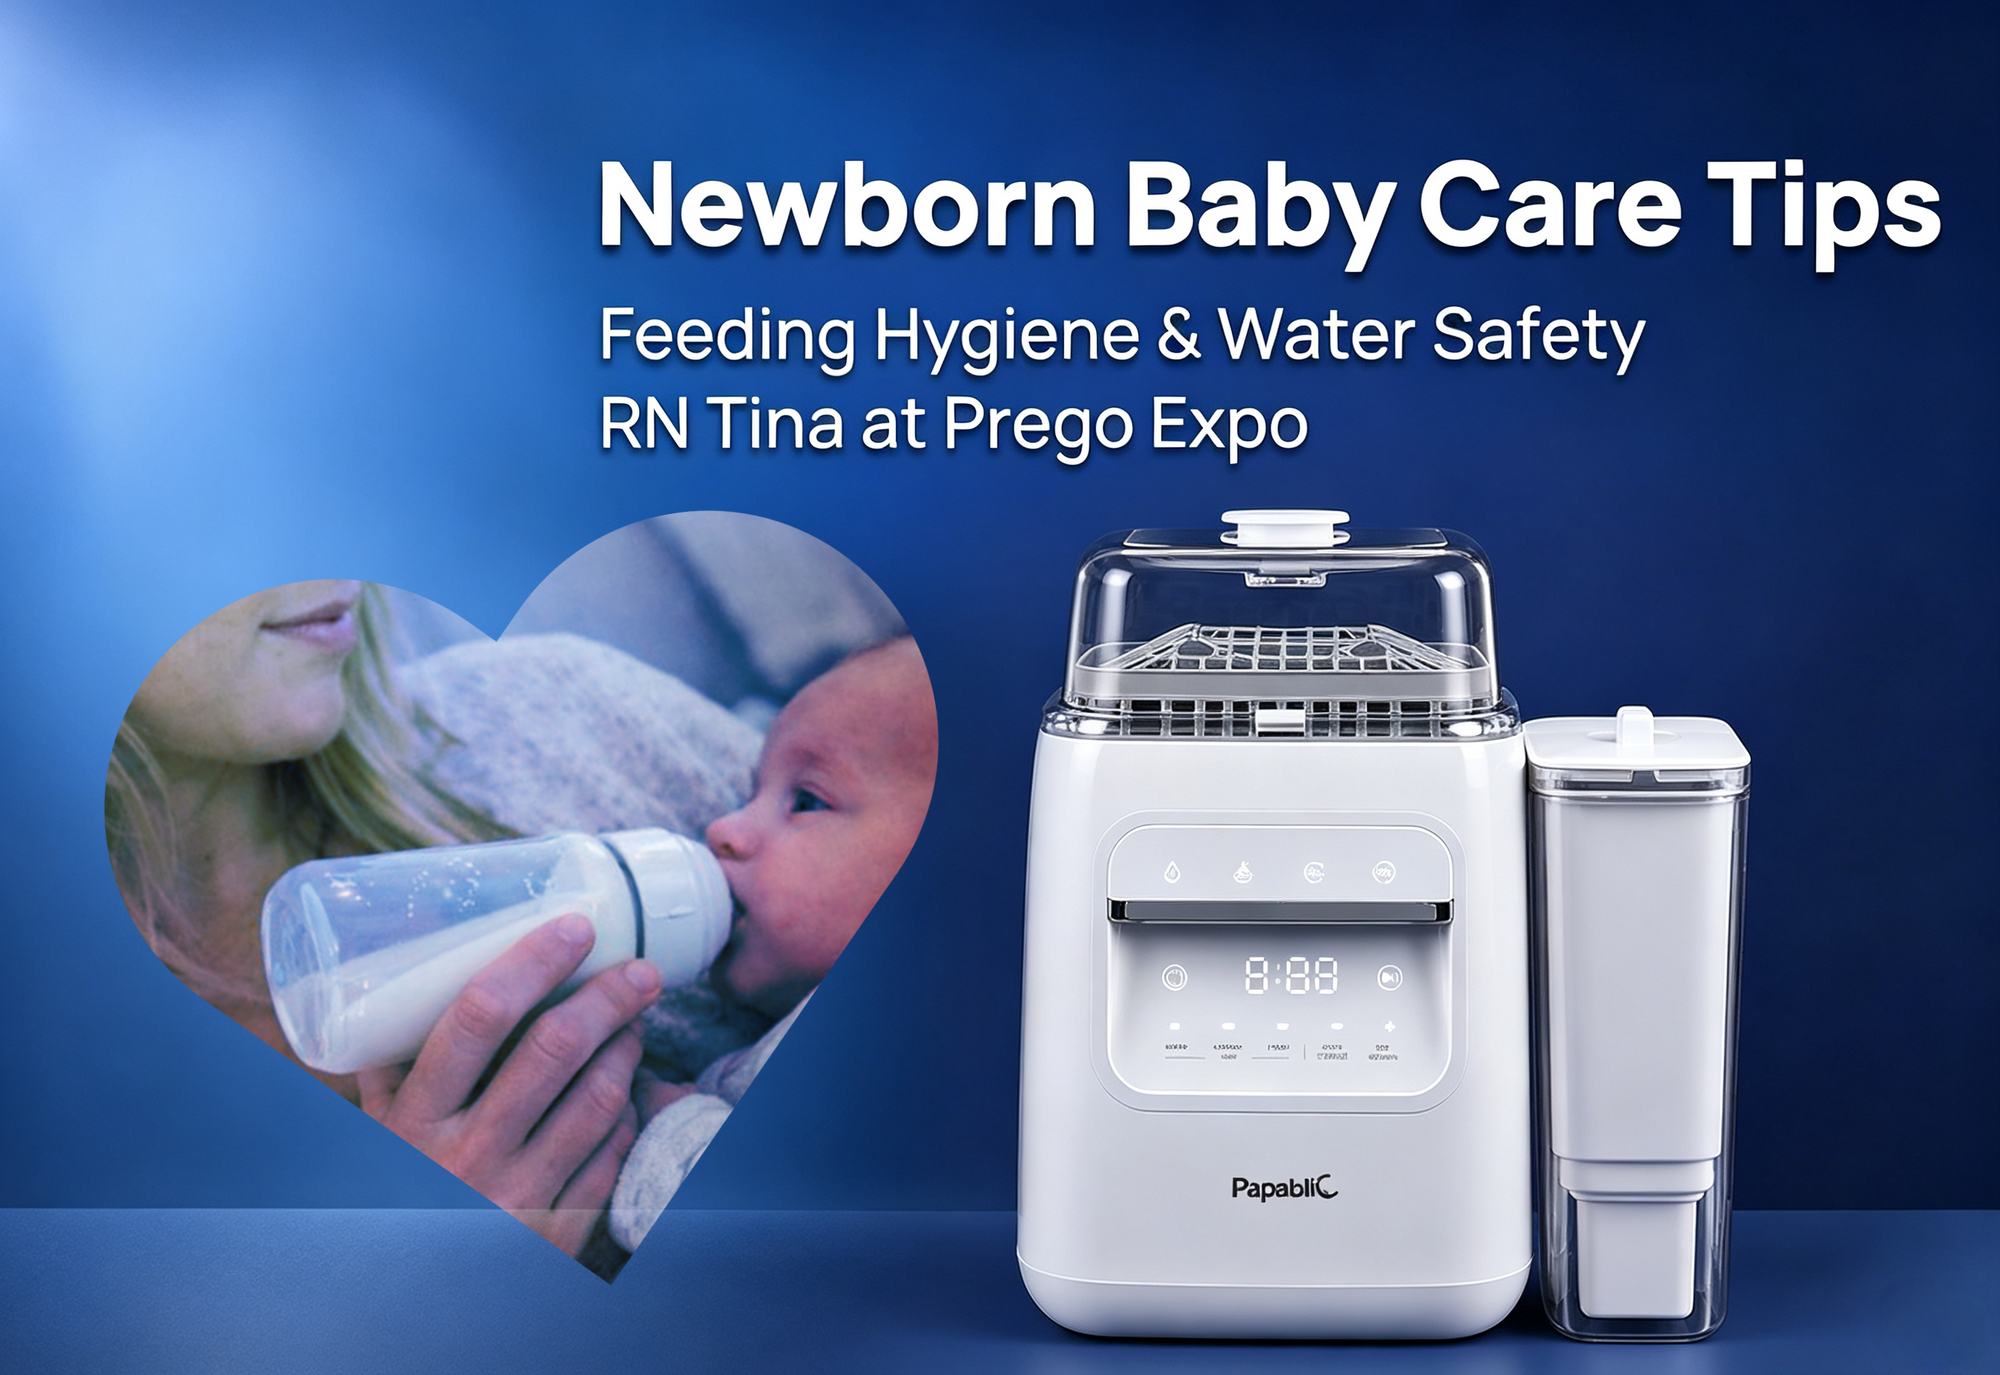
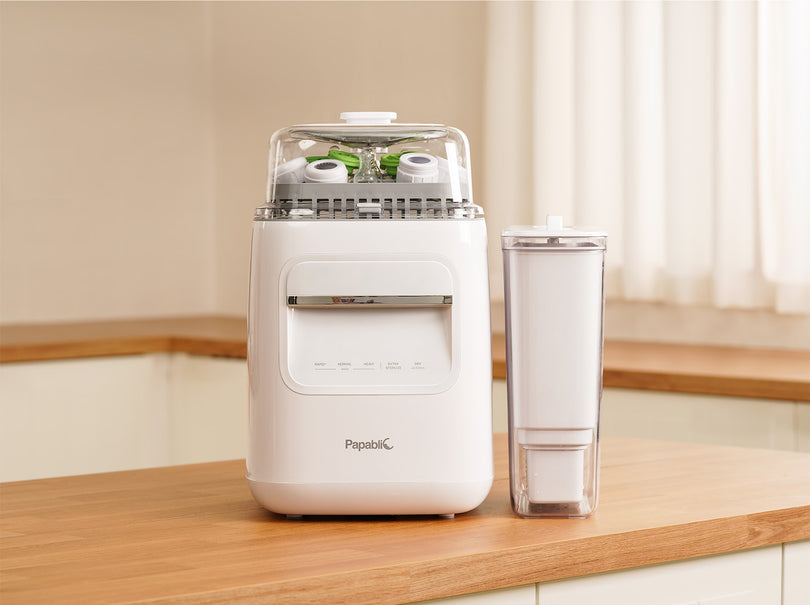
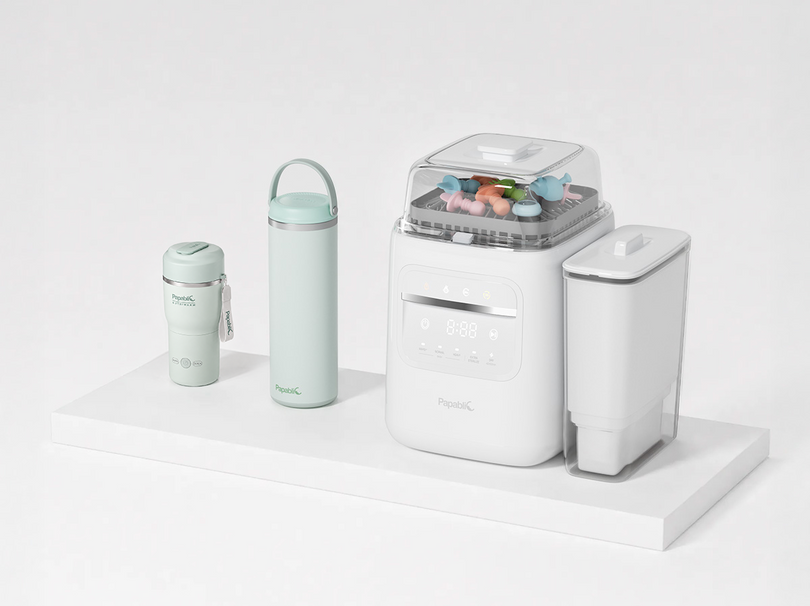
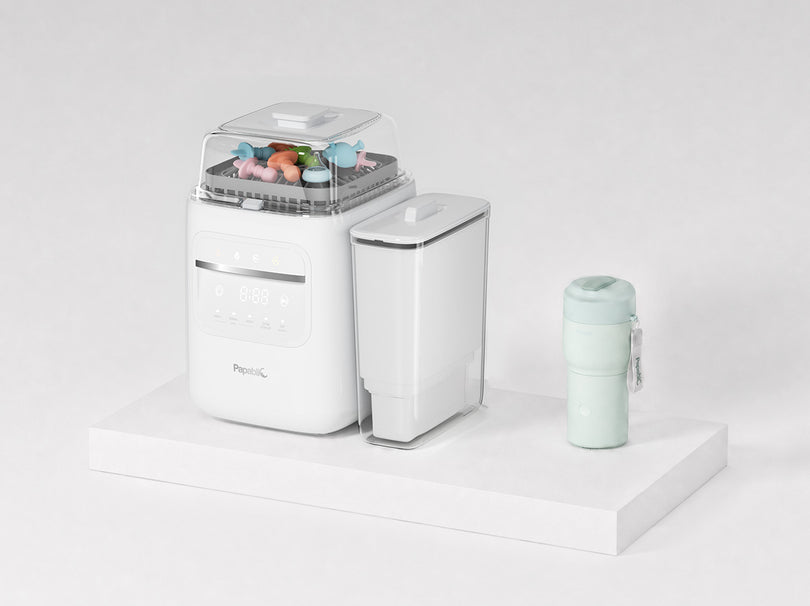
Sterilizing is the highest level. It destroys microorganisms using verified high-temperature steam, typically 212°F (100°C). Not every method or appliance reaches this standard. The Papablic SafeguardPlus™ Baby Bottle Washer System does. It's built to sterilize as part of its automated cycle, which is why it is recommended as the anchor of a complete breast pump cleaning routine.
According to the Food and Drug Administration, a dedicated basin and proper air drying are key to reducing cross-contamination during bottle and pump-part cleaning. Moisture left in valves, bottle threads, or creases can encourage microbial growth over time, especially when parts are stored in a closed container.
The CDC also provides practical guidance on breast pump hygiene that's worth bookmarking for your own reference.
Which Breast Pump Parts Need Cleaning After Every Use?
To clean well, you need a clear mental map of what's high-risk and what isn't. Milk-contact zones include anything that touches breast milk: flanges (the tunnel edge and inner surface), collection bottles, membranes, duckbills, valves, backflow protectors that contact milk, and any adapters milk passes through. These parts follow your strictest cleaning routine, every single session.
Non-contact zones include the outside of connectors, the motor body, tubing that never sees milk in a closed system, and the exterior of bottle caps. These are handled often, so they still need regular attention, especially during illness or after travel. A quick wipe-down with a clean, damp cloth after each session is a reliable habit, with a more thorough clean whenever they look dirty or your household is unwell.
How Strict Should Your Cleaning Routine Be? A Risk Tier Guide
The most common mistake is running the same routine for every baby situation. Your household risk tier should drive your cleaning frequency.
-
Higher risk: NICU parents, premature infants, babies under 2 months, babies with immune concerns, or households managing illness. Wash after every session, sanitize daily (or per your care team's guidance), and treat complete drying as mandatory, not optional.
-
Standard risk: Healthy, term infants with no medical concerns. Wash after every session, sanitize daily or as needed, and stay consistent about drying and storage. The routine can be streamlined, but it shouldn't be skipped.
-
Travel and disruption days: Treat these as temporarily higher risk. Your clean surfaces, handwashing options, and drying space all tend to drop when you're on the move or away from home, which means more care, not less.
The CDC emphasizes careful cleaning, sanitizing, and storing of pump equipment and feeding items to prevent contamination. Their breast pump hygiene guidelines offer a clear, practical framework you can align your home routine with.
Once you know your risk tier, the next step is putting it into practice. Here's what a full routine looks like, from your after-every-use wash to your daily sanitize step and how to handle bottles and nipples alongside your pump parts.
How to Clean Breast Pump Parts After Every Use
The decision you are making after every pump is simple: do I reset my parts to a safe baseline now, or do I create a risky backlog? Baseline wash is the step that keeps milk residue from drying onto valves and membranes, which is where cleaning gets harder, and performance issues start.
Start by fully disassembling anything that touched milk. Separate valves, membranes, and backflow protectors, because milk hides in seams and edges. Next, wash using a dedicated basin (not directly in the sink) with hot soapy water and a brush reserved for feeding gear. Scrub the milk-contact surfaces, rinse well, then place parts on a clean rack with spacing so water can drip away.
To keep the routine friction-free, set up a small station: a dedicated basin, a dedicated brush, fragrance-free soap if your baby is sensitive, and a labeled drying area. According to the Food and Drug Administration, washing in a basin used only for feeding parts and letting items air dry helps reduce cross-contamination.
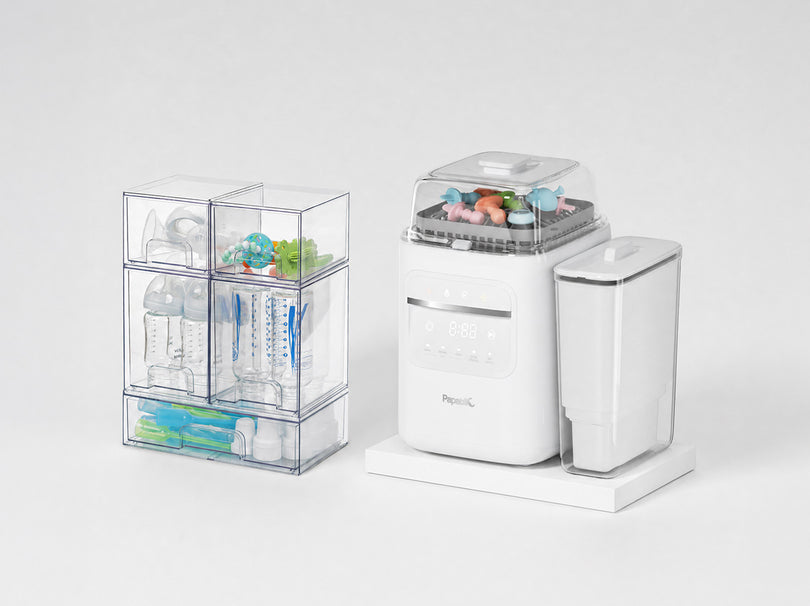
If your goal is a faster reset, an all-in-one bottle cleaning system can replace multiple micro-steps. The Papablic SafeguardPlus™ Baby Bottle Washer System is designed as a 5-in-1 baby bottle cleaning system with built-in PurifyClean™ water purification, an upgraded capacity that fits up to 8 bottles plus wearable pump parts, and a 72-hour hygienic storage mode for keeping items protected after they are clean and dry.

Your Daily Sanitizing Routine for Breast Pump Parts
The daily sanitize step is your insurance policy for the moments you cannot perfectly control: a rushed wash, a distracted rinse, a part that sat too long before cleaning, or a high-risk baby situation. The key decision is not whether you are a good parent. The decision is whether your schedule supports a repeatable safety margin.
First, wash as usual. Sanitizing works best on clean surfaces because residue blocks heat and prevents full contact. Then choose a method that fits your day: dishwasher sanitize setting, boiling, steam, or an appliance cycle designed for sanitize and drying. For NICU parents, or if your baby is very young or medically fragile, this daily sanitize step is often the simplest way to add consistency without turning your life into a lab protocol.
If you are using a countertop washer, keep your cadence simple: one full cycle at a consistent time each day (for example, after the last evening pump) so you wake up to ready-to-use parts. That single habit reduces morning chaos and lowers the chance you skip cleaning when you are exhausted.
Cleaning Bottles, Nipples, and Caps Alongside Pump Parts
Bottle cleaning is where exclusive pumping routines can quietly fall apart, because bottles look clean even when residue clings to threads, rings, and nipple bases. The real question is: is your routine clean in the places milk actually touches?
Treat every milk-contact surface as a priority: the underside of collars, the bottle neck, nipple vents, and any inserts used for paced feeding. Wash with hot soapy water and a brush sized to reach the full bottle interior. Rinse thoroughly, then dry with good airflow. Avoid towel-drying the inside of bottles unless the towel is freshly clean, because lint and germs transfer easily.
For most families, a dishwasher works well when used correctly: hot wash and heated dry (or a sanitize setting), with small parts secured in a closed-top basket so they don't flip and collect dirty water. Hand-washing works equally well if you use a dedicated basin and let items air-dry fully. The FDA highlights both as practical, reliable options when done properly.
A simple countertop setup can also help reduce mix-ups on low-sleep days. Keep a clean zone for washed and dried items that are ready to use, a working zone for items currently in rotation, and a dirty zone for anything waiting to be washed. Even a basic tray system makes a real difference when you're running on four hours of sleep.
Dishwasher or Countertop Washer: Choosing the Right Method
The goal here is not to pick a perfect method. The goal is to pick the method your household will actually execute every day. Dishwashers are convenient, but they can create hidden problems: small parts fall, food debris from other dishes transfers, and crowded loads prevent drying. Countertop systems can control the environment, but only if you load them correctly and maintain accessories like filters or baskets.
If you use a dishwasher, run a hot cycle and choose heated dry or sanitize if available. Place pump parts and nipples on the top rack, and put tiny pieces into a dedicated basket so they do not fly around. Keep feeding items separate from heavily soiled cookware when possible, because grease film and food particles are hard to fully remove from soft silicone.
If you use an all-in-one bottle washer with sterilizer and dryer functions, treat loading as part of safety. Separate valves and membranes so water jets can hit all surfaces. Avoid nesting bottles or stacking flanges, because trapped water causes damp storage. The Papablic SafeguardPlus™ Washer emphasizes a 360-degree deep clean design and increased drying power, which matters most when your daily throughput is high, and you cannot afford a half-dry batch.
Cleaning Breast Pump Parts at Work or Away from Home
Travel and work days are where cleaning routines are most likely to break down. Your surfaces change, your hands are busy, and you don't have your normal tools. The most reliable move is to prepare before you leave: bring extra sets of clean pump parts so you're not relying on being able to clean properly on the go.
If you do need to clean while away from home, the CDC recommends using a dedicated wash basin (not the shared sink) and a brush reserved for pump parts only. Shared restroom sinks carry shared contamination risk, so avoiding them is a simple, practical layer of protection. If you can't wash immediately after a session, seal used parts in a clean zip-lock bag and store them in a cooler until you can properly clean and sanitize at home.
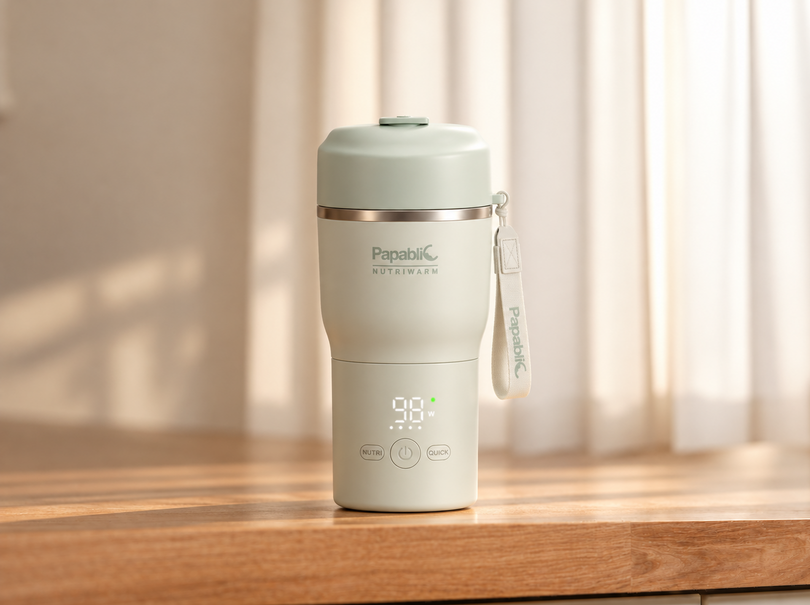
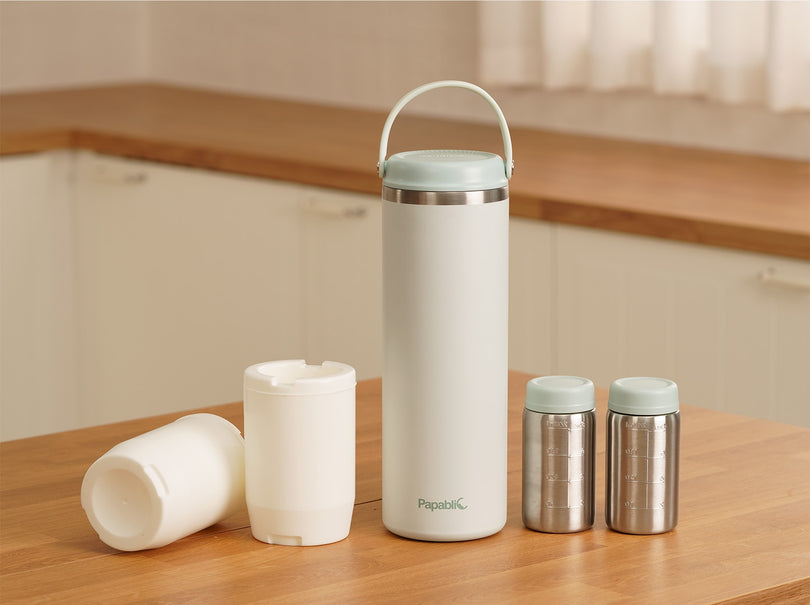
For parents pumping at work, a small dedicated kit makes the routine repeatable: a travel-size basin, a personal brush, fragrance-free soap in a sealed container, and a clean zip-lock for used parts. Some parents also use travel steam sterilizing bags as a lightweight on-the-go sanitizing option when a full appliance isn't available.
If you're traveling by plane while breastfeeding or pumping, our guide on flying with a breastfeeding baby covers how to handle pump cleaning, storage, and feeding logistics at airports and in the air.
Explore our full feeding range for products built to support pumping parents at home and on the move.
Choosing the Right Cleaning Setup for Your Routine
Baby risk level: what you optimize for changes
Start with your baby, not your gear. If you are a NICU parent or your baby is premature, young, or medically fragile, you are optimizing for tighter consistency: wash after every use, sanitize daily (or per care team guidance), and avoid any storage that keeps parts damp. If your baby is healthy and term, you can still run a strict baseline wash routine but choose simpler add-ons that reduce burnout.
Use this decision lens: higher risk means fewer shortcuts and more redundancy (extra clean sets, predictable sanitize time, faster drying). Lower risk still benefits from the same structure, but you can choose the least complicated method that you will do every day.
Time and volume: match your daily throughput
Your throughput is the real design constraint. If you pump 6 to 10 times a day, hand washing every time can be realistic only if your station is set up to remove friction. If you have twins, combo feed, or pump at work, your volume spikes, and you need a system that can keep up.
Ask two practical questions:
-
How many bottles and pump-part sets do you need to clean per 24 hours?
-
When is your only realistic cleaning window (morning, midday, bedtime)?
If your only window is bedtime, prioritize capacity and dry-ready storage so you wake up to a fully reset feeding station.
Parts complexity: valves, backflow protectors, wearables
Complex parts fail in two ways: they trap residue, and they are easy to reassemble incorrectly when you are tired. Wearable pumps and backflow protectors often include more crevices and thin silicone parts, so your routine must include full disassembly and inspection.
Use this quick framework:
|
Scenario |
Parts complexity |
Primary risk |
Best approach |
|
Standard flanges + bottles |
Low |
Residue film |
Scrub + full air dry |
|
Wearable pump parts |
High |
Trapped milk |
Disassemble + sanitize |
|
Dishwasher-only household |
Medium |
Tiny parts lost |
Basket + top rack |
|
NICU or premature baby |
Any |
Higher vulnerability |
Daily sanitize + full dry |
Frequently Asked Questions
How often should I wash pump parts when exclusively pumping?
Wash any pump parts that touched milk after every session: flanges, valves, membranes, connectors, and collection bottles. If you can't wash right away, seal used parts in a clean container and clean them as soon as possible. Avoid letting milk residue dry on silicone. For NICU parents or medically fragile infants, apply the same wash frequency and be strict about drying and sanitizing.
Do I need to sanitize pump parts every time?
No, not after every session, if you're washing thoroughly, drying completely, and your baby is healthy and full-term. Most parents find a once-daily sanitizing step adds a reliable safety margin. If your baby is premature, under 2 months, or immunocompromised, your care team may recommend more frequent sanitizing. Always wash before sanitizing, as heat can't work properly through milk residue.
Is it safe to use a dishwasher for pump parts and bottles?
Yes, when done correctly. Use a hot wash with heated dry or a sanitize setting, place parts on the top rack, and secure small pieces in a closed basket so they don't flip or fall. Keep pump parts away from heavily soiled cookware when possible, as grease and food residue can redeposit on silicone. Check that everything is fully dry before storing.
Why does fully drying pump parts matter so much?
Moisture trapped in valves, connectors, and bottle threads can support microbial growth over time. Damp parts also hold detergent residue, cause odors, and can make silicone harder to seat correctly, which can affect suction. Dry parts store better in covered containers because you're not trapping humidity. If there are droplets in tight crevices after your cycle, extend drying time or switch to a stronger method.
Can I use the fridge hack instead of washing?
Refrigerating used parts between sessions slows bacterial growth but doesn't remove milk residue, and residue can still build up in seams and valves. It also adds handling steps that can spread contamination. Treat it as a short-term workaround only, keep parts sealed, and return to a full wash-and-dry routine as soon as you can. For NICU parents and higher-risk babies, a strict wash-after-every-session routine is the safer default.
How do I prevent cross-contamination at the sink during cleaning?
Use a dedicated basin for pump parts and bottles instead of placing them directly in the sink, and keep a brush reserved only for feeding gear. Wash your hands before cleaning, and clean the basin and brush regularly so they don't become a contamination source. Keep your drying zone away from raw food prep, and don't stack wet parts where water can pool. When your household is unwell or you're traveling, add extra surface wiping and stricter separation.
Less Time Cleaning, More Time Feeding
Exclusive pumping takes enough out of you already. The cleaning routine doesn't have to. Wash after every use, add a consistent daily sanitizing step that fits your risk tier, and make drying non-negotiable. Clean parts need to stay clean. Once your station and schedule are set, you'll spend less time rescuing the routine and more time feeding with confidence.
The Papablic SafeguardPlus™ Baby Bottle Washer System is built to do the heavy lifting: it filters, washes, sterilizes, dries, and stores in one automated cycle, holding up to 8 bottle sets at a time and keeping everything hygienic for up to 72 hours. Explore the SafeguardPlus™ system to see how it fits your feeding routine.