
Introduction
Still facing a pile of parts in the middle of the night, unsure what needs washing or can wait? Mistakes in cleaning can let germs linger and affect equipment performance. This guide shows a simple, repeatable routine to wash, sanitize, dry, and store all parts safely, with tips for higher-risk situations like NICU care. We'll cover the basics and daily steps you can easily fit into your schedule.
Exclusive Pumping Cleaning Fundamentals
Wash vs sanitize vs sterilize
Before you optimize anything, label the job correctly. Washing removes milk residue and reduces germs by physically lifting and rinsing them away. Sanitizing is an extra step after washing that reduces germs further using heat or an approved method. Sterilizing is typically a higher-level process intended to remove even more microorganisms, and many parents use the term loosely in everyday conversation.
For exclusive pumping cleaning, your safest mindset is: wash is non-negotiable after milk contact, and sanitize is your daily risk-control layer. The FDA describes a practical baseline for feeding items: wash after each use, and use a dishwasher hot wash with heated dry or sanitize setting when available, or hand wash in a dedicated basin, rinse, and air dry on a clean towel. That combination keeps your routine realistic while still being safety-first for new parents and NICU parents. According to the Food and Drug Administration, a dedicated basin and air drying help reduce cross-contamination during bottle and pump-part cleaning.
Food-contact zones vs non-contact zones
To clean efficiently, you need a quick mental map of what is high-risk. Food-contact zones include anything that touches milk: flanges (the tunnel edge and inner surface), collection bottles, membranes, duckbills, valves, backflow protectors that contact milk, and any adapters that milk passes through. These surfaces should follow your strictest exclusive pumping cleaning routine.
Non-contact zones include the outside of connectors, the motor body, tubing that never sees milk (in a closed system), and the exterior of bottle caps. These areas still matter because they are handled often, but they usually do not need the same wash-and-sanitize cadence as milk-contact parts. Treat them like kitchen hygiene: wipe when visibly dirty, and clean more often during illness outbreaks or after travel days.
Moisture control: dry parts matter more than people think
If you remember only one technical detail, remember this: dryness is a safety step, not a cosmetic step. Moisture left in valves, bottle threads, or creases can encourage microbial growth over time, especially when parts are stored in a closed container. Damp parts also tend to trap detergent residue and can make reassembly feel sticky, which increases the chance you mis-seat a membrane or twist a backflow protector.
Risk tiers: NICU, newborn, healthy (how strict should you be?)
Most wrong decisions start with using a single routine for every baby situation. Instead, sort your household into a risk tier and let that drive your exclusive pumping cleaning frequency.
- Higher risk: NICU parents, premature infants, babies under 2 months, babies with immune concerns, or households actively dealing with illness. Use strict washing after every session plus daily sanitizing, and prioritize complete drying.
- Standard risk: healthy, term infants with no medical concerns. Wash after each session, sanitize daily or as needed, and be consistent about drying and storage.
- Travel and disruption days: treat these like temporarily higher risk because your clean surface control and handwashing options tend to drop.
The CDC emphasizes careful cleaning, sanitizing, and storing of pump equipment and feeding items to prevent contamination, and it also provides practical steps for breast pump hygiene. See CDC for a concise framework you can align with your home routine.
After Every Pump Session: Baseline Wash

The decision you are making after every pump is simple: do I reset my parts to a safe baseline now, or do I create a risky backlog? Baseline wash is the step that keeps milk residue from drying onto valves and membranes, which is where cleaning gets harder, and performance issues start.
Start by fully disassembling anything that touched milk. Separate valves, membranes, and backflow protectors, because milk hides in seams and edges. Next, wash using a dedicated basin (not directly in the sink) with hot soapy water and a brush reserved for feeding gear. Scrub the milk-contact surfaces, rinse well, then place parts on a clean rack with spacing so water can drip away.
To keep the routine friction-free, set up a small station: a dedicated basin, a dedicated brush, fragrance-free soap if your baby is sensitive, and a labeled drying area. According to the Food and Drug Administration, washing in a basin used only for feeding parts and letting items air dry helps reduce cross-contamination.
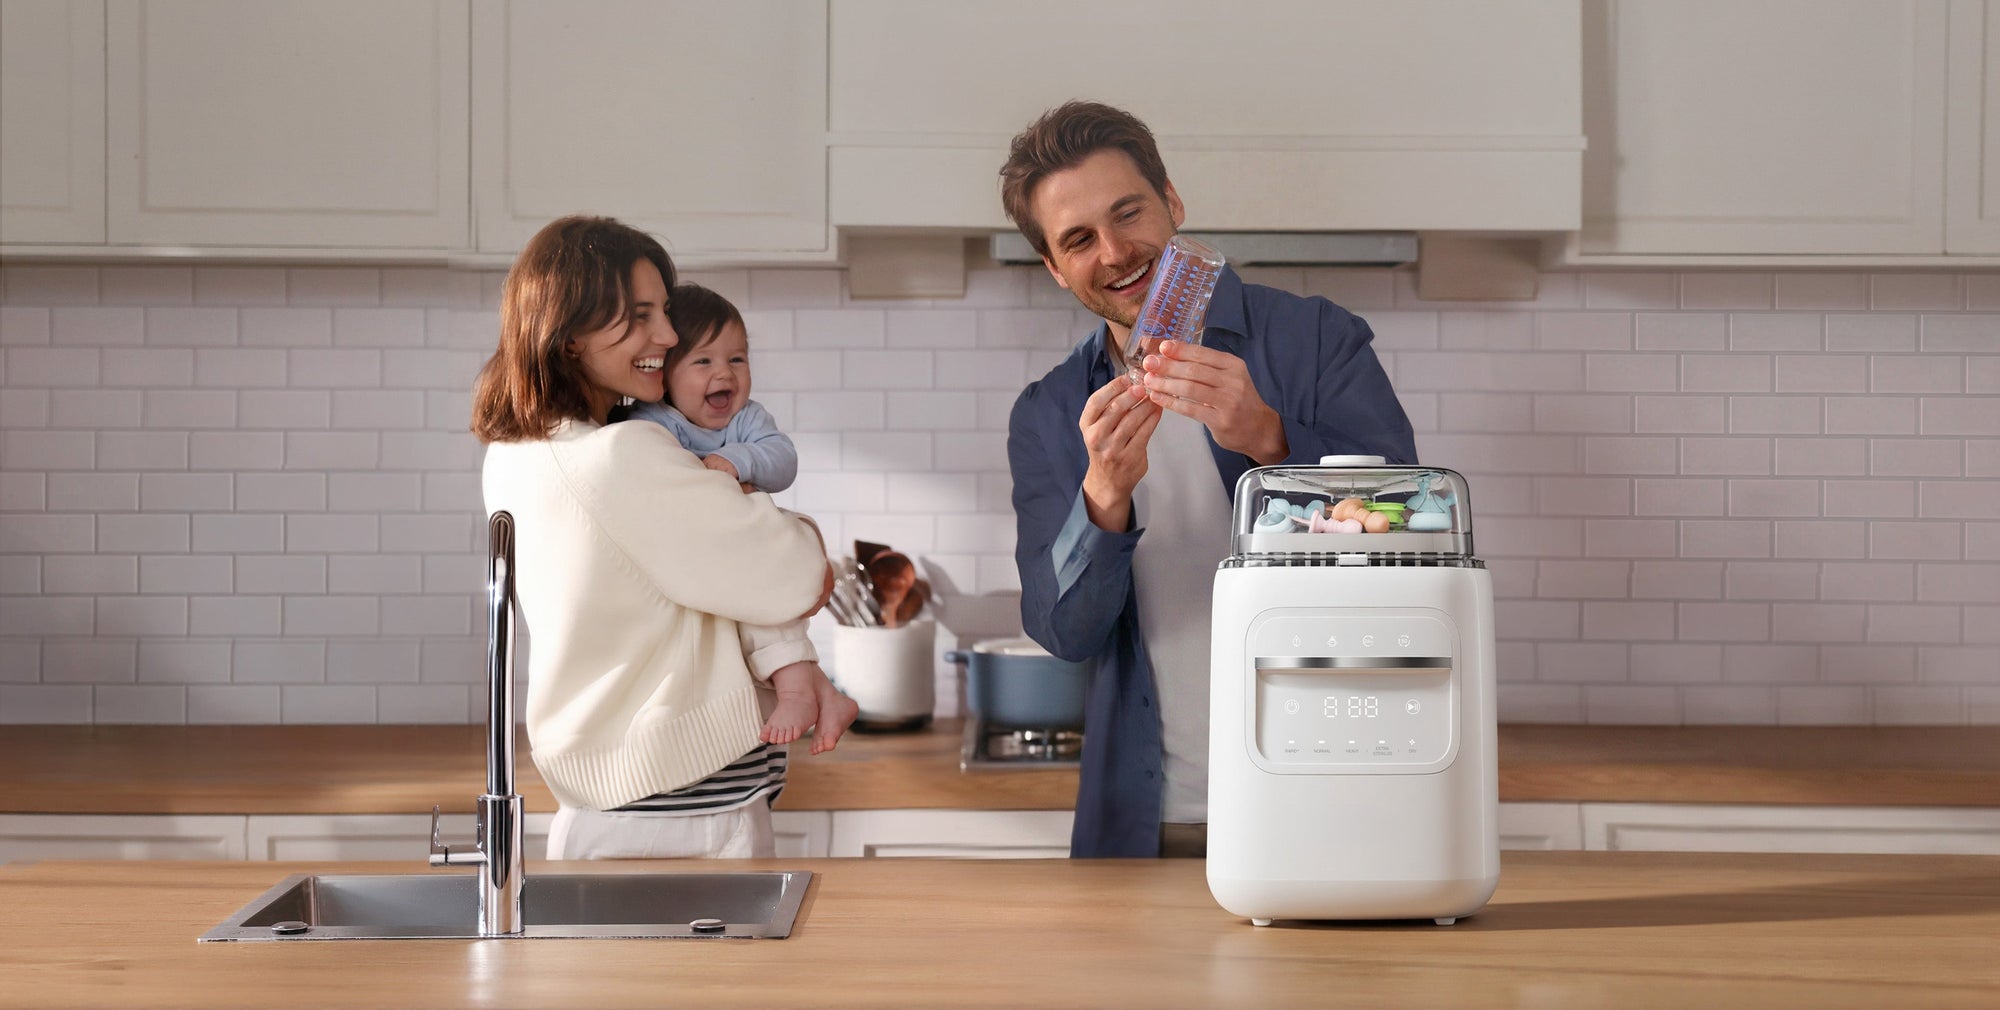
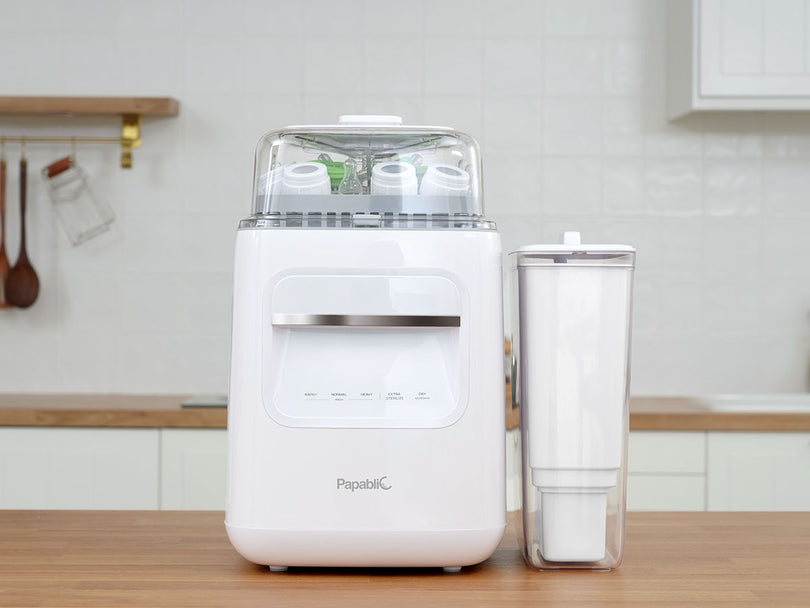
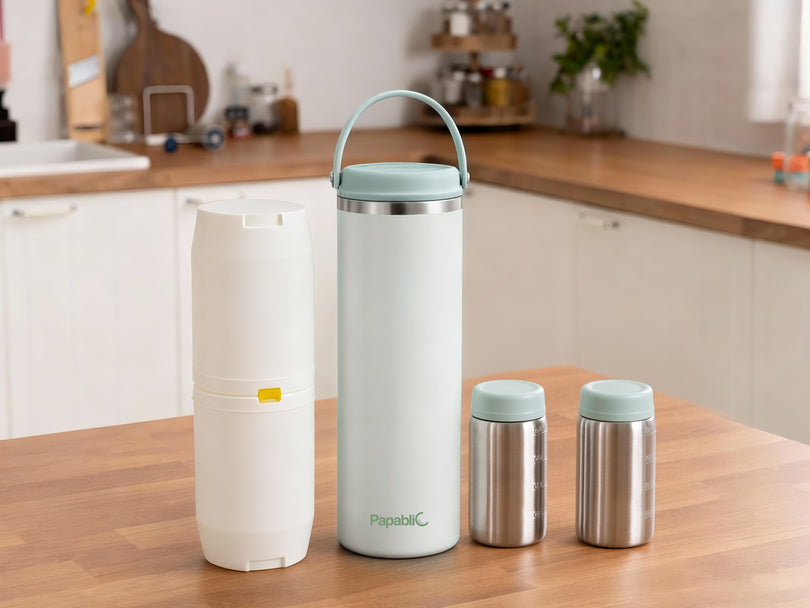
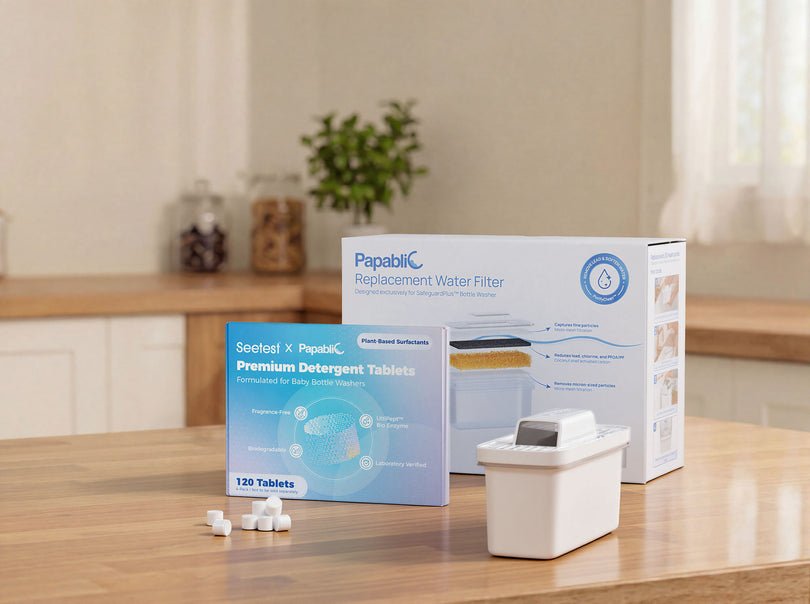
If your goal is a faster reset, an all-in-one bottle cleaning system can replace multiple micro-steps. The Papablic SafeguardPlus™ Baby Bottle Washer System is designed as a 5-in-1 baby bottle cleaning system with built-in PurifyClean™ water purification, an upgraded capacity that fits up to 8 bottles plus wearable pump parts, and a 72-hour hygienic storage mode for keeping items protected after they are clean and dry.
Shop: Papablic SafeguardPlus™ Baby Bottle Washer System
Once Daily: Extra Sanitize Routine
The daily sanitize step is your insurance policy for the moments you cannot perfectly control: a rushed wash, a distracted rinse, a part that sat too long before cleaning, or a high-risk baby situation. The key decision is not whether you are a good parent. The decision is whether your schedule supports a repeatable safety margin.
First, wash as usual. Sanitizing works best on clean surfaces because residue blocks heat and prevents full contact. Then choose a method that fits your day: dishwasher sanitize setting, boiling, steam, or an appliance cycle designed for sanitize and drying. For NICU parents, or if your baby is very young or medically fragile, this daily sanitize step is often the simplest way to add consistency without turning your life into a lab protocol.
If you are using a countertop washer, keep your cadence simple: one full cycle at a consistent time each day (for example, after the last evening pump) so you wake up to ready-to-use parts. That single habit reduces morning chaos and lowers the chance you skip cleaning when you are exhausted.
Shop: Papablic SafeguardPlus™ Baby Bottle Washer System
Bottle Feeding Items: Bottles, Nipples, Caps
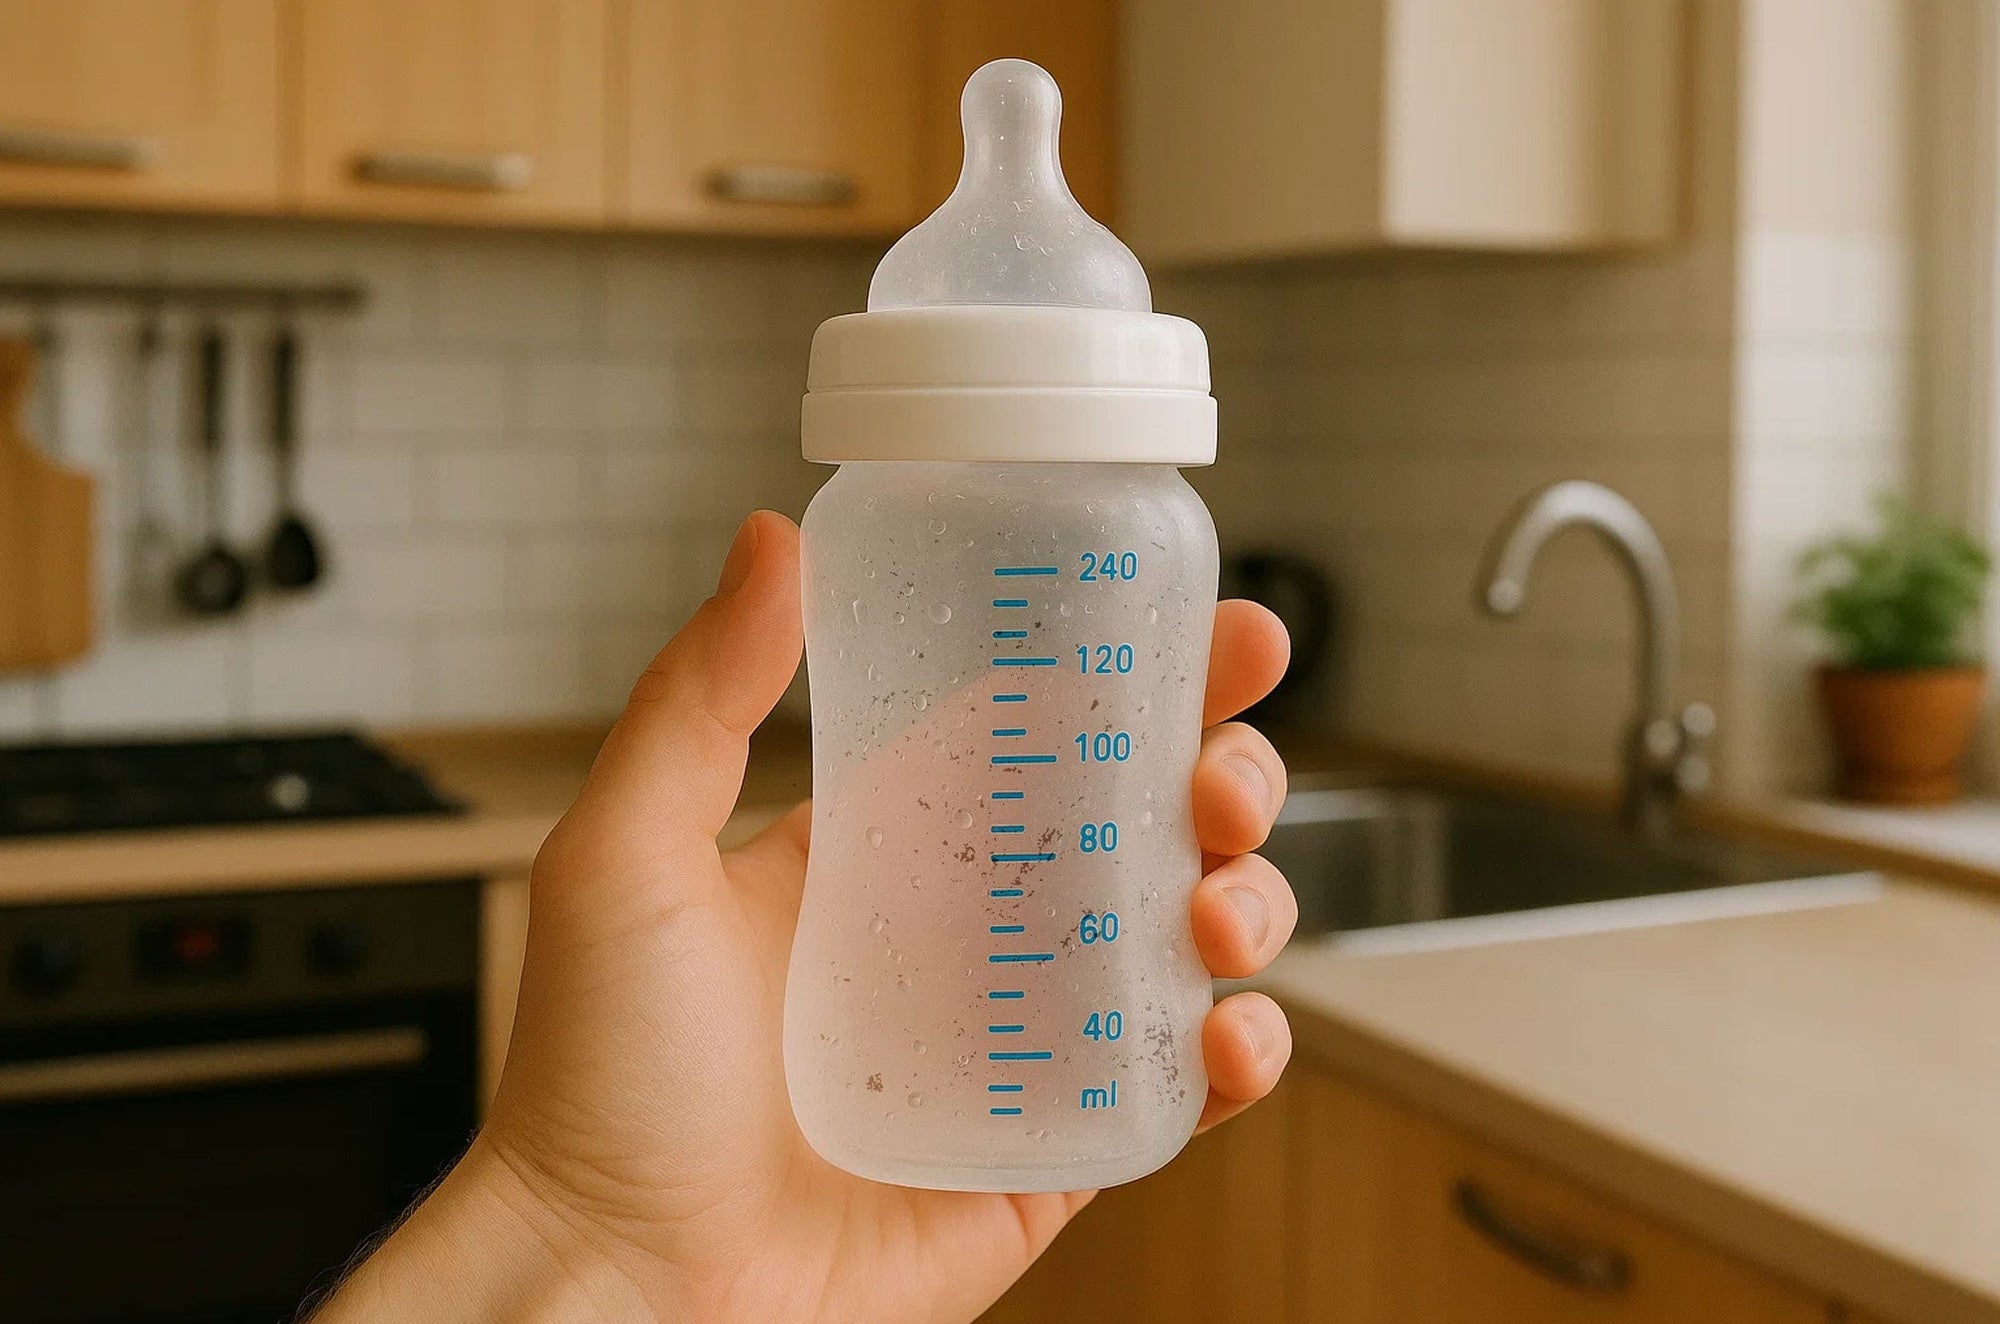
Bottle cleaning is where exclusive pumping cleaning can quietly fail, because bottles look clean even when residue clings to threads, rings, and nipple bases. The decision context is: do you want a visually clean routine, or one that is clean in the places milk actually touches?
Treat every milk-contact surface as a priority. That includes the underside of collars, the bottle neck, nipple vents, and any inserts used for paced feeding. Wash with hot soapy water and a brush sized to reach the full bottle interior. Rinse thoroughly, then dry with good airflow. Avoid towel-drying the inside of bottles if the towel is not freshly clean, because lint and germs transfer easily.
For most families, a dishwasher can be a strong option when done correctly: use hot wash and heated dry (or sanitize), and secure small pieces in a closed-top basket so they do not flip and collect dirty water. If you hand-wash, use a dedicated basin, and allow complete air drying. The FDA highlights dishwashers with hot water and heated drying cycles (or sanitizing settings) as a practical way to clean bottles and feeding parts after each use. According to the Food and Drug Administration, this approach helps reduce contamination risk during feeding prep.
If you are trying to build a Smart Baby Bottle Station vibe at home, keep it simple: clean zone (washed and dried), working zone (currently in use), and dirty zone (awaiting wash). Even a small countertop divider or tray system can reduce mix-ups when you are sleep-deprived.
Dishwasher and Countertop Systems
The goal here is not to pick a perfect method. The goal is to pick the method your household will actually execute every day. Dishwashers are convenient, but they can create hidden problems: small parts fall, food debris from other dishes transfers, and crowded loads prevent drying. Countertop systems can control the environment, but only if you load them correctly and maintain accessories like filters or baskets.
If you use a dishwasher, run a hot cycle and choose heated dry or sanitize if available. Place pump parts and nipples on the top rack, and put tiny pieces into a dedicated basket so they do not fly around. Keep feeding items separate from heavily soiled cookware when possible, because grease film and food particles are hard to fully remove from soft silicone.
If you use an all-in-one bottle washer with sterilizer and dryer functions, treat loading as part of safety. Separate valves and membranes so water jets can hit all surfaces. Avoid nesting bottles or stacking flanges, because trapped water causes damp storage. The Papablic SafeguardPlus(TM) Washer emphasizes a 360-degree deep clean design and increased drying power, which matters most when your daily throughput is high, and you cannot afford a half-dry batch.
Shop: Papablic SafeguardPlus™ Baby Bottle Washer System
Travel and Work Pumping: Clean Handling
Travel is where clean routines collapse because your surfaces change, your hands are busy, and you do not have your normal tools. The decision to make upfront is: will you prioritize carrying extra clean sets, or will you rely on cleaning on the go? For most exclusive pumpers, extra clean sets are the simplest safety move.
For parents who need bottle warmers during travel days, build warming into the same safety framework. Avoid microwaving milk because it can create hot spots and uneven temperatures. The FDA explicitly warns against microwaving infant formula due to hot spots that can burn a baby. According to the Food and Drug Administration, the bottle can feel cool while hot spots develop.
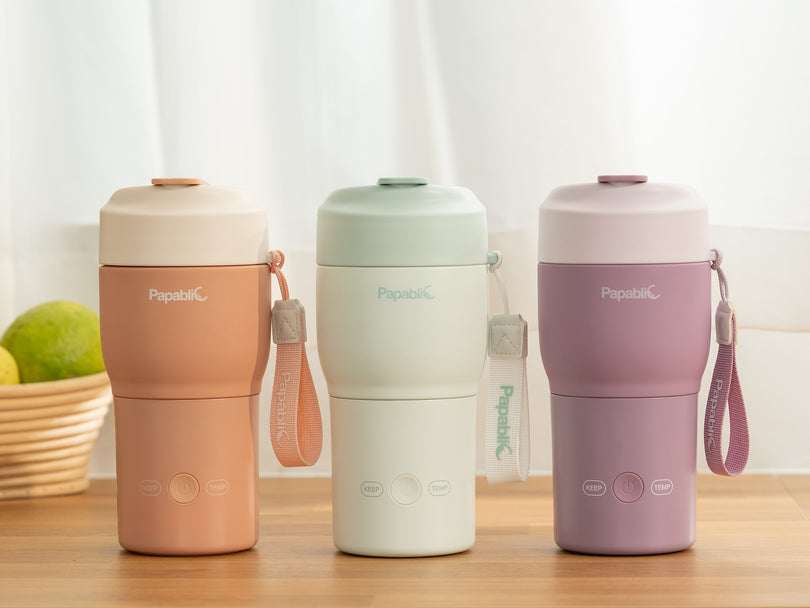
A portable warmer can also support a cleaner workflow if it reduces the temptation to improvise with unsafe heating. The Papablic Portable Bottle Warmer and Sterilizer Pro positions itself as a portable warmer with built-in sterilization and a wide-mouth design for easier cleaning. It also states performance targets like warming 4 oz refrigerated breast milk to 98 F in about 2 minutes and 30 seconds and multiple servings per full charge, which helps you plan feeds without resorting to questionable heat sources.
Shop: Papablic Portable Bottle Warmer and Sterilizer Pro
Selection and Decision Guide
Baby risk level: what you optimize for changes
Start with your baby, not your gear. If you are a NICU parent or your baby is premature, young, or medically fragile, you are optimizing for tighter consistency: wash after every use, sanitize daily (or per care team guidance), and avoid any storage that keeps parts damp. If your baby is healthy and term, you can still run a strict baseline wash routine but choose simpler add-ons that reduce burnout.
Use this decision lens: higher risk means fewer shortcuts and more redundancy (extra clean sets, predictable sanitize time, faster drying). Lower risk still benefits from the same structure, but you can choose the least complicated method that you will do every day.
Time and volume: match your daily throughput
Your throughput is the real design constraint. If you pump 6 to 10 times a day, hand washing every time can be realistic only if your station is set up to remove friction. If you have twins, combo feed, or pump at work, your volume spikes, and you need a system that can keep up.
Ask two practical questions:
- How many bottles and pump-part sets do you need to clean per 24 hours?
- When is your only realistic cleaning window (morning, midday, bedtime)?
If your only window is bedtime, prioritize capacity and dry-ready storage so you wake up to a fully reset feeding station.
Parts complexity: valves, backflow protectors, wearables
Complex parts fail in two ways: they trap residue, and they are easy to reassemble incorrectly when you are tired. Wearable pumps and backflow protectors often include more crevices and thin silicone parts, so your routine must include full disassembly and inspection.
Use this quick framework:
| Scenario | Parts complexity | Primary risk | Best approach |
|---|---|---|---|
| Standard flanges + bottles | Low | residue film | scrub + full air dry |
| Wearable pump parts | High | trapped milk | disassemble + sanitize |
| Dishwasher only household | Medium | tiny parts lost | basket + top rack |
| NICU or premature baby | Any | higher vulnerability | daily sanitize + dry |
Conclusion
Exclusive pumping cleaning works best when you treat it like a workflow, not a series of heroic deep cleans. Wash after every use, add a consistent daily sanitize step when it fits your risk tier, and make drying non-negotiable so clean parts stay clean. Once you build a station and a schedule you can repeat, you will spend less time rescuing your routine and more time feeding with confidence.
Official Site: Papablic
FAQ
How often should I wash pump parts when exclusively pumping?
You should wash any pump parts that touch milk after every pumping session. This includes flanges, valves, membranes, connectors that contact milk, and collection bottles. If you cannot wash immediately, use a fully clean backup set and store the used set in a sealed container until you can clean it. Try to avoid letting milk residue dry onto small silicone pieces, because it increases cleaning difficulty and raises the chance of missed residue. For NICU parents or medically fragile infants, keep the same wash frequency and be extra strict about drying and sanitizing.
Do I need to sanitize pump parts every time?
No, you do not always need to sanitize after every single session if you are washing thoroughly, drying completely, and your baby is healthy and term. Many exclusive pumpers still choose a once-daily sanitize step because it reduces anxiety and adds a safety margin on hectic days. If your baby is premature, under 2 months, sick, or immunocompromised, more frequent sanitizing may be appropriate based on your care team's guidance. Sanitizing only works well on parts that are already washed clean, so do not skip the wash step. Always finish by fully drying before storage or reassembly.
Is it safe to use a dishwasher for pump parts and bottles?
Yes, it can be safe if you secure small parts and use a hot wash with a heated dry or sanitize setting. Place pump parts and nipples on the top rack and use a closed basket for valves and membranes so they do not flip or fall. Avoid washing feeding items with heavily soiled cookware when possible, because grease and food debris can redeposit. After the cycle, confirm that all crevices are completely dry before storing. If any parts come out wet, move them to a clean rack and air-dry fully.
Why does fully drying parts matter so much?
Fully drying matters because moisture trapped in valves, connectors, and bottle threads can support microbial growth over time. Damp parts also tend to hold detergent residue, which can cause odors and make silicone feel slippery. From a performance standpoint, wet membranes and valves can be harder to seat correctly, which can reduce suction consistency. Dry parts store better in covered containers because you are not trapping humidity. As a rule, if you see droplets in the tightest area, extend drying time or switch to a stronger drying method.
Can I use the fridge hack (storing pump parts in the refrigerator between sessions) instead of washing?
Storing used pump parts in the refrigerator between sessions is a common workaround, but it is not the same as exclusive pumping cleaning after each use. Cold temperatures slow bacterial growth, but they do not remove milk residue, and residue can still build up in seams and valves. The approach also adds handling steps that can spread contamination if bags and parts touch other foods or surfaces. If you use this method at all, treat it as a short-term exception, keep parts sealed, and return to a full wash and dry routine as soon as possible. For NICU parents and higher-risk babies, a strict wash-after-use routine is the safer default.
What is the safest way to warm a bottle while protecting breast milk quality?
The safest warming approach is gentle, even heat that avoids hot spots and overheating. Use a controlled warmer or a warm water bath and aim for near body temperature, not steaming hot. Swirl the bottle gently to distribute heat and test the temperature on your wrist before feeding. Avoid repeated warming and cooling cycles, because they complicate safe storage timing and can increase waste. If you are traveling, plan your warming method so you do not resort to improvised heating that can be inconsistent.
How do I prevent cross-contamination at the sink during cleaning?
You prevent cross-contamination by separating feeding gear from general dishwashing tools and surfaces. Use a dedicated basin for pump parts and bottles instead of placing them directly in the sink, and use a brush reserved only for feeding items. Wash your hands first, then clean the basin and brush regularly so they do not become a contamination source. Keep a clean drying zone that does not share space with raw food prep, and do not stack wet parts where water can pool. When your household is sick, or you are traveling, add extra surface wiping and stricter separation to keep the system reliable.