
Introduction
You just finished another grueling pumping session. Now you face a sink overflowing with greasy flanges, crusty bottles, and tiny valves. Your cracked hands simply cannot handle another round of scalding water and scrubbing.
Here is the deal. Handwashing a medically fragile baby's gear risks dangerous human error. It is time to automate this relentless chaos. A dedicated baby bottle washer scrubs, sterilizes, and dries everything for you. This guide breaks down a foolproof, lean daily workflow. Spend less time scrubbing and more time healing.
Official Site: Papablic
Step-by-Step Guide to Automate Cleaning
Step 1: Choose an all-in-one washer

Start by picking an Automatic Bottle Cleaner that matches your daily load. For NICU parents, capacity matters because you are often cleaning:
- Bottles (multiple sizes)
- Nipples and rings
- Pump parts (flanges, valves, membranes)
- Small accessories (caps, inserts)
An all-in-one unit also reduces the number of handoffs between washing, sanitizing, and drying. That matters because each extra transfer is a chance to touch clean parts with wet hands or set them on the wrong surface.
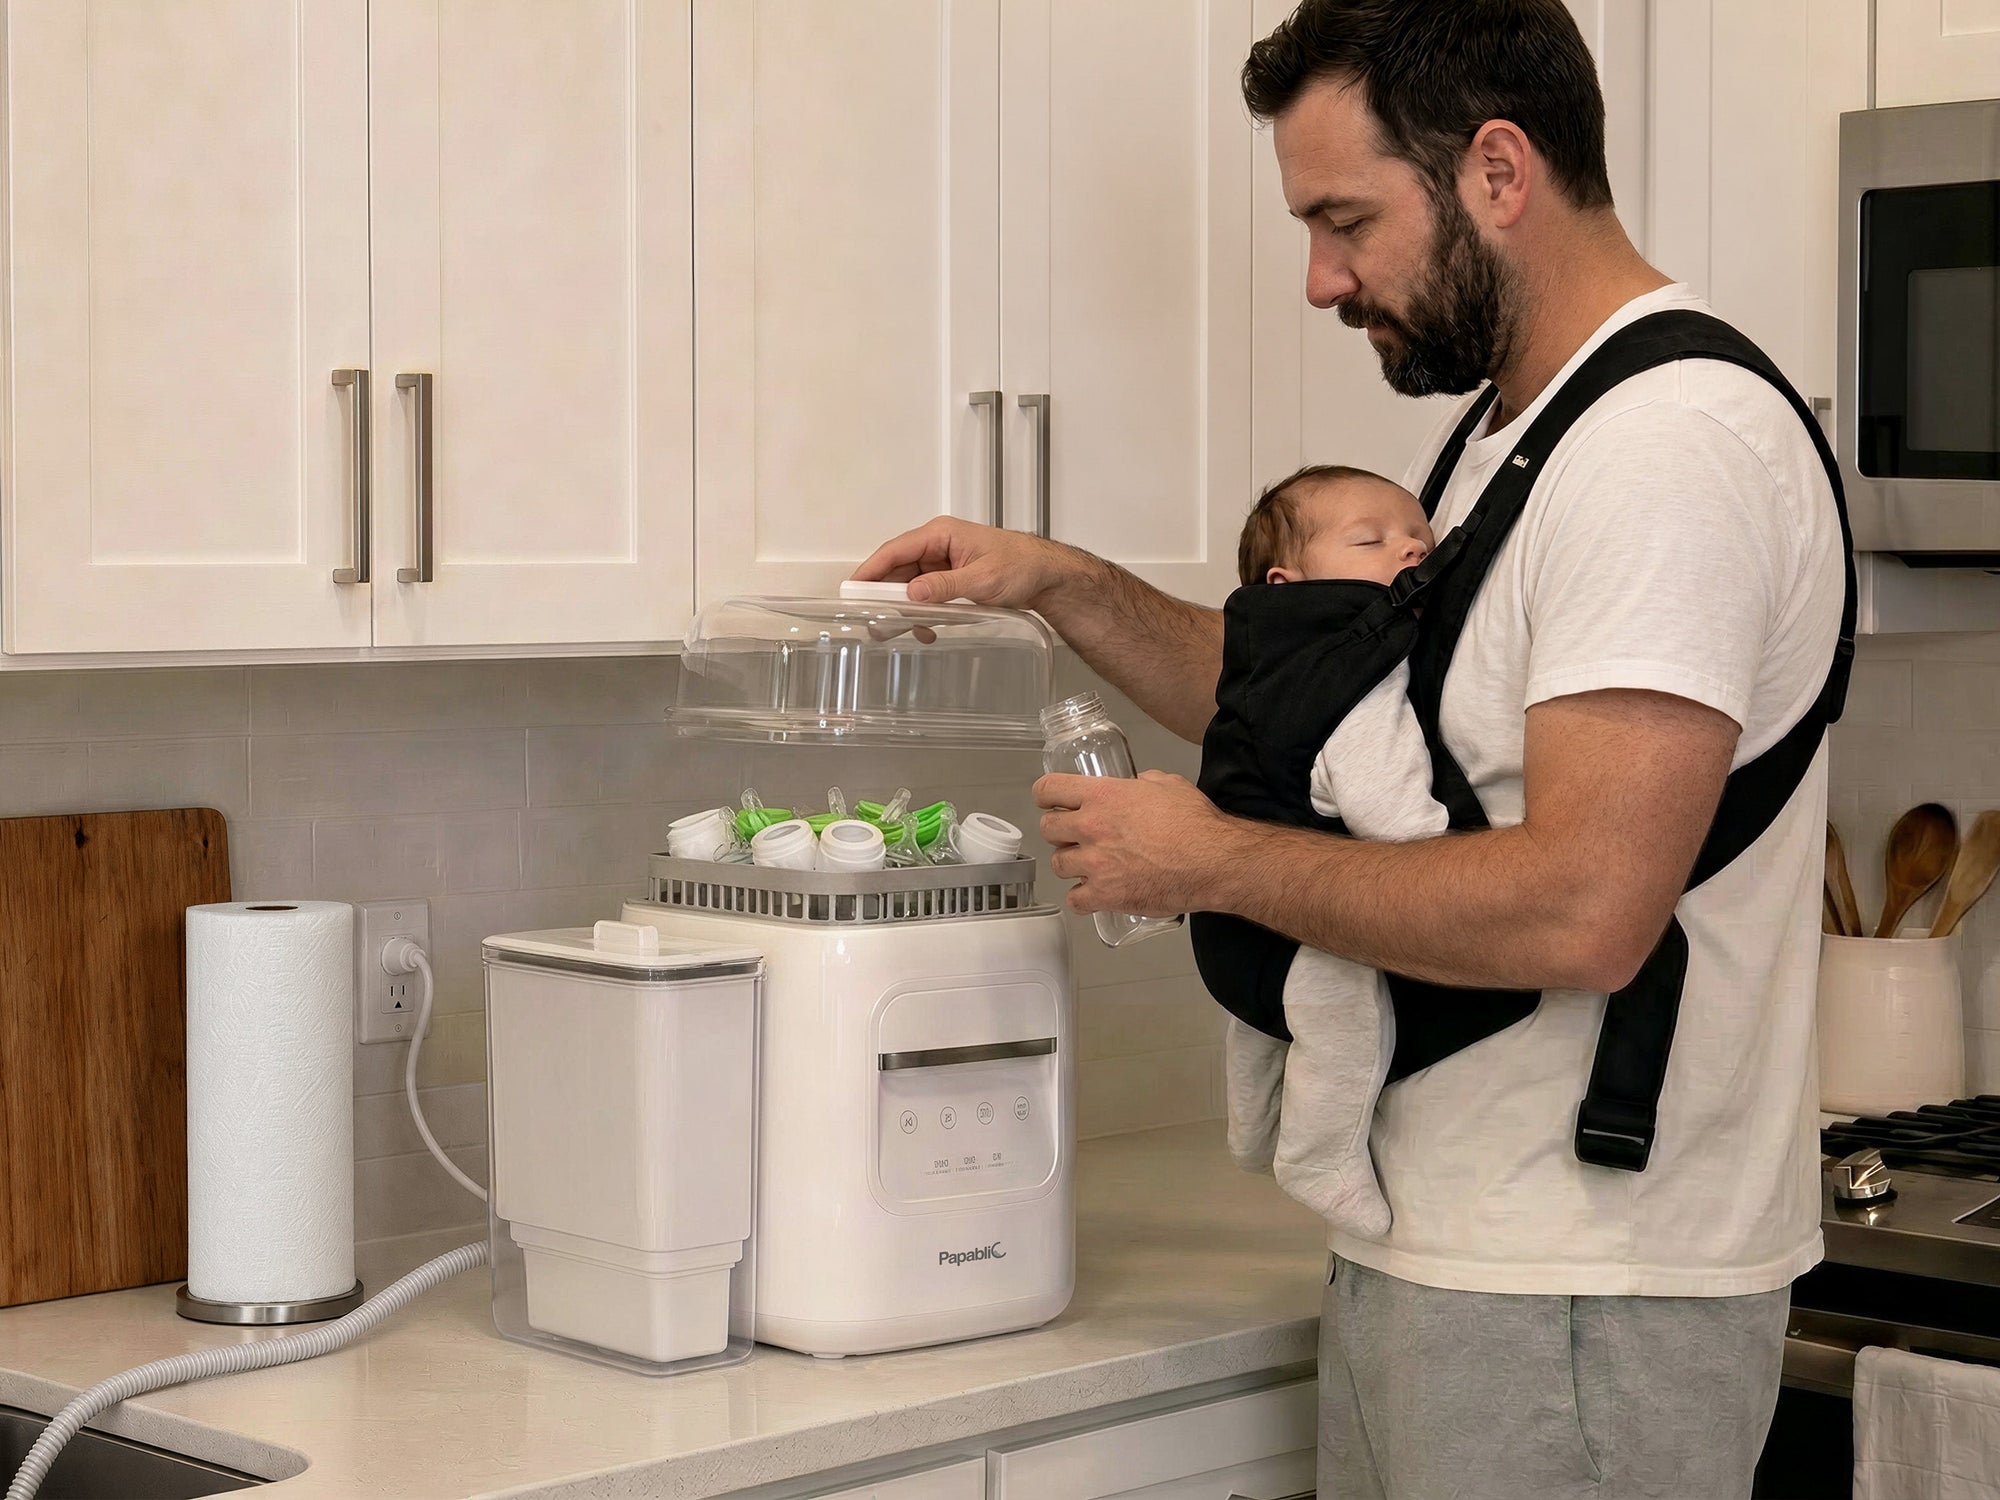
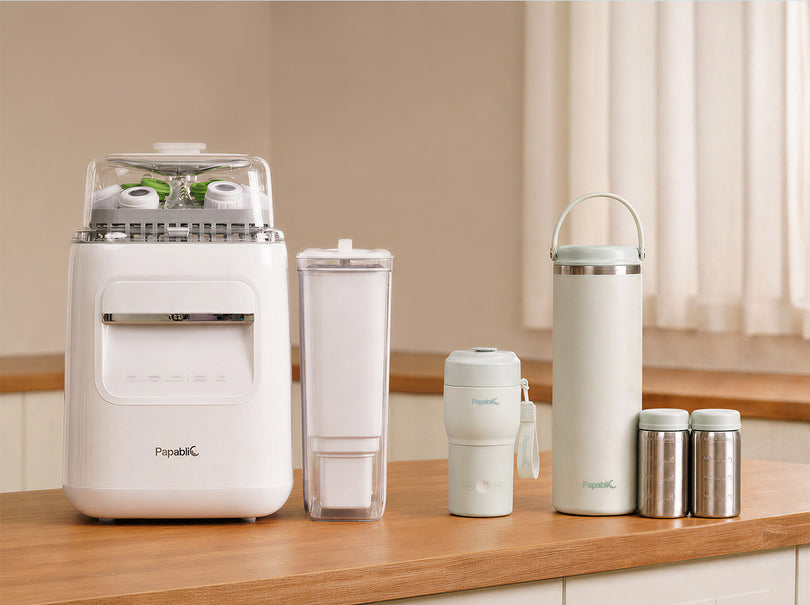
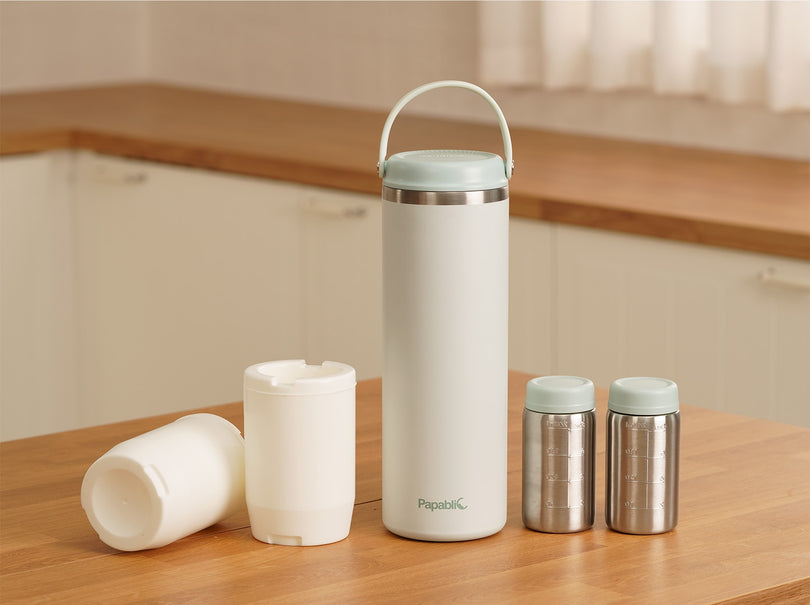
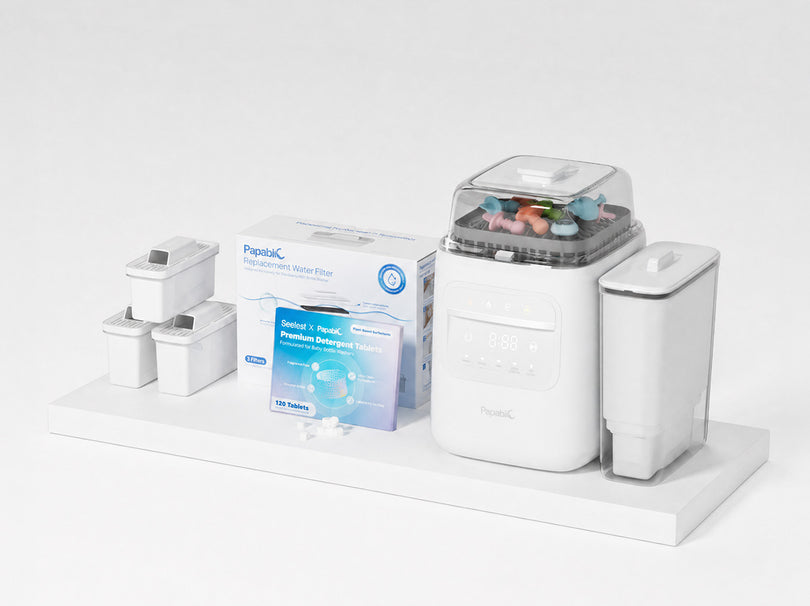
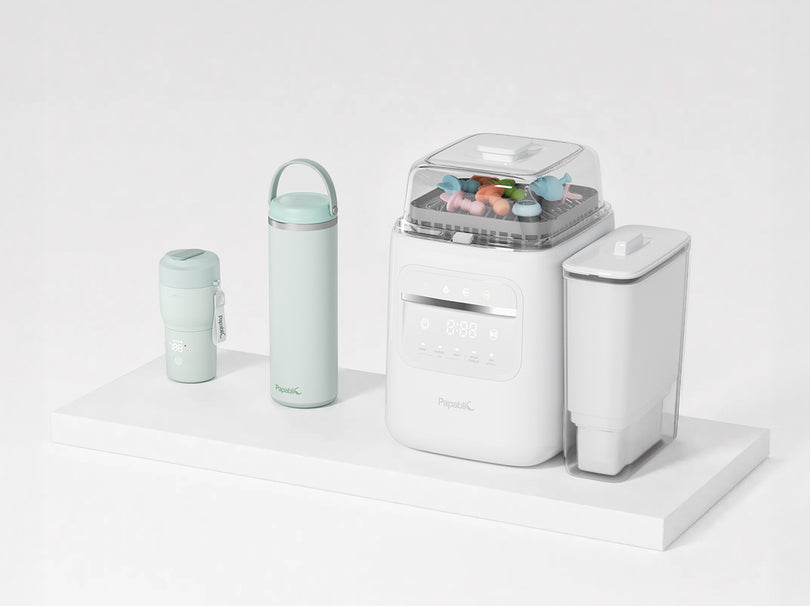
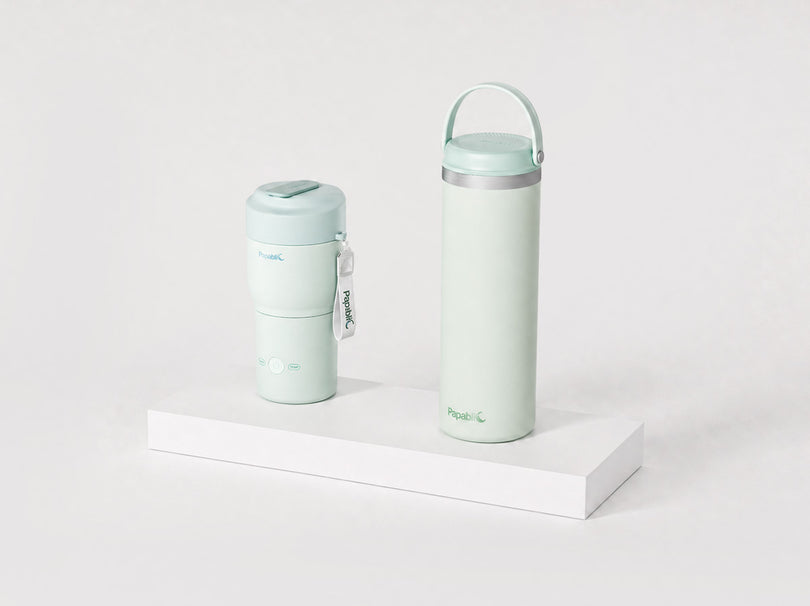
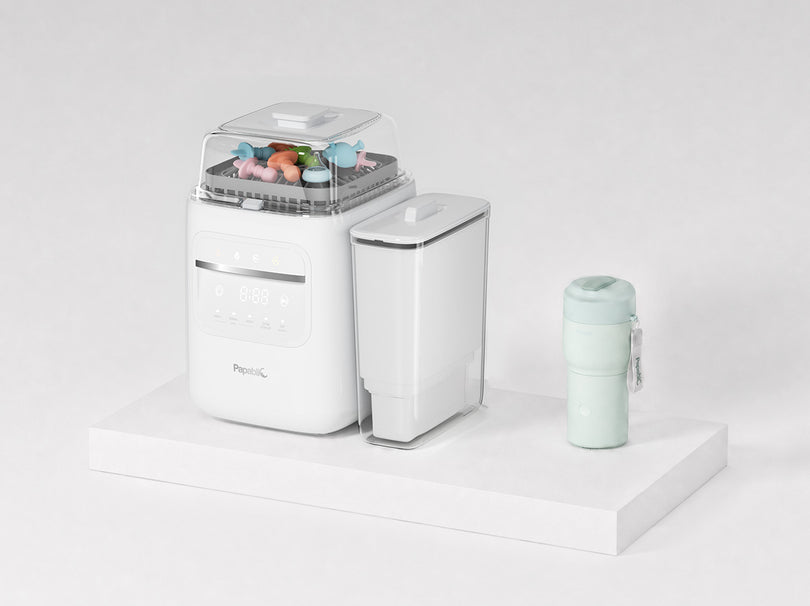
Papablic offers a 4-in-1 All-in-One Bottle Washer that is designed to clean, sterilize, dry, and store in one appliance. Depending on the bundle, the product description also highlights high-capacity use cases such as holding 4+ bottles or 2 full pump kits, and in another listing up to 6 bottles and 2 full pump kits per cycle. It is also designed for one-handed operation with an angled control panel, which can be helpful during postpartum recovery.
Shop: Baby Bottle Washer and Sterilizer Dryer All in One Bottle Cleaner
Step 2: Pre-rinse and fully disassemble parts

Before you load any Baby Bottle Washer, fully disassemble every piece that touches milk. This is the fastest way to prevent hidden residue that can survive a wash.
Use this quick checklist:
- Separate nipples from collars and rings
- Remove anti-colic inserts, vents, and internal straws
- Split pump parts into the smallest manufacturer-approved components
- Open any hinged pieces so water can reach the seams
Then do a short pre-rinse under running water. You are not trying to clean everything by hand. You are simply removing thick milk film so the Bottle Cleaning System can do its job.
For NICU parents, this step is also where you set your safety baseline. The CDC states that feeding items should be cleaned daily, and that sanitizing is recommended daily if a baby is under 2 months old, was born premature, or has a weakened immune system.
Step 3: Load the rack for full spray coverage

How you load the rack often matters more than which detergent you use. Poor loading creates shadowed zones where water and steam cannot reach.
Load using these rules:
- Face bottle openings toward the spray direction so jets can reach inside
- Angle nipples so water can flush through the tip and base
- Keep flanges slightly separated so spray hits the inner walls
- Do not stack small parts on top of each other
If your unit uses a double-stack design, keep heavier parts lower and lighter pieces higher. That prevents top items from flipping and blocking spray.
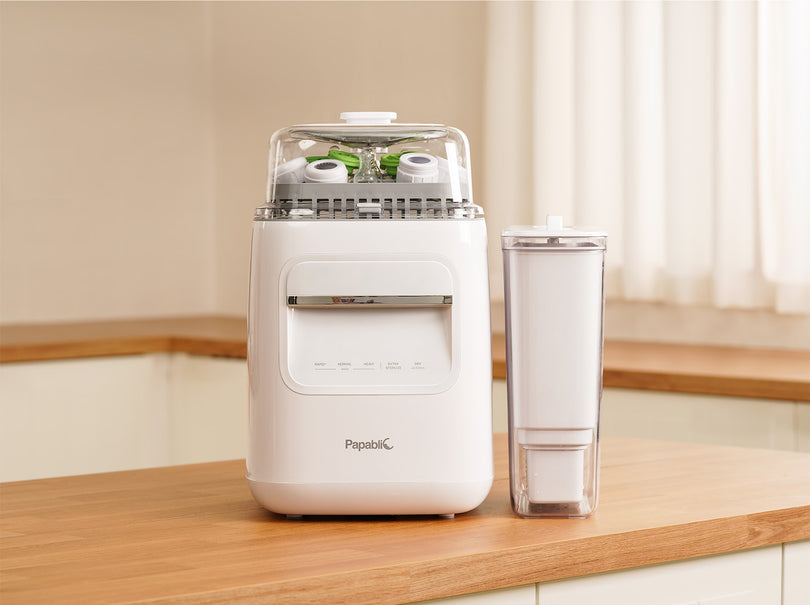
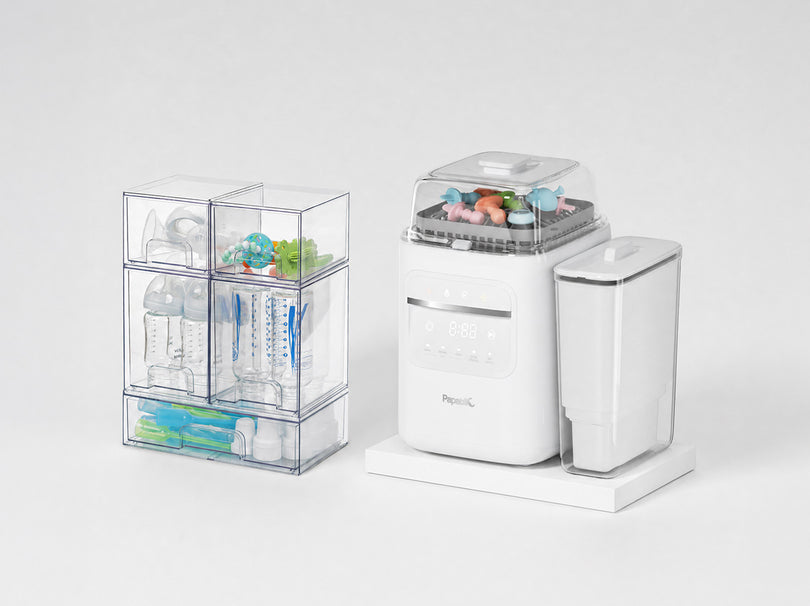
Papablic describes its bottle washer as a compact, high-capacity system, and in one product listing it is paired with language about a double-stack design. When you treat the rack like a coverage map instead of a storage bin, you get more reliable results from every wash cycle.
Step 4: Add detergent and fill water tanks correctly
Detergent choice and water setup decide whether parts come out clean or come out with film. For NICU parents, film is not just cosmetic. Film can trap odors and encourage repeat washing.
Follow these practical rules:
- Use manufacturer-approved detergent tablets when available
- Avoid over-dosing because extra soap can re-deposit on silicone
- If you have hard water, plan for regular descaling
- Fill tanks to the correct level each cycle so wash pressure stays consistent
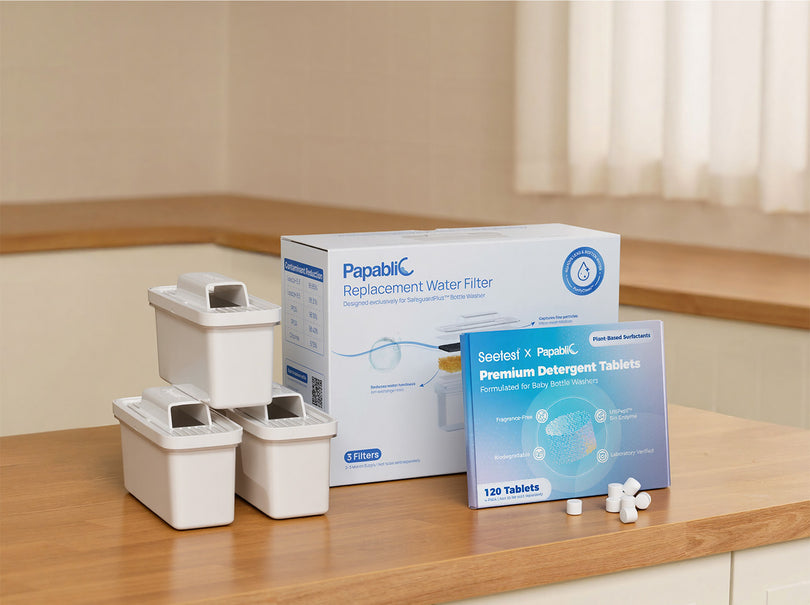
Papablic sells washer bundles that include detergent tablets and descaling tablets, which can make it easier to keep the routine consistent. Descaling is especially important if you notice cloudy residue, reduced drying performance, or persistent odor.
Step 5: Run wash plus steam sterilize
This is where an all-in-one Baby Bottle Sterilizer workflow saves the most time. A combined wash plus Steam Sterilizer cycle reduces the temptation to skip sanitizing when you are exhausted.
For a NICU-style routine, aim for:
- Wash after every feed or pumping session
- Steam sterilize at least daily, or after each feed if your care team requests that
- Dry immediately after sterilizing so moisture does not linger
Papablics all-in-one washer is marketed as a 4-in-1 system that cleans, sterilizes, dries, and stores, and one variant description also mentions performance claims such as precision jets and a 99.99% sterilization claim in a stated time window. Even with an Anti-Bacterial Bottle Sterilizer approach, you should still rely on correct loading, correct detergent, and full drying to complete the safety chain.
If you are using a separate Baby Bottle Sanitizer device, you can still keep the workflow automatic by moving washed parts directly into the steam unit using clean tongs.
Step 6: Dry completely before storage
Drying is not optional. A Fast Drying Baby Bottle Sterilizer or Hygienic Bottle Dryer helps prevent moisture-driven mold regrowth and reduces that sour smell that can show up in valves and collars.
Use these drying rules:
- Do not towel-dry after sanitizing because towels can reintroduce germs
- Keep parts spaced so air can circulate inside bottles and flanges
- Add extra dry time if you see any droplets pooled in bottle bases
The CDC specifically warns against rubbing or patting items dry with a dish towel because it can transfer germs. A Bottle Sterilizer and Dryer setup that
finishes bone-dry is one of the simplest ways to reduce re-work.
If you regularly do night feeds, consider making drying part of the overnight routine so you wake up to a ready-to-use clean set.
Step 7: Store sealed until next use
Once parts are clean and fully dry, storage becomes the final protective step. The goal is to reduce re-contamination from dust, splashes, and kitchen surfaces.
Use a simple system:
- Keep the washer lid closed if your unit supports storage
- Store a backup clean set in a labeled bin with a lid
- Keep clean parts away from diaper stations and sink splash zones
- Reassemble only when parts are fully dry
Some Steam Sterilizer systems advertise that items remain sterile for up to 24 hours when the lid stays closed. That can be convenient, but the safest practical habit is still to treat the closed system as clean storage and to handle items with clean hands only.
What You Will Need Before You Start
Required Tools and Materials
- High-capacity bottle washer.
- Manufacturer-approved detergent tablets.
- Descaling tablets for hard water.
- Dedicated silicone tongs.
- Clean hard-plastic storage bin.
- Extra bottles and pump flanges.
Troubleshooting Guide
| Problem | Cause | Solution |
|---|---|---|
| Cloudy film | Hard water scale/ Excess detergent | Descale cycle / Less detergent / Extra rinse |
| Wet parts | Overcrowded rack/ Poor airflow | Smaller load / Spaced parts / Extra dry time |
| Persistent odor | Trapped milk residue | Full disassembly / Pre-rinse / Wash and steam cycle |
| White flakes | Mineral buildup | Frequent descaling / Distilled water |
| Collapsed nipples | Incorrect placement | Secure positioning / Separated parts / No stacking |
Conclusion
Bringing a NICU baby home is intense. Automation is a survival strategy. You need a reliable routine. Trust a high-quality baby bottle washer. It drastically reduces contamination risks. Keep it ruthlessly simple. Disassemble, pre-rinse, load carefully, and dry completely. Set the machine. Walk away. Spend that time holding your baby.
Official Site: Papablic
Frequently Asked Questions
Best practices for cleaning feeding equipment for immune-compromised infants?
Clean items immediately after each use so residue does not dry onto valves and seams. Fully disassemble every part that touches milk, including anti-colic inserts and pump membranes, because hidden surfaces are where residue lingers. Use a wash plus steam-sterilize routine at least daily, then dry until there are no visible droplets. Store parts covered so dust and splash-back cannot land on clean surfaces.
How to ensure baby bottles are 100% sterile for a premature baby?
Start by making sure bottles are actually clean before sterilizing, because sterilization does not remove milk film. Use a full steam-sterilize cycle and avoid towel-drying because towels can add germs back to the surface. Dry parts completely so moisture cannot support regrowth, especially in collars and caps. Keep bottles sealed or covered until you are ready to assemble and feed.
Is there an automated solution for cleaning baby feeding gear?
Yes. An Automatic Bottle Cleaner can wash, steam sterilize, and dry in one repeatable cycle, which is often easier than managing separate wash and sterilize steps when you are exhausted. Automation also helps you avoid skipping sanitizing or drying when you are rushing between feeds. The key is still correct disassembly and rack loading so water and steam reach every surface.
Is there a device that cleans both bottles and pump accessories together?
Some all-in-one systems are sized to fit bottles plus pump kits in the same cycle. To make this work, you need a rack layout that keeps small valves and membranes from flipping or stacking. If you pump often, consider owning a second pump kit so you can rotate clean sets without rushing a dry cycle. Always confirm that each part is rated as safe for heat, steam, and drying.
How to streamline the nighttime feeding and cleaning routine?
Pre-rinse and disassemble parts right after the feed, then load the machine immediately so you do not face a messy pile in the morning. Keep one clean backup set ready so you can feed first and clean later without stress. If your baby wakes on a predictable schedule, run a cycle after the same feed each night so the routine becomes automatic. In the morning, move dry parts directly into a covered bin so they stay clean.
What is the safest way to dry bottles to prevent mold growth?
Dry until parts are fully bone-dry, including inside bottle bases and under silicone edges. Avoid towel-drying because fabric can transfer germs and leave lint in nipple openings. Space parts so airflow can reach inside, and add extra dry time if you see pooling. Store only when dry, because sealing slightly damp parts is one of the fastest ways to create odor and mold issues.