
Introduction
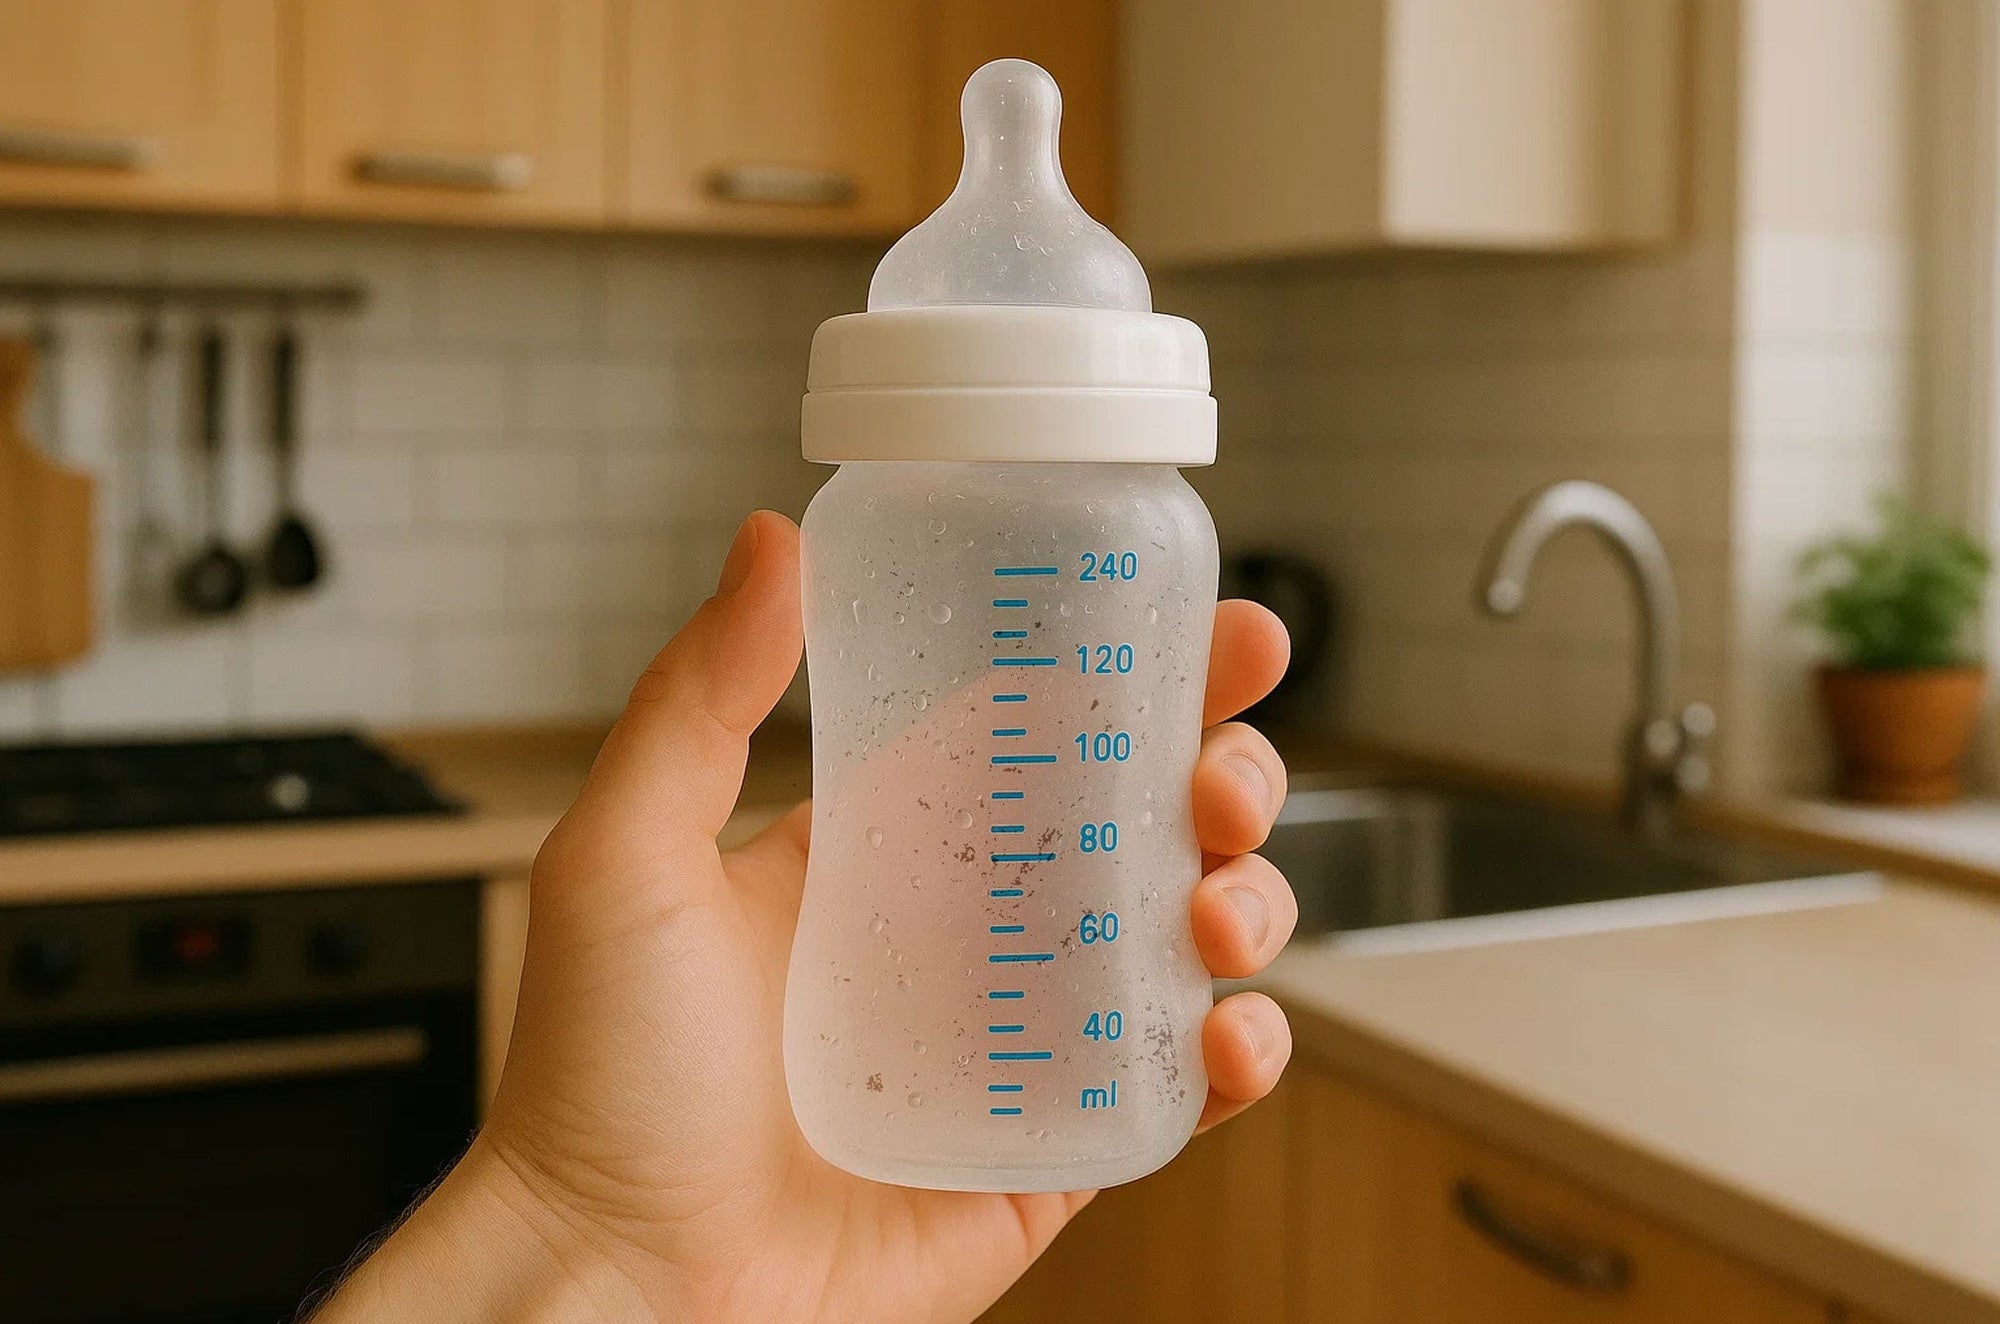
You are halfway through a midnight feed when you notice that sour milk film smell again, and you realize the nipple ring still has residue tucked under the threads. Now you are stuck re-washing while your baby gets more upset, and you are wondering if that quick rinse you did earlier is why your little one is suddenly gassy or flaring with sensitive-skin redness.
Getting cleaning wrong can cost you sleep, pump output, and peace of mind, especially for NICU parents and new parents who cannot afford rework. This guide gives you a simple, repeatable workflow: wash first, then sanitize when it matters, then dry completely so you are not storing moisture. Follow the steps below, then lock a routine you can run on autopilot with a Baby Bottle Washer, a Steam Sterilizer, and a Hygienic Bottle Dryer mindset.
Official Site: Papablic
Step-by-Step Guide: Clean, Sanitize, and Dry Feeding Gear
Step 1: Set a clean wash zone

Start by claiming a small, repeatable space: one dedicated basin (or a clean insert), one brush, and one drying area that never touches raw-food prep. In real life, this is what stops you from washing pump valves next to a cutting board or setting nipples on a damp dish towel. If you are washing in a shared sink, scrub the sink first, then place your wash bin inside it so the feeding items never directly touch the sink surface.
To make this zone sensitive-baby-safe, keep it boring and consistent. Use fragrance-free soap, keep a clean bottle brush that you do not use for anything else, and store clean tools dry (not soaking in cloudy water). This is the foundation for baby Care routines that you can actually maintain at 2 a.m.
Step 2: Disassemble everything fully
Before water touches anything, take the feeding gear completely apart. That means separating nipples, rings, vent pieces, anti-colic inserts, and every pump valve and membrane. If you only wash the outside, milk proteins can cling under threads and inside tiny vents, and that is where odor and buildup keep coming back.
Use a quick staging pattern so you do not lose parts:
- Left side of the counter: dirty parts
- Middle: disassembled piles (one bottle set per pile)
- Right side: cleaned, ready-to-sanitize parts
For NICU parents or anyone using Breastfeeding Equipment daily, treat this step like a checklist. When you consistently disassemble, your Baby Bottle Cleaner effort in Step 3 actually reaches the surfaces that matter.
Step 3: Wash with hot, soapy water
Wash is the main event. Fill your dedicated basin with hot water and dish soap, then scrub every milk-contact surface: bottle threads, nipple bases, collar rings, and pump flanges where milk can splash and dry. Use a small brush or a dedicated detail brush for vents and valve corners, because those are the most common “still smells weird” spots.
After scrubbing, rinse thoroughly with clean running water. If you see any slippery film or smell anything sour, re-wash that part now. Sanitizing does not fix residue; it only reduces germs on already-clean surfaces. CDC notes that cleaning removes germs and that you should clean before you sanitize or disinfect because dirt can reduce how well germ-killing steps work. (cdc.gov)
If your baby has very sensitive skin, treat “soap choice” as part of Baby Safety: use a fragrance-free, dye-free option and avoid heavy degreasers that can leave a scent behind.
Step 4: Sanitize for higher-risk babies
Sanitize after washing when your baby is at higher risk (for example, very young, born prematurely, or medically fragile) or when your household has had a recent illness. For many NICU parents, a daily sanitize step is a reasonable default because it reduces lingering germs after a proper wash.
Pick one sanitize method and standardize it:
- Steam Sterilizer or Bottle Washer with Sterilizer cycle: simplest day-to-day
- Dishwasher sanitize cycle: works if parts are dishwasher-safe
- Boiling: effective, but adds handling and time
CDC specifically calls out that proper cleaning after each use is especially important for infants younger than 2 months, born prematurely, or with a compromised immune system. (cdc.gov)
Practical tip: sanitize in batches timed to your inventory. If you only own 4 bottles, you cannot run a long cycle at noon and still have a clean bottle at 2 p.m. Build your rhythm around what you actually have.
Step 5: Dry completely before storage
Drying is not cosmetic; it is how you prevent that “clean but musty” smell and avoid storing moisture where germs can persist. After washing and sanitizing, place items on a clean rack and let them air-dry fully. Do not rub dry with a kitchen towel that might transfer germs back onto the parts.
If you need speed, use a Bottle Sterilizer and Dryer or a Hygienic Bottle Dryer function so you are not waiting half a day for valves to dry. The rule is simple: if you trap moisture in a closed container, you are giving odor and bacteria a head start.
For Newborn Essentials storage, use a breathable bin or a clean container that stays dry inside. If you ever see droplets after storage, you need either a longer drying time or better spacing on your rack.
Step 6: Run an all-in-one wash system

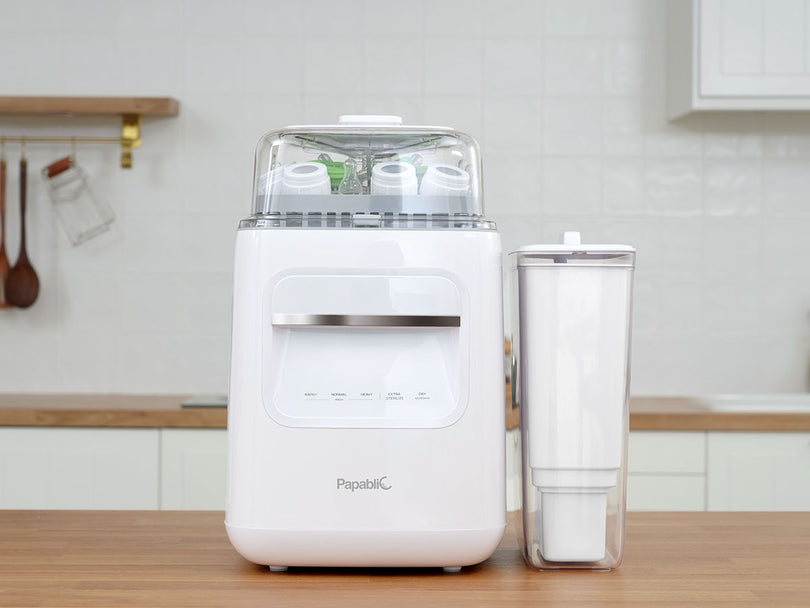
When your days are nonstop, the biggest risk is not that you do not care. The risk is that you skip steps because you are tired. An all-in-one Baby Feeding Bottle Washer helps by turning “wash, sanitize, dry” into a single repeatable button-push.
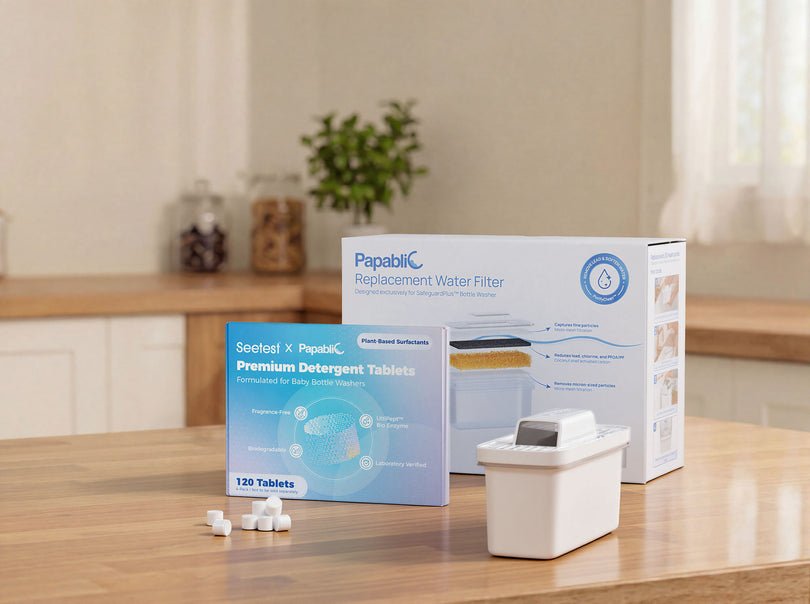
The Papablic SafeguardPlus™ Baby Bottle Washer System is designed as a 5-in-1 Bottle Cleaning System and lists built-in PurifyClean™ water purification, upgraded capacity for 8 bottles and wearable pumps, and 72-hour hygienic storage. It is built to reduce 99.99% of harmful germs and uses 100% baby-safe materials. That matters for sensitive babies because you reduce hand-to-part contact, avoid towel drying, and keep clean items enclosed after the cycle.
Load it with intention:
- Point bottle openings toward jets and avoid nesting
- Keep small parts in the accessory area so they do not flip over
- Do not overcrowd; spacing is what makes both washing and drying reliable
Shop: Papablic SafeguardPlus™ Baby Bottle Washer System
Scenario Variations: Adapting Your Approach
If you are a NICU parent or your baby is medically fragile
- Sanitize every cycle, not “when you remember.”
- Keep a dedicated wash basin and brush only for Feeding Essentials.
- Use enclosed dry storage so parts stay clean between feeds.
If your baby has sensitive skin or eczema flares
- Use fragrance-free, dye-free soap and rinse longer.
- Avoid scented “antibacterial” dish liquids that linger.
- Prioritize full drying so no damp odor transfers.
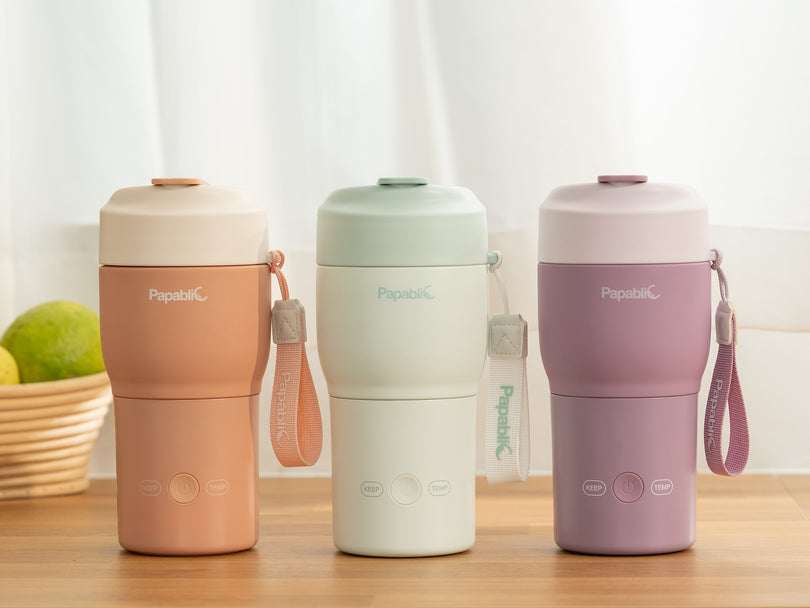
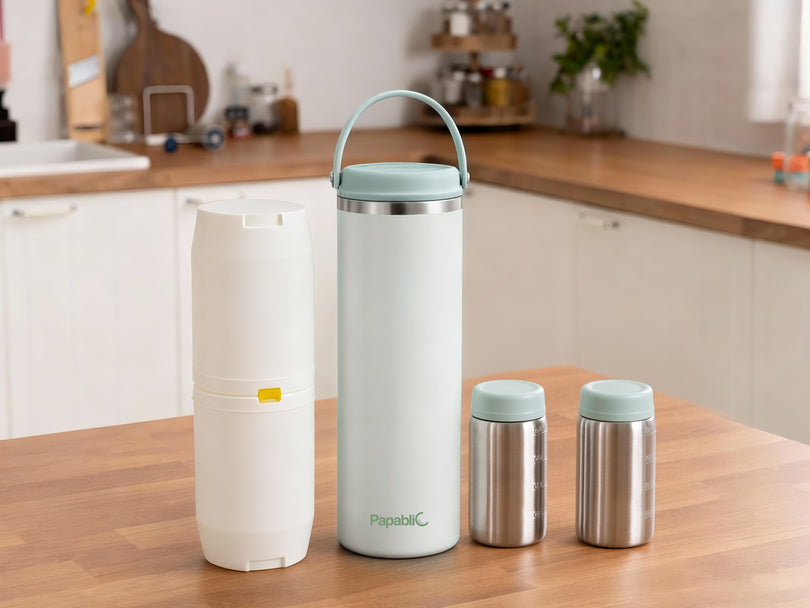
If you are traveling with Bottle Warmers

- Wipe the exterior and cap threads after each use.
- Keep the inside dry between warming sessions.
- Pack a small dry bag so “clean” parts stay separated.
Shop: Papablic Portable Bottle Warmer & Sterilizer Pro
If you are pumping multiple times per day
- Clean valves and membranes after every session.
- Do not let milk dry on parts; rinse right away.
- Batch sanitize once or twice daily, depending on risk.
Safety Considerations
- Prevent steam burns: open lids away from you
- Keep cords and hot units off edges
- Confirm heat-safe parts: check manufacturer labels
- Do not mix bleach and other cleaners
- Wash hands before handling sanitized items; CDC notes alcohol hand sanitizer should contain at least 60% alcohol when soap and water are not available. (cdc.gov)
Troubleshooting
| Problem | Cause | Solution |
|---|---|---|
| Cloudy silicone | Hard water mineral film | Descale; hot rinse |
| Sour smell remains | Milk trapped in threads | Disassemble; detail scrub |
| Parts still wet | Overcrowded load | Re-rack; longer dry |
| Soap smell on nipples | Too much detergent | Use less; rinse longer |
| White flakes on bottles | Scale buildup | Descale cycle; wipe seal |
If odor keeps returning, re-check Step 2 and Step 3 first. In most cases, the issue is a missed vent piece or a collar ring that never got scrubbed. Also, confirm your drying step: storing even slightly damp parts inside a closed bin is a common cause of “clean but smells off” within 24 hours.
If you are using a Bottle Washer with a Sterilizer function and drying is inconsistent, reduce the load size and avoid stacking. Spacing is what allows spray and airflow to do their jobs.
Conclusion
A sensitive-baby-safe routine in 2026 is not about doing more steps. It is about doing the right steps in the right order: wash first, sanitize smart for your risk level, and dry completely before storage. Once you standardize the zone, the disassembly habit, and the load pattern, you cut down on rewash cycles and you get back time.
If you want the routine to run with fewer touchpoints, an all-in-one Baby Bottle Washer and dryer-style workflow can help you keep Feeding Essentials consistently clean, especially during the first months when sleep is scarce.
Official Site: Papablic
FAQ
Do I need to sanitize bottles every day?
Yes, if your baby is high-risk, daily sanitizing is a practical default after you wash thoroughly. If your baby was born prematurely, is under about 2 months, or has immune concerns, keep the sanitize step in your routine because it adds a safety buffer. For older, healthy babies, consistent washing plus full drying is often the bigger win than occasional deep sanitizing. If you choose to sanitize less often, do not skip disassembly and detail-scrubbing.
Is it safe to use wipes on pump parts between sessions?
Wipes can help in the short term when you are away from a sink, but they do not replace washing for parts that touch milk. If you must use wipes, remove visible milk first and keep parts in a clean, sealed bag until you can wash. For high-risk babies, plan on washing pump parts after every use because milk residue can support germ growth. When you get home, run your normal wash, sanitize, and dry workflow before reusing.
What is the difference between washing and sanitizing?
Washing physically removes milk, oils, and visible residue using soap, water, and scrubbing. Sanitizing (including a Steam Sterilizer cycle) reduces remaining germs after washing, but it does not work well on dirty parts. If you only sanitize without washing well, trapped milk film can protect germs and leave odors behind. The best routine is always to wash first, then sanitize when your baby or your situation calls for it.
How do I avoid soap residue on nipples and bottles?
Use the smallest amount of soap that still cuts the milk film, then rinse longer than you think you need to. Pay extra attention to nipple tips, collar rings, and bottle threads, because those areas hold suds. If you use a Baby Bottle Washer, avoid overdosing detergent and do not overcrowd, because packed loads can trap soap solution. Finally, let parts fully dry before storage so any remaining moisture does not concentrate residue.
Why do bottles still smell after cleaning?
Smell almost always means residue is still present somewhere you did not reach. Fully disassemble and scrub the hidden zones: vent inserts, under rings, inside caps, and the first few thread turns on the bottle neck. If you have hard water, mineral film can also hold odor, so add a descale step and rinse hot. After cleaning, make sure everything is truly dry before you seal it in a bin or bag.