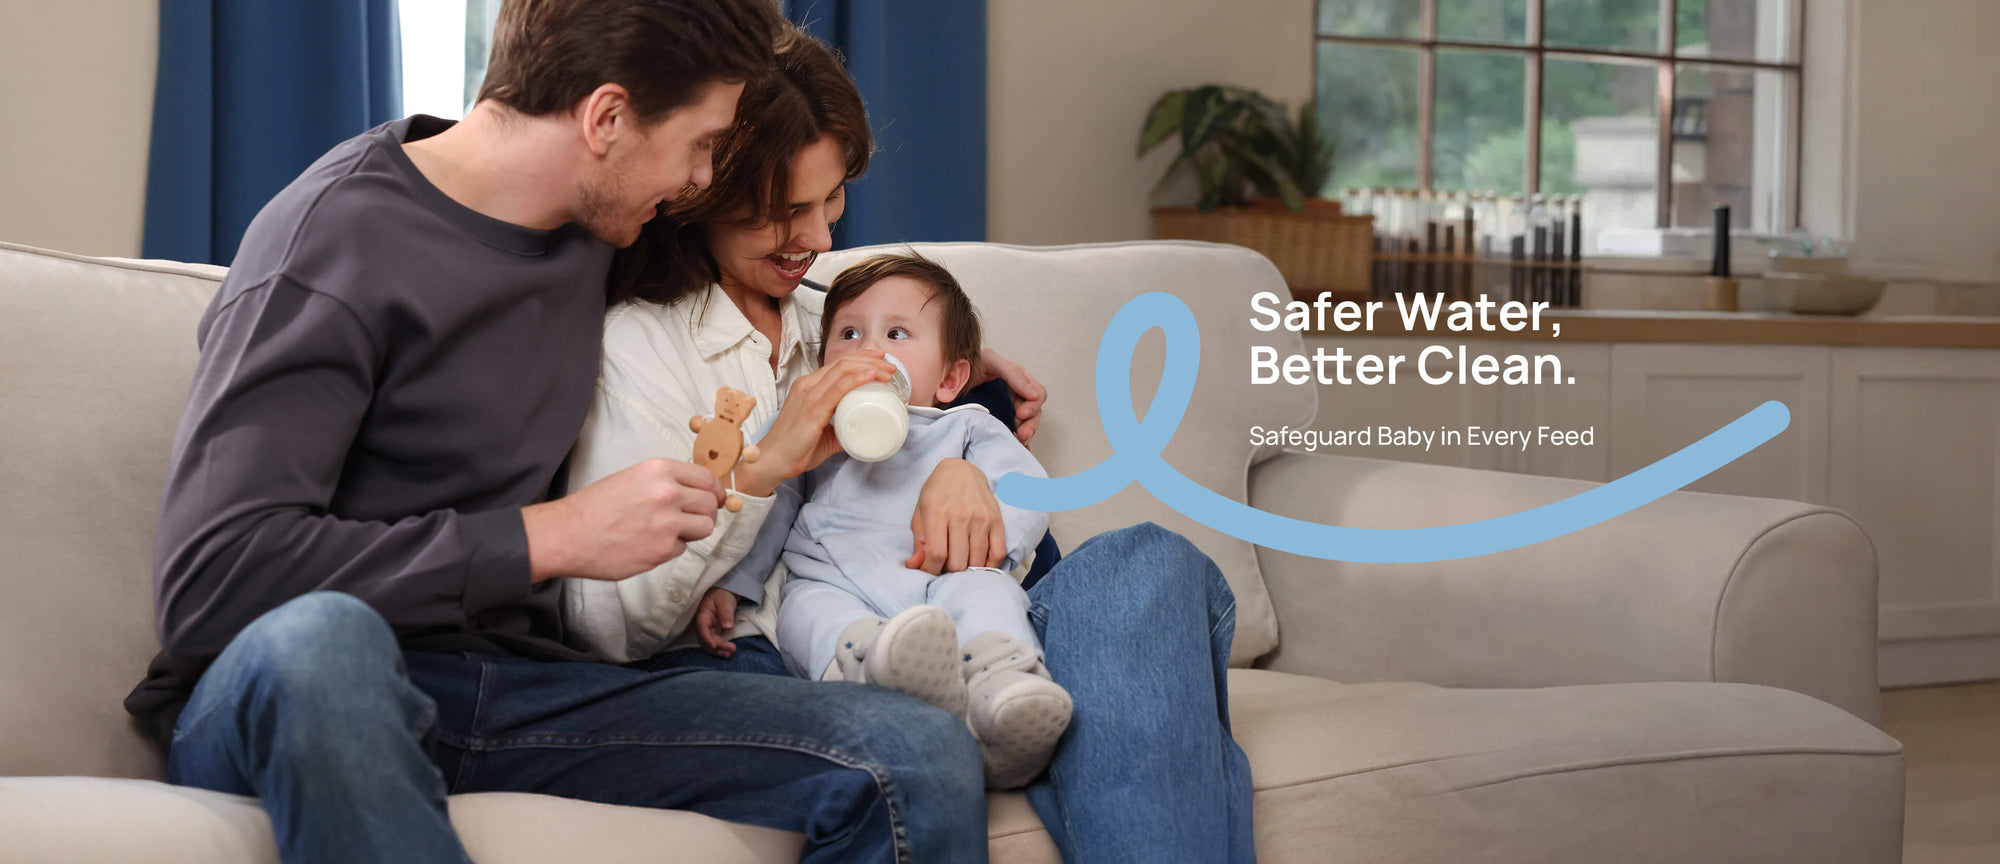

Introduction
Tired of staring at a sink full of bottles at midnight, wondering if you actually cleaned the tiny valves well enough, or if you are about to rewash everything just to feel safe? When you are running on low sleep, the hardest part is not the scrubbing, it is the mental load: second-guessing your routine, hunting for dry parts, and trying to keep "clean" and "dirty" from mixing.
Pick the wrong setup and you can lose time, lose sleep, and still end up with wet parts on a towel that never fully dries. This list breaks down the automated options that truly work (dishwasher, hand-wash plus sanitizing, and all-in-one stations), then shows a simple way to build an All-in-One Feeding Solutions routine that fits new parents and NICU parents who need repeatable hygiene.
What Cleaning Options Actually Work Best?
If you are feeding with formula, breastmilk, or pumping, the winning setup is the one you can run consistently twice a day without improvising. In practice, most "bottlr washer" searches are really about three different jobs:
- Wash: remove milk film and residue (the step that prevents smells).
- Sanitize/sterilize: reduce germs after washing (the step that lowers anxiety).
- Dry and store: get parts fully dry so they do not sit damp (the step that keeps tomorrow easy).
Where parents get stuck is assuming these steps are interchangeable. A Steam Sterilizer or Baby Bottle Sanitizer can be great, but it does not solve residue if you did not wash well first. On the other side, washing without reliable drying can leave you with clean-but-wet parts that still feel risky to store.
Option 1: Dishwasher plus sanitize cycle
This is the "already own it" automatic bottle cleaner option, and it works best when your bottles and pump parts are explicitly dishwasher-safe.
- Best for: busy new parents who already run one dishwasher load daily
- Workflow: pre-rinse if needed, load parts in a top rack or basket, choose heated dry/sanitize
- Key tool: a small-parts basket for valves, membranes, and rings
- Trade-off: you may not get baby-only separation, and items can come out wet depending on plastics and the dry setting
The reason this option feels safe is consistency: a hot wash plus heated dry can reduce the need for separate sanitizing in many everyday situations. The CDC notes that using a dishwasher with hot water and a heated dry or sanitize setting can make a separate sanitizing step unnecessary.
Option 2: Hand-wash plus daily sanitizing
If your parts are delicate, or you want maximum control (common for NICU parents), hand-wash plus a daily Baby Bottle Sterilizer cycle can be a strong, repeatable plan.
- Best for: NICU parents, premature babies, or anyone who wants a baby-only basin routine
- Setup: a dedicated wash basin, a bottle brush, and a separate sanitize/dry step
- Habit that matters: fully disassemble nipples, valves, and threads before washing
- Trade-off: it is easy to get interrupted and lose the "clean zone"
If you want an extra-safety baseline, especially for first use, boiling remains a standard method. The FDA states you can boil bottles and parts for 5 minutes before first use.
Option 3: Countertop washer-sterilizer-dryer
This is the "one button" baby botter washer category: a countertop Bottle Washer with Sterilizer that automates wash, sanitize, and dry in one place.
- Best for: families doing multiple bottles per day plus pump parts
- Why it helps: less sink contact, fewer touch points, fewer towels and drying racks
- What to check: capacity (bottles plus pump kits), drying strength, and storage-after-dry
- Trade-off: it takes counter space and you need to keep up with maintenance (descaling, filters, tablets)
For many families, this option is the most realistic way to keep a repeatable routine when life is chaotic.
Option 4: Boiling or steam-only sterilizers
This option is often misunderstood. A Quick Bottle Sterilizer (steam-only) can reduce germs, but it does not replace washing.
- Best for: backup sanitizing, travel disruptions, power outages, or "first use" resets
- Useful for: parents who already wash well but want an extra Anti-Bacterial Bottle Sterilizer step
- Trade-off: you still need a washing method and a plan for drying
If your biggest pain point is wet parts, focus on a Fast Drying Baby Bottle Sterilizer or Hygienic Bottle Dryer feature rather than just steam time.
Papablic Picks: The Simplest Way to Automate
If you want a Smart Baby Bottle Station mindset, think in terms of a "station" that supports your whole day: wash, sanitize, dry, store, and warm without moving parts around your kitchen. That is the core idea behind Papablic: safer, simpler routines designed for real feeding volume and real parent fatigue.
Papablic was founded in 2017 with a practical mission: build innovative, reliable tools that help parents reclaim time and confidence in daily feeding routines. For first-time parents (and especially NICU parents), automation only matters if it is repeatable, easy to load, and easy to trust.
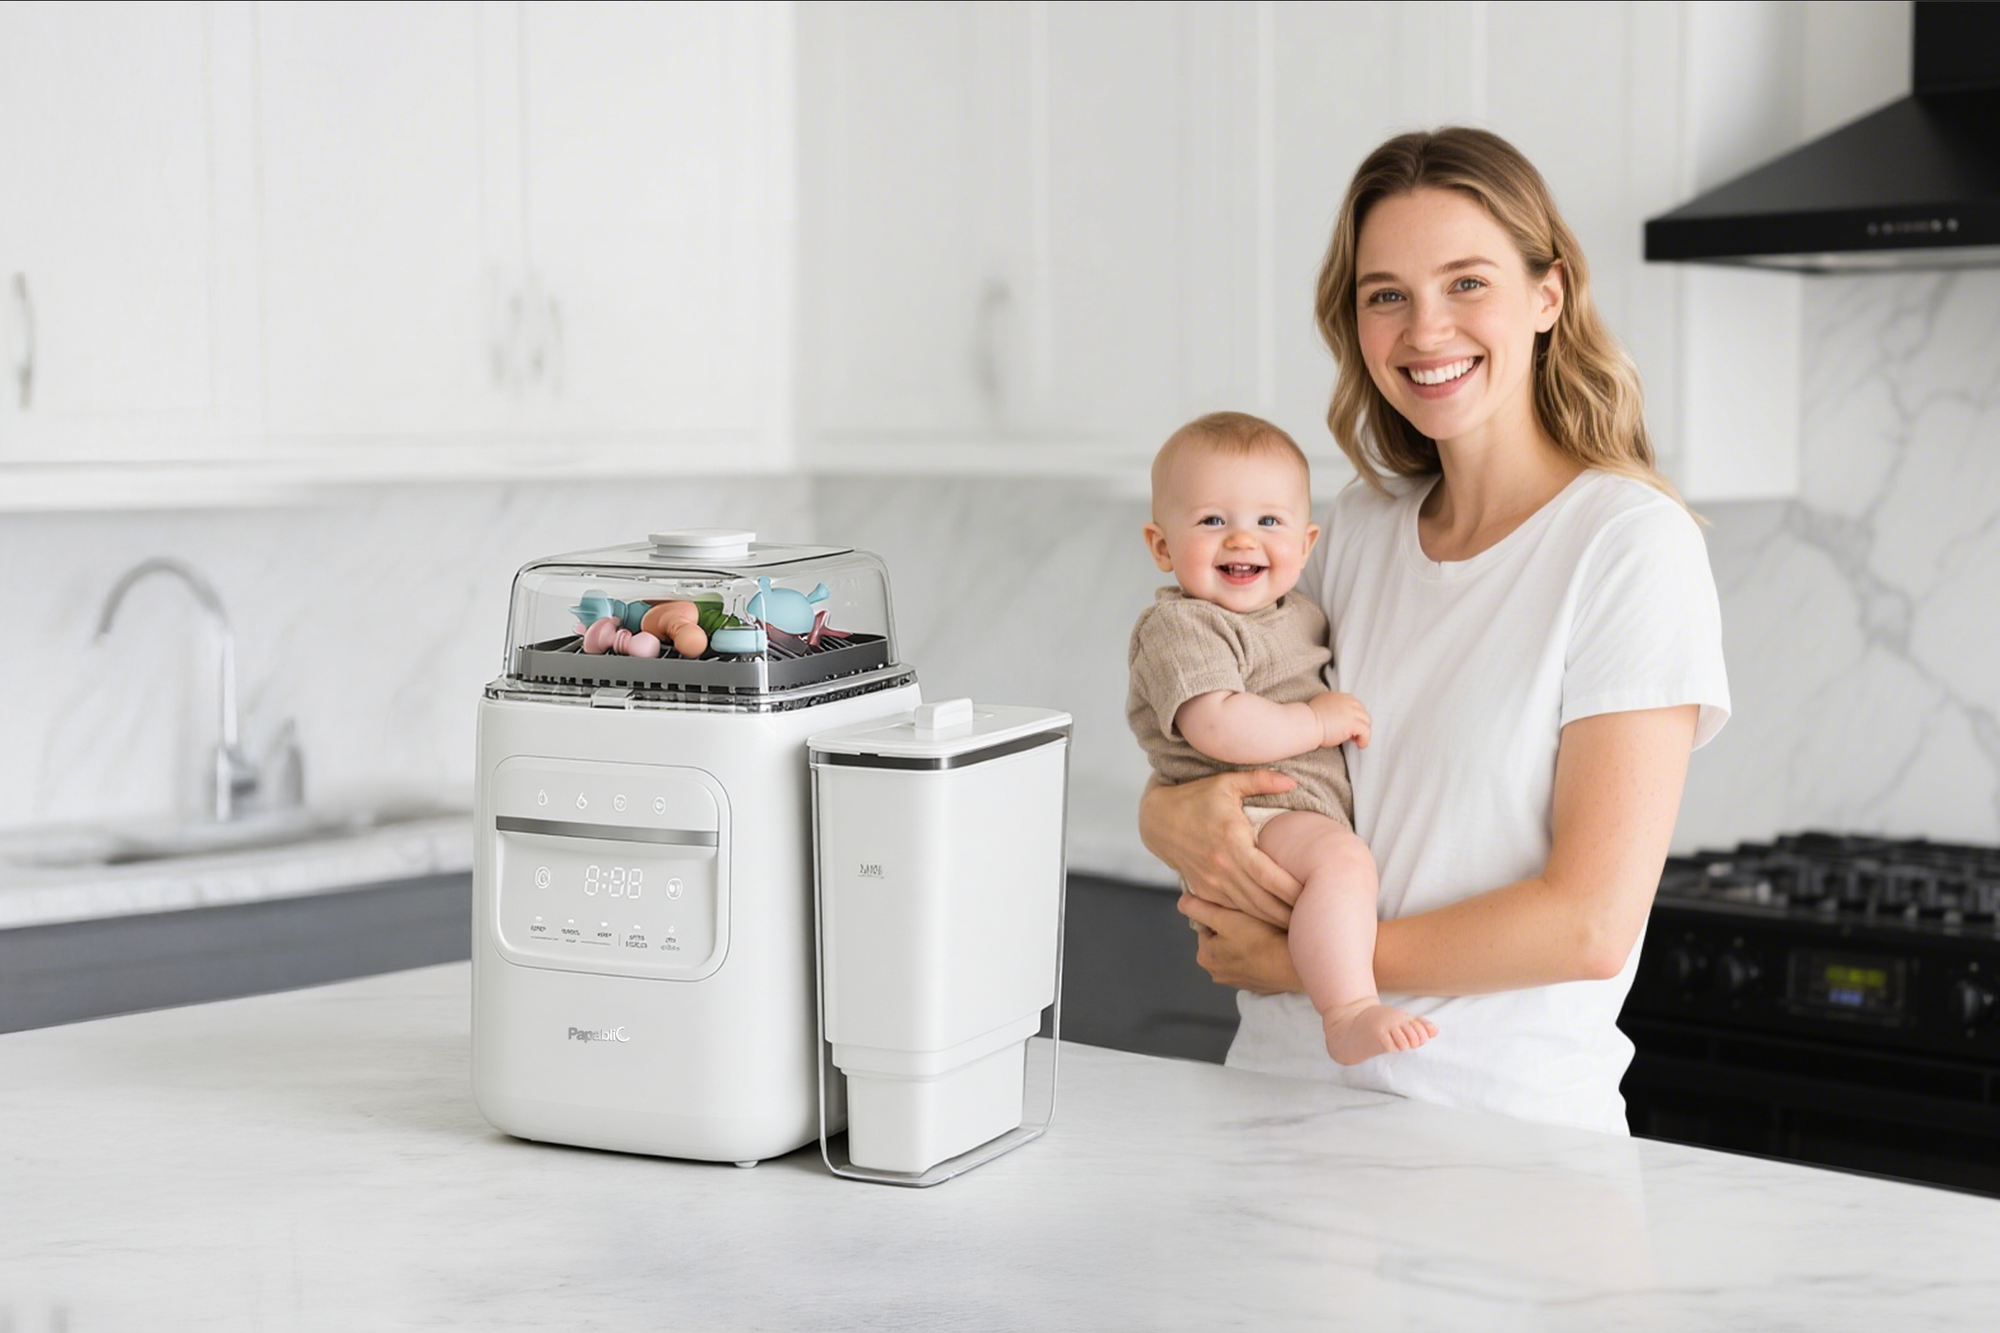
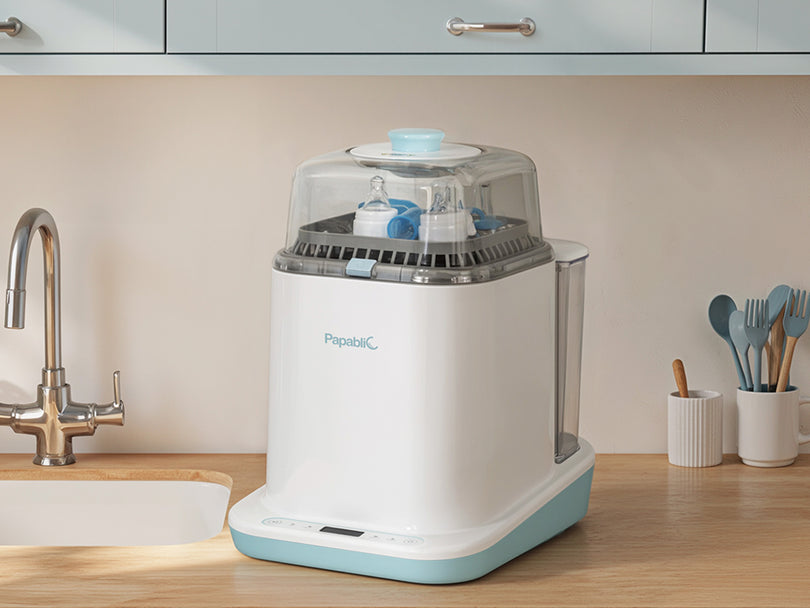
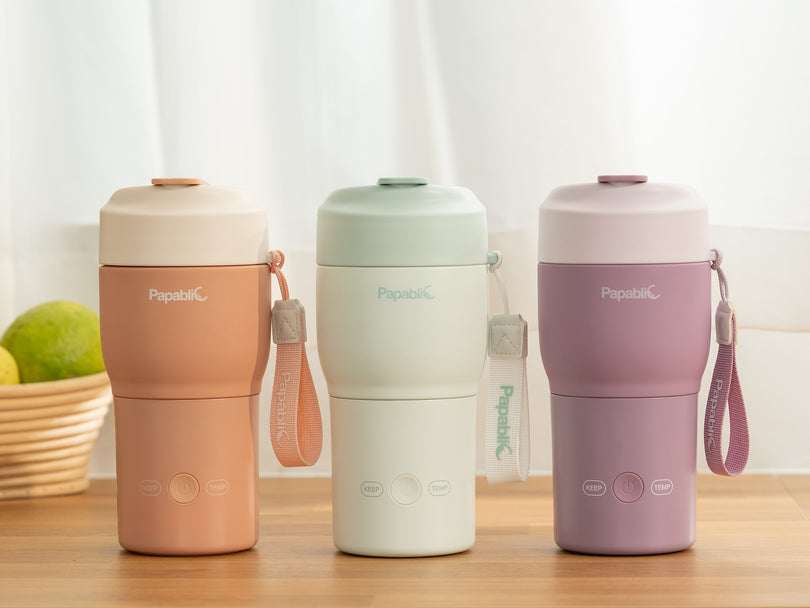
1: Papablic Baby Bottle Station

- Best for: a single counter hub that turns "clean parts" into "ready to feed"
- Built around: a station mindset (cleaning plus warming plus storage flow)
- Good for: new parents who hate hunting for a dry bottle at night
- Works well when: you want fewer separate gadgets across the kitchen
- Routine fit: supports a predictable morning and night reset
- Trade-off: you are committing to a dedicated feeding footprint
Why it wins: If you want All-in-One Feeding Solutions without building a complicated routine from scratch, a station-style approach reduces steps and reduces rework. You spend less time moving parts between sink, rack, sterilizer, and warmer, so you are more likely to stay consistent.
Shop: SafeguardPlus Baby Bottle Station
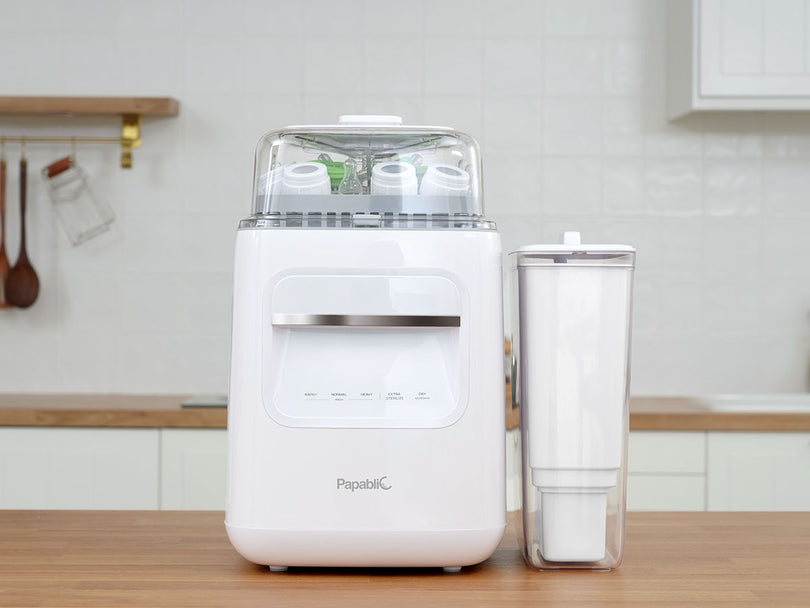
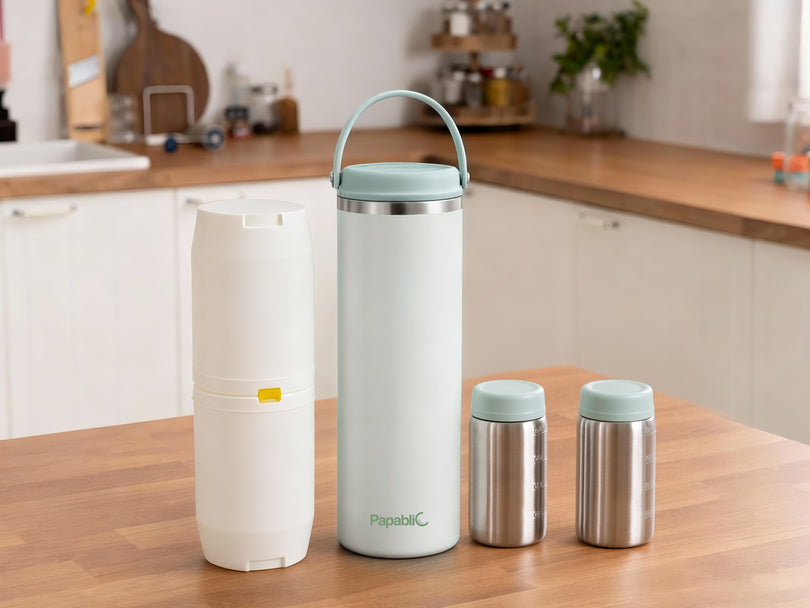
2: Papablic SafeguardPlus™ Baby Bottle Washer System

- Best for: parents who want the most safety-focused Baby Feeding Bottle Washer workflow
- Standout upgrade: built-in water purification that targets lead, PFAS, and hard minerals
- Capacity focus: designed for higher volume (the page calls out a larger capacity for bottle sets and pump parts)
- Cleaning coverage: 360-degree deep clean design aims to reach curves and corners
- Drying focus: "twice the drying power" positioning for fully dry storage-ready parts
- Maintenance reality: the filter has a replacement cadence and reminders (replace every 30 wash cycles per the on-page FAQ)
Why it wins: This is the "safety-first" option when your biggest worry is not just time, but the repeatability of Baby Bottle Disinfection plus dry storage. For NICU parents, a consistent wash-sanitize-dry cycle you can run daily is often easier to follow than a multi-step sink routine.
Shop: Papablic SafeguardPlus™ Baby Bottle Washer System
3: Papablic Portable Bottle Warmer and Sterilizer Pro

- Best for: a Portable Baby Bottle Warmer routine when you are away from your kitchen
- Warming speed claim: heats 4 oz in about 2.5 minutes (positioned as fastest warming)
- Hygiene feature: built-in sterilization cycle with a 6-minute claim to reduce germs and smells
- Practical controls: multiple temperature selections and USB-C fast charging positioning
- Use-case: travel bottle warmer needs, daycare handoffs, car feeds, or hotel nights
- Trade-off: portable devices require charging discipline and a learning curve for your preferred volume and target temperature
Why it wins: If your feeding stress spikes outside the house, a battery operated bottle warmer that also supports a hygiene step can reduce "what if" anxiety. It is not replacing your main bottle cleaning system, but it can make on-the-go feeds feel more controlled.
Shop: Papablic Portable Bottle Warmer & Sterilizer Pro
Buying Guide: How to Choose Your Setup
Start with the bottleneck you feel every day. If you dread scrubbing, your problem is washing. If you keep finding wet nipples at the worst time, your problem is drying. If you are a NICU parent and your stress comes from uncertainty, your problem is repeatability.
A simple decision rule that works in real kitchens:
- If you already run a dishwasher daily and parts are safe: start there.
- If you do not trust your drying results: prioritize a Hygienic Bottle Dryer or an all-in-one system.
- If you want fewer touch points and a Baby Feeding System workflow: consider a countertop all-in-one bottle washer.
Key factors that change the outcome
- Cycle type: washer only vs Bottle Washer with Sterilizer
- Drying method: heated dry vs passive air dry
- Capacity: bottles per load plus pump kits
- Storage: can you keep parts dry inside
- Handling: how many times you touch parts
- Maintenance: filters, tablets, descaling cadence
Practical tips before you buy
- Keep a second set of nipples and valves so you are not forced into a rushed wash.
- Use a small-parts basket so membranes and valves do not disappear.
- Build a clean zone: one tray or mat that only clean parts touch.
Common mistakes to avoid
- Mixing clean and dirty zones on the same towel
- Storing parts while they are still damp
- Running a sanitize cycle on parts that still have milk film
- Skipping full disassembly (threads and valves hold residue)
Authority evidence to anchor safety choices
If you are trying to decide how far to go with sanitizing, anchor your routine in trusted safety guidance rather than vibes. The CDC notes that hot-water dishwashers with heated drying or sanitize settings can reduce the need for a separate sanitizing step, which is why many new parents do well with a dishwasher-first plan when parts are compatible.
For higher-risk situations (including first use, or when your care team wants extra precautions), boiling remains a straightforward option. The FDA states bottles and parts can be boiled for 5 minutes before first use, which is an easy "reset" step if you want to start from a clean baseline.
Comparison Table: Which option fits your day?
| Option | Automation | Sanitize | Dry | Effort |
|---|---|---|---|---|
| Dishwasher + sanitize | High | Yes (cycle dependent) | Mixed | Low |
| Hand-wash + Steam Sterilizer | Medium | High | Mixed | Medium-high |
| All-in-One Bottle Washer | Highest | Built-in | Strong | Low |
Conclusion
If you want the most consistent outcome with the least daily friction, an all-in-one Baby Bottle Washer approach usually wins because it reduces handling, improves drying, and keeps your routine predictable. If you are optimizing for budget and already run a dishwasher often, a dishwasher plus a disciplined small-parts setup can be "good enough" for many families. If you travel often, pairing your home cleaning station with a Portable Bottle Warmer can keep your feeding rhythm from falling apart outside the house.
Official Site: Papablic
FAQ
How often should I sanitize bottles if my baby was in the NICU?
Sanitize at least daily if your baby was in the NICU, unless your pediatric care team recommends a stricter schedule for your specific situation. Focus on a repeatable wash-sanitize-dry routine, because inconsistency is where most gaps happen. If you are doing multiple feeds per day, consider sanitizing after the last big wash cycle so parts can dry completely overnight. If any part stays damp, extend drying time or switch to a method that reliably dries before storage.
Is a dishwasher enough, or do I still need a steam sterilizer?
A dishwasher can be enough if it runs hot and you use a heated dry or sanitize setting, and if every feeding part is dishwasher-safe. The bigger risk is process gaps: tiny parts falling out of place, leftover milk film, or parts coming out wet and getting stored anyway. A steam sterilizer becomes more helpful if your dishwasher results are inconsistent, you need a baby-only workflow, or you want a dedicated Bottle Sterilizer and Dryer step. Many new parents choose a countertop all-in-one system mainly to reduce handling and improve drying.
What is the difference between washing, sterilizing, and drying?
Washing removes residue and visible soil using water flow plus detergent action, which is what prevents smells and buildup. Sterilizing or sanitizing is a second step that reduces germs further using heat or another approved method after washing. Drying matters because moisture left on parts can create its own storage problem, especially in threads, nipples, and valves. If you skip drying or store parts while damp, you can undo the benefit of your sanitizing step.
Can I clean breast pump parts and bottle parts together?
You can clean pump parts and bottle parts together if every piece is compatible with the same wash and heat method. The practical challenge is keeping small components secure so water reaches all surfaces and nothing gets lost. Use a small-parts basket and fully disassemble membranes, duckbill valves, and connectors before loading. After the cycle, do a quick count and visual check so you do not miss a piece that could affect suction or hygiene.
Why do bottles sometimes smell even after a wash cycle?
A lingering smell usually comes from trapped residue in threads, silicone parts, or narrow channels rather than the bottle body. Disassemble everything and scrub the areas that water jets often miss, especially rings, nipples, and valves. Smell also shows up when parts are stored slightly wet, because dampness can turn into a musty odor over time. If odor keeps coming back, rotate in a second set of nipples/valves and increase drying time until parts are fully dry before storage.
What should I look for in an automated baby bottle washer?
Look for a machine that matches your daily volume, fits your most-used bottle shapes, and reduces the number of manual steps you personally tend to skip. Prioritize drying performance, because "clean but wet" parts often create the next round of frustration. Check how it handles pump kits and small parts, since those are the components most likely to hold residue. If you are a NICU parent, prioritize repeatability: a clear wash-sanitize-dry cycle you can run daily without guessing.