


Introduction
You finally get your baby back down after a midnight feed, then you look at the table: bottles, nipples, rings, pump parts, and that one valve you know will vanish if you blink. You start scrubbing anyway because dried milk film turns into a gluey mess, and if you miss a crease, you will worry about it for the next feeding.
That stress has a real cost: lost sleep, inconsistent cleaning, and higher germ risk when you are rushing (especially for new parents and NICU parents). This guide shows you six practical ways to cut handwashing time using repeatable routines and smarter tools like a Baby Bottle Washer, a Steam Sterilizer, and a Hygienic Bottle Dryer. Start with Step 1 and layer on the methods that fit your kitchen and feeding style.
How-To Steps
Step 1: Build a rinse-and-load routine
The fastest way to stop scrubbing later is to prevent residue now. Right after a feed, do a quick rinse on every part that touched milk: bottle, nipple, ring, vent pieces, and any pump connectors. You are not trying to deep clean yet; you are just knocking off the milk layer before it dries and clings.
If your workflow is chaotic, make it idiot-proof:
- Keep a dedicated wash bin next to the sink
- Rinse with warm water for 5 to 10 seconds
- Drop parts into the bin or directly into your washer basket
- Run a full cycle once you hit your daily batch
This single routine change reduces stuck-on film, which is what turns a 30-second rinse into 10 minutes with a bottle brush. It also sets you up for automation, whether you rely on a dishwasher, an Automatic Bottle Cleaner, or an All-in-One Bottle Washer later in this guide.
Step 2: Switch from sink to dishwasher when it makes sense
If your bottles are dishwasher-safe, let your dishwasher do more of the work. Load bottles upside down on the top rack and keep nipples and valves secured (Step 3 shows how). Then use the hottest cycle you normally trust for food-contact items, plus heated dry or a sanitize option if your machine has it.
This matters because the dishwasher can remove the boring, time-consuming part: repeated scrubbing with a Baby Bottle Cleaner brush. The key is consistency: if you only run the dishwasher every other day, you will still end up handwashing at 2 a.m.
According to the CDC, if you use a dishwasher with hot water and a heated drying cycle (or sanitizing setting) to clean infant feeding items, a separate sanitizing step is not necessary. That is a huge time saver for many new parents.
Step 3: Use a closed basket for small parts (so nothing gets lost or half-cleaned)
Small parts are where time disappears. If you have ever rewashed a whole load because a nipple flipped upright and filled with dirty water, you already know the problem.
Do this instead:
- Use a closed-top dishwasher basket or fine-mesh holder
- Group each bottle set together (nipple, ring, vent)
- Place pump membranes and duckbills in their own section
- Always load the same layout so you can spot missing pieces
This step is less about buying more gear and more about stopping rework. When tiny parts stay contained, water jets reach them more evenly, and you do not have to hunt for a valve in the filter at the bottom of the dishwasher.
Step 4: Move to an all-in-one bottle washer for your daily baseline

If you are still spending serious time at the sink, this is usually the turning point: replace the manual scrub workflow with an All-in-One Bottle Washer that can wash, sterilize, and dry in one repeatable cycle.
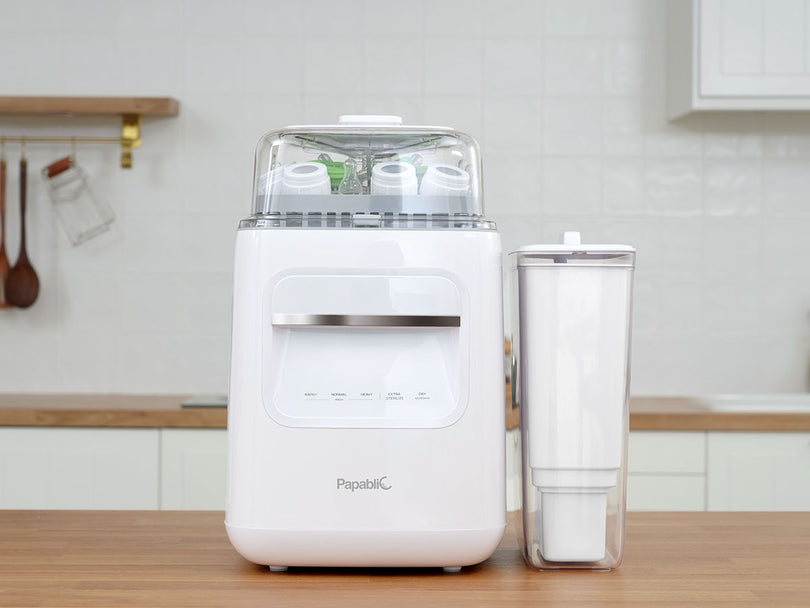
A dedicated Baby Bottle Washer is designed around bottle geometry and feeding parts, so you are not improvising rack positions the way you do in a dishwasher. For example, the Papablic SafeguardPlus Baby Bottle Washer System is built as a 5-in-1 Bottle Cleaning System that runs through filter, wash, sterilize, dry, and store. It is also designed with upgraded capacity for up to 8 bottles plus wearable pumps, which helps you batch clean once or twice per day instead of handwashing after every feed.
What makes a true time difference is not just washing. It is getting to dry and ready-to-use parts without a counter full of drippy pieces. The SafeguardPlus also emphasizes a 72-hour hygienic storage function and a deep-clean approach meant to reach tight corners (helpful for valves, rings, and bottle neck threads).
Shop: Papablic SafeguardPlus™ Baby Bottle Washer System
Step 5: Add steam sterilizing for NICU-level peace of mind (when you actually need it)

If your baby is premature, under closer medical guidance, or you are simply following a NICU parent's routine, daily sanitizing can be part of your baseline. The goal is to make that extra hygiene step automatic, not another manual chore.
If you are using a Bottle Washer with Sterilizer, run a wash plus sterilize cycle once per day (or per your care team). If you are using a dishwasher, confirm you are using hot water plus heated dry or sanitize, and keep your loading consistent so water reaches every surface.
The FDA specifically recommends cleaning feeding items after each use, and notes that using a dishwasher with hot water and a heated drying cycle (or sanitizing setting) is an effective option. FDA also emphasizes handwashing and safe handling around infant formula, which matters because good sanitation is a full workflow, not just one machine cycle.
If you use Papablic SafeguardPlus™ Baby Bottle Washer as your daily Automatic Bottle Cleaner, you can build a simple rule: daytime feeds get rinsed and loaded, and the final load of the day runs the full clean, sterilize plus dry sequence so you wake up to ready bottles.
Shop: Papablic SafeguardPlus™ Baby Bottle Washer System
Step 6: Lock a clean, dry storage zone so you stop re-washing
Most parents do not waste time because they cannot clean bottles. They waste time because clean parts get re-contaminated. A pacifier touches the counter. A nipple drops into the sink. A bottle dries halfway, then smells musty.
Make storage boring and predictable:
- Only reassemble parts when they are fully dry
- Store dry parts in a lidded bin or closed cabinet
- Keep the drying zone away from diaper changes
- Do not stack damp rings inside bottles
If you use an All-in-One Bottle Washer with a storage mode, treat that chamber as part of your hygiene system. On busy days, leaving fully dried parts protected for the next feed can prevent the spiral of re-washing, re-drying, and losing track of what is clean.
Scenario Variations
For NICU parents
- Run a daily sanitize cycle as a default.
- Prioritize fully dry parts before storage.
- Batch pump parts with bottles to avoid gaps.
For a small kitchen or shared counter space
- Set up a compact Smart Baby Bottle Station zone: one wash bin, one basket for small parts, and one towel or tray.
- Batch twice per day so the counter clears quickly.
For travel days (or long outings)
- Prep a clean bottle set in a sealed container.
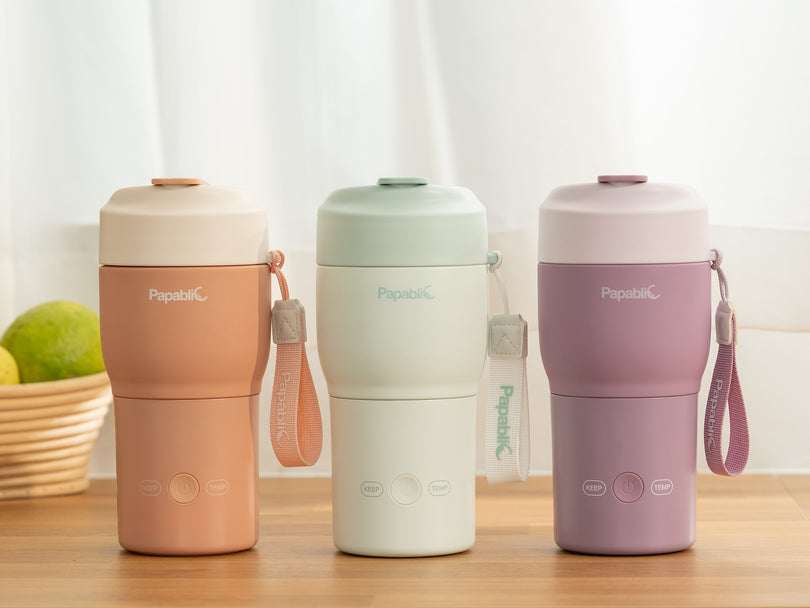
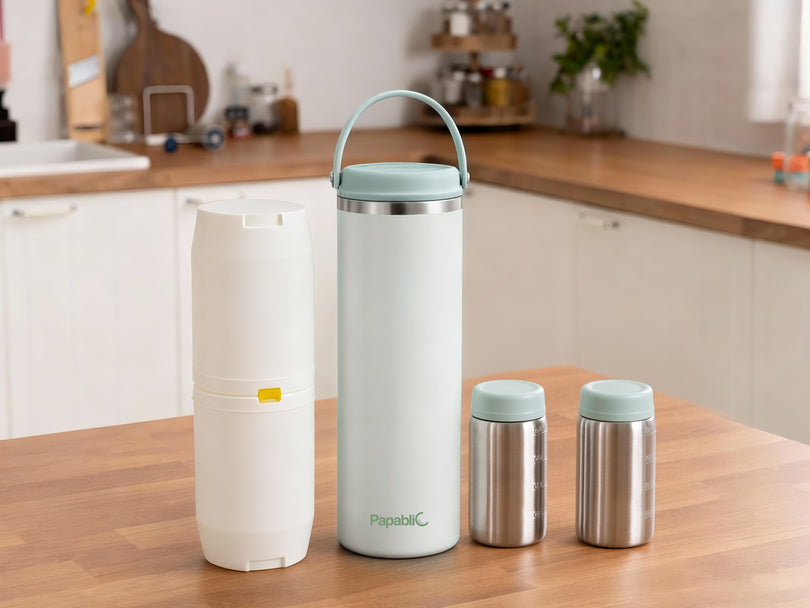
- Use a Portable Bottle Warmer or an On-the-Go Bottle Warmer plan so you do not need a sink.
Prerequisites & Safety
Required Tools & Materials
- Dishwasher-safe bottles and parts (if using dishwasher)
- Closed-top small parts basket or mesh holder
- Bottle brush for rare backup scrubs
- Dedicated wash basin for feeding items
- Unscented dish soap (no heavy fragrance)
- Clean drying surface or rack
- Optional: Baby Bottle Washer (All-in-One Bottle Washer)
Safety Considerations
- Wash your hands before handling feeding items and formula.
- Keep feeding parts away from diaper areas and dirty sponges.
- Fully dry parts to reduce odor and mold risk.
- Replace worn nipples, valves, and seals on schedule.
- If your baby is higher-risk, follow your pediatrician or NICU discharge guidance for sanitizing frequency.
Troubleshooting
| Problem | Cause | Solution |
|---|---|---|
| Cloudy film | Hard water minerals | Run vinegar rinse cycle |
| Milk smell | Moisture trapped in valves | Disassemble, extend drying |
| White scale | Limescale buildup | Use purified/low-TDS water |
| Leaks after washing | Valve not seated | Refit, replace worn valve |
| Parts feel tacky | Too much detergent | Reduce detergent, extra rinse |
If you are dealing with hard water, consider adjusting your water approach because it affects both cleaning time and re-cleaning time. On the Papablic SafeguardPlus™ Baby bottle washer system, the built-in PurifyClean water purification is designed to remove contaminants (including lead and PFAS) and soften water to reduce mineral scale. Papablic also notes filter replacement about every 30 wash cycles, which helps keep performance consistent when you are running daily loads.
Shop: Papablic SafeguardPlus™ Baby Bottle Washer System
Conclusion
You do not have to accept the nightly sink marathon as part of newborn life. The fastest wins come from rinsing immediately, batching loads, and using a contained basket so small parts stop creating rework. Then, if you want to reclaim even more time, a Baby Bottle Washer or Bottle Washer with Sterilizer turns cleaning into one repeatable button-push routine.
Pick two methods you can actually repeat when you are tired, and standardize them for your whole household. When your workflow is consistent, your bottles stay cleaner, your counter stays clearer, and you get back minutes that matter.
FAQ
Is a dishwasher enough to clean baby bottles?
Yes, a dishwasher can be enough if your bottles and parts are dishwasher-safe and you run hot water with heated dry or a sanitize setting. Load bottles upside down so water drains, and secure nipples and valves in a closed basket so jets can reach them. Avoid overcrowding because stacked parts can trap dirty water. If your baby is higher-risk (for example, many NICU parents), you may still choose to add a daily sanitizing cycle for peace of mind.
How often should I sanitize bottles for a newborn?
For higher-risk babies, sanitizing at least daily is a common routine, especially during the early weeks. Build sanitizing into your last load of the night so you wake up to fully dry, ready parts. If your baby is healthy and your cleaning method already uses hot water and a thorough dry cycle, you may not need to sanitize after every single feed. When in doubt, follow your pediatrician's guidance because risk level varies by baby and situation.
Do I need to hand-wash before using a bottle washer?
Usually, you do not need to handwash first as long as you rinse right after the feeding and load items correctly. The rinse step prevents milk from drying into a sticky film, which is what forces scrubbing later. For heavy residue (for example, a bottle that sat for hours), a quick pre-rinse and a higher-intensity cycle are typically enough. Keep parts separated so spray reaches all surfaces, especially inside nipples and under rings.
What is the fastest way to dry bottle parts?
The fastest reliable method is a heated drying cycle that moves warm air through the load, because it dries internal threads and small crevices better than passive air drying. Separate all parts before drying so moisture cannot hide in valves and vents. If you air-dry, use a clean rack with good airflow and do not reassemble until everything is fully dry. A consistent dry routine also reduces lingering milk odor.
How do I avoid losing tiny bottle parts?
Use a closed basket or fine-mesh holder every time, even if you are in a hurry. Assign each bottle to its own section so you can confirm the nipple, ring, and valve are present at a glance. Always load the same way so missing parts stand out immediately when you unload. If you frequently lose one specific part, keep a small labeled backup container so you do not end up handwashing a whole extra bottle just to stay on schedule.
Can I warm formula safely without a bottle warmer?
Yes, you can warm a bottle safely using a warm water bath, which is simple and reduces the chance of hot spots. Swirl the bottle gently during warming to even out the temperature, then test a few drops on your wrist before feeding. Avoid overheating because very hot temperatures can be uncomfortable and may create uneven warming. If you warm often at night or while traveling, a dedicated bottle warmer can make the process more consistent when you are tired.

