
Introduction
While the baby sleeps and the house finally goes quiet, the kitchen tells a different story. The sink is full, waiting for your attention. This silent ritual of scrubbing milk residue from tiny crevices is how you protect your little one’s health, but it doesn't have to consume your rest time. Imagine a routine where the washing, sanitizing, and drying happen automatically in the background.
This guide explores 5 solutions to transform that sink-side struggle into a smooth, hands-free system, giving you back the time you deserve.

Official Site: Papablic
How-To Steps
Step 1: Sort by Feeding Routine
Don't just throw everything in the sink. Pre-sorting prevents the "missing nipple" panic later.
- Kitting: Group bottles with their specific collars and nipples immediately after use.
- Pump Parts: Keep left and right pump kits separate to avoid mismatching valves.
- Containment: Use a dedicated "dirty bin" for small items like pacifiers so they don't get lost in the drain.
Pro Tip: Use a Smart Baby Bottle Station to visually separate "Dirty," "Drying," and "Ready." This prevents cross-contamination and lets any caregiver jump in without asking, "Is this clean?"
Shop: Smart Baby Bottle Station- Baby Bottle Oragnizer
Step 2: Pre-rinse Milk Residue Quickly
Milk fat hardens fast. A 10-second rinse now saves you 5 minutes of scrubbing later.
- Cold Water First: Rinse with cool water to stop proteins from setting (hot water "cooks" milk onto plastic).
- Flush the Vents: Force water through nipple holes and anti-colic vents to dislodge hidden curds.
- The "Used" Bin: If you are a NICU parent, keep hospital-transported bottles separate from home-only gear until washed.
Step 3: Choose One Primary Wash Method
Stop reinventing the wheel every morning. Pick one method as your standard.
Option A: Dishwasher (Top Rack)
- Pros: High capacity for glass bottles.
- Cons: High heat can warp plastics; small parts often flip over and fill with dirty water.
Option B: Sink Basin Method
- Pros: Fast for single bottles.
- Cons: Inconsistent water temperature; high risk of cross-contamination from the sink basin itself.
Option C: Countertop All-in-One Bottle Washer
- Pros: Dedicated hygiene zone; washes, sterilizes, and dries in one closed loop.
- Cons: Counter space requirement.
Step 4: Run an All-in-one Wash Cycle
If you choose a Baby Bottle Washer, treat it like a sterilization lab. Consistency is key.
- Invert Everything: Gravity is your friend. Load bottles upside down.
- No Nesting: Never stack a pump flange inside a bottle; water jets can't reach through solid plastic.
- Secure Small Parts: Use the dedicated basket for valves to prevent them from becoming projectiles.
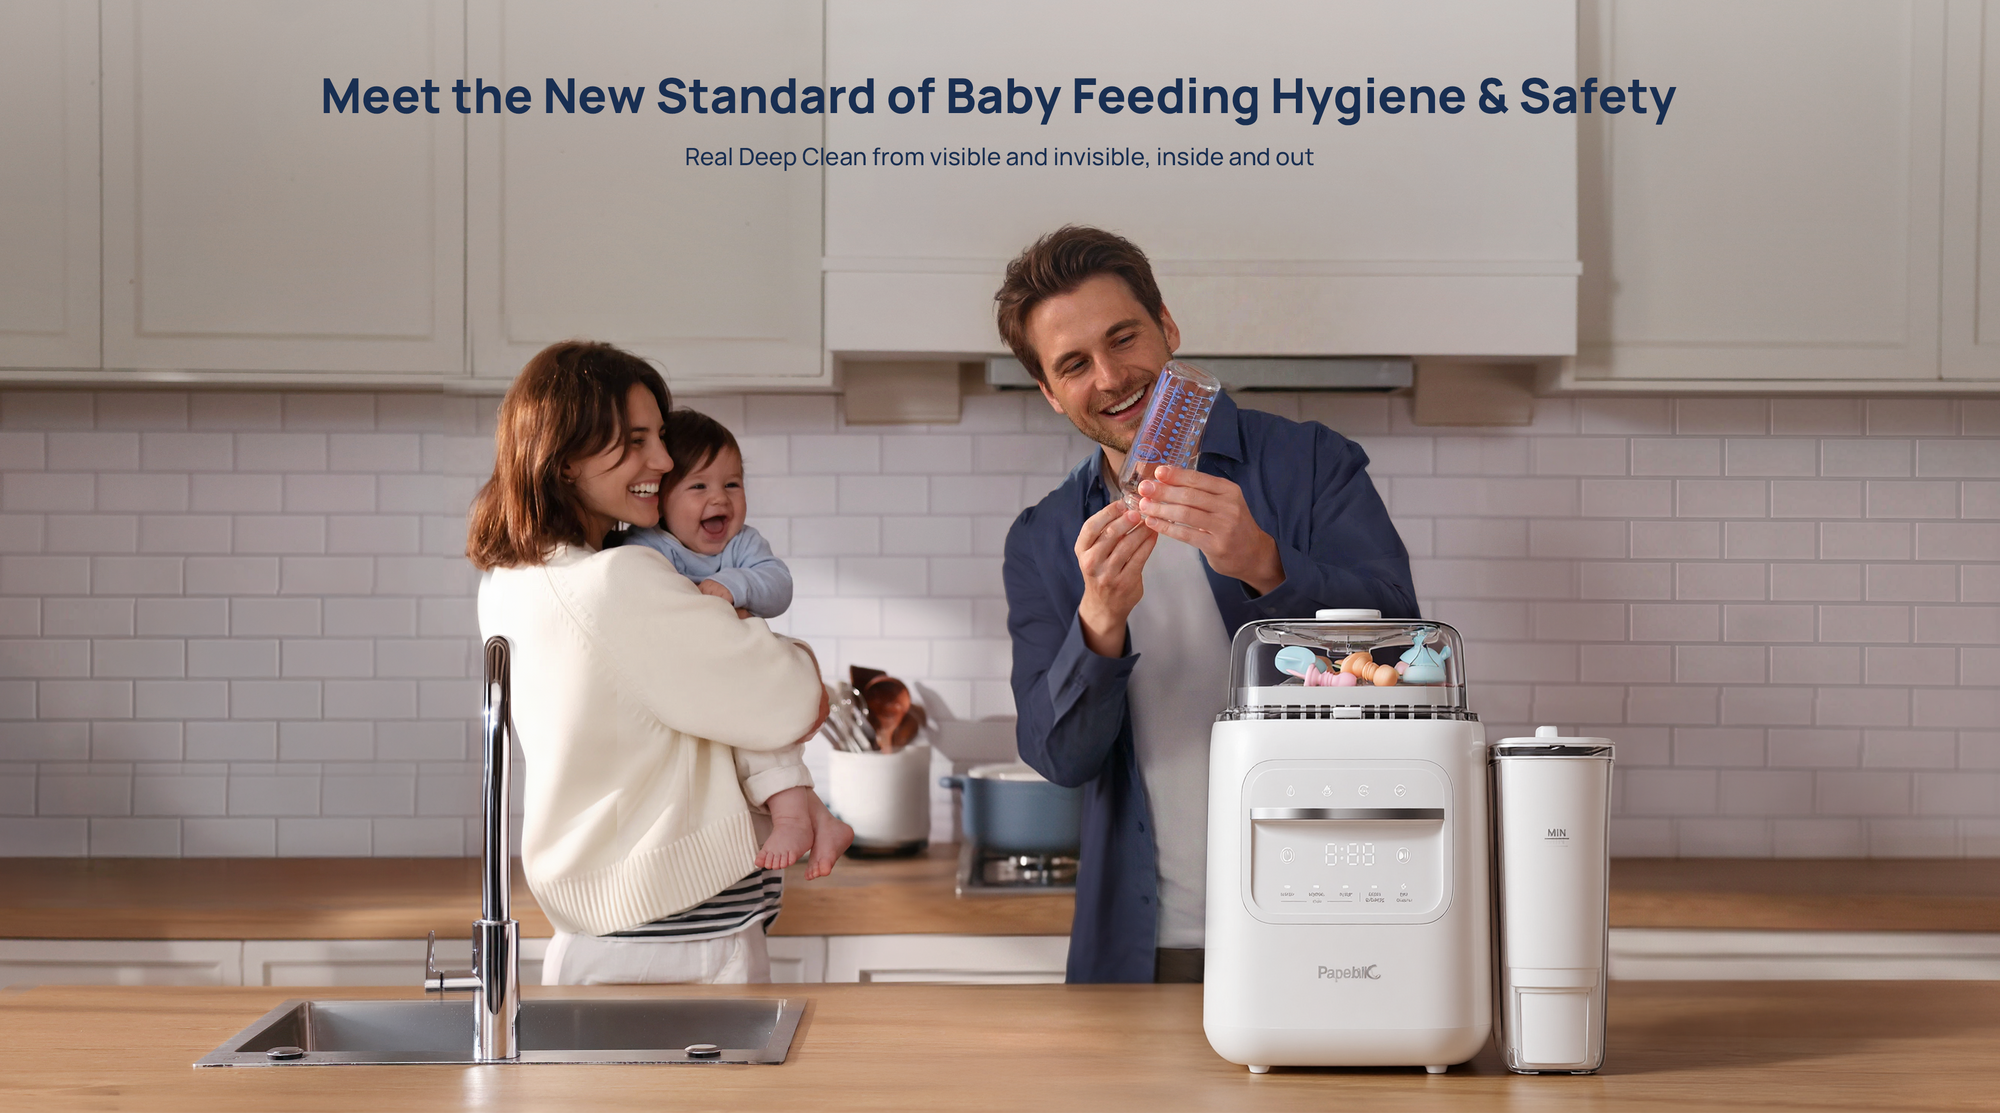
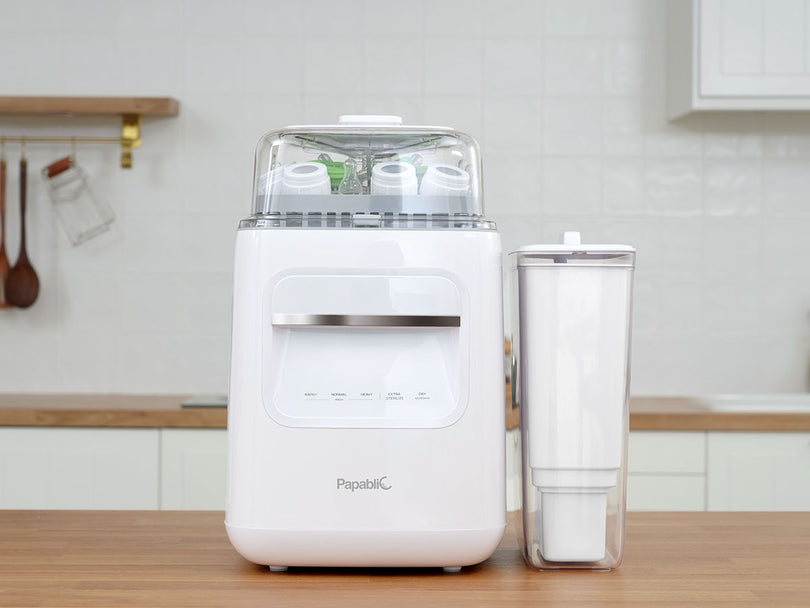
The Papablic Advantage: The Papablic All-in-One Bottle Washer automates the 4-step sequence: Wash, Sterilize, Dry, Store. Its high-pressure jets are specifically angled to scour milk film from deep inside bottles, a common failure point for standard dishwashers.

Shop: Baby Bottle Washer and Sterilizer Dryer All in One Bottle Cleaner
Step 5: Sterilize When Risk is Higher
Sterilization isn't just about clean; it's about sterile. The CDC advises daily sanitizing for babies under 2 months, preemies, or those with weakened immune systems (CDC).
When to Prioritize Sterilization:
- NICU Discharge: The first weeks home are critical.
- Illness: If anyone in the house is sick, sanitize everything.
- Travel: After parts have been in a diaper bag all day.
For bulk processing, the Papablic Baby Bottle Steam Sterilizer and Dryer Pro offers massive capacity, allowing you to sanitize a full day's worth of gear in one shot.
Step 6: Dry Completely Before Storage
Moisture is the enemy. A damp bottle is a breeding ground for bacteria.
- Cool Down: Let steam dissipate to avoid burns.
- Shake & Drain: Dislodge pooled water from concave bottle bases.
- The "Bone Dry" Rule: Never stack parts while they are even slightly damp.
The FDA explicitly warns against using cloth towels on pump parts due to germ transfer risks (FDA). Rely on your machine's Hygienic Bottle Dryer cycle or a clean air-dry rack.
Step 7: Store as a Clean Feeding Station
Don't undo your hard work by dumping clean parts onto a dirty counter.
- Closed Bins: Store dry parts in a covered container to block dust and kitchen grease.
- Zone Defense: Keep your clean station far away from raw meat prep areas.
- Labeling: Use the Papablic Organizer to clearly mark "Clean" vs. "Dirty" zones.
Scenario Variations
Exclusive Pumping
Pump parts wear out faster than bottles. Wash your flanges and valves on a stricter schedule—after every use—and consider buying extra sets so you aren't forced to wash at 3 a.m.
NICU Discharge
Treat your home like a mini-hospital unit. Sanitize daily. Use a Bottle Washer with Sterilizer to eliminate human error and handling.
Dishwasher Issues
If your dishwasher keeps flipping nipples over, stop using it for small parts. Use a countertop washer or a dedicated steam sterilizer where racks are designed specifically for lightweight baby gear.
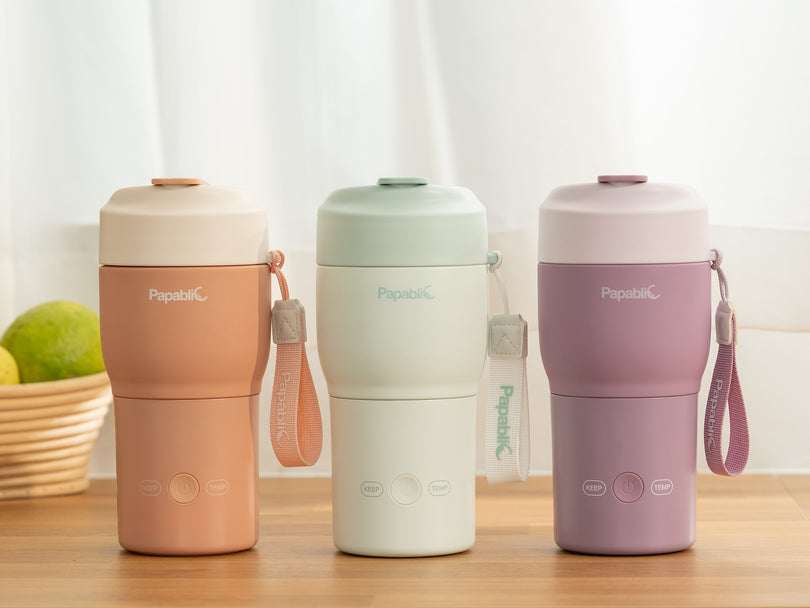
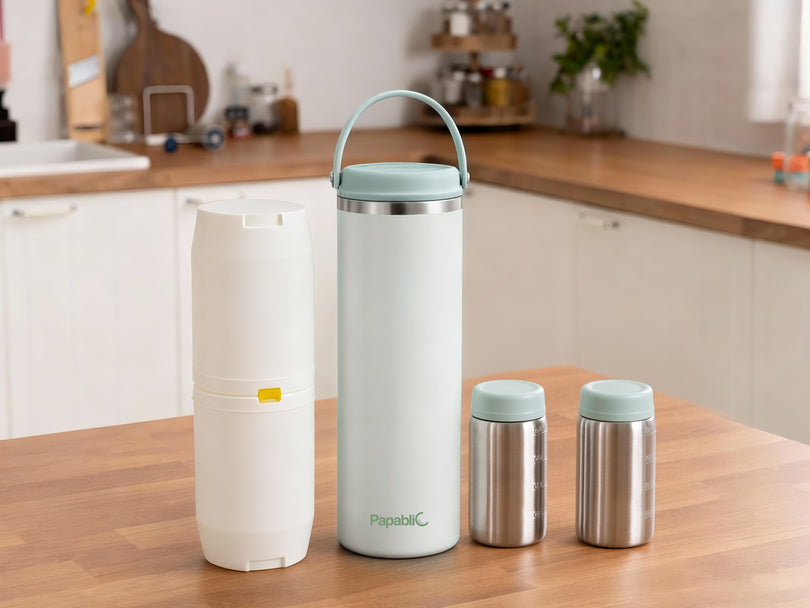
Travel Days
On the road, you lose your clean station. Pack the Papablic Portable Bottle Warmer & Sterilizer Pro. It allows you to sterilize on the go, ensuring safety even in a hotel room.

Prerequisites & Safety
Required Tools
- Dedicated Wash Basin: Keep baby gear out of the main sink.
- Bottle Brush: One that reaches the bottom of your tallest bottle.
- Baby-Safe Detergent: Free from harsh fragrances.
- Drying Rack/Bin: Must allow airflow and be easy to wipe down.
Safety First
- Steam Burns: Steam is hotter than boiling water. Wait for the cycle to cool.
- Chemical Safety: Keep descaling tablets secure.
- Electrical: Keep cords tucked away from water sources and toddlers.
Troubleshooting
| Problem | Cause | Solution |
|---|---|---|
| Cloudy Bottles | Hard water scale | Descale machine; switch to distilled water. |
| Wet Parts | Overloading | Space items out; shake off excess water before drying. |
| Bad Odor | Trapped moisture | Leave washer door cracked open between cycles. |
| White Residue | Mineral deposits | Use distilled water for steam cycles. |
| Dirty Nipples | Blocked spray | Ensure small parts are in the basket, not stacked. |
Conclusion
A reliable cleaning system is a parenting tool, not a luxury. When you combine washing, a Baby Bottle Sanitizer step when risk is higher, and complete drying, you reduce residue buildup and keep your feeding routine predictable.
Start with one primary method, then build your station around it. Over time, the best All-in-One Feeding Solutions feel boring, and that is the point. A boring routine gives new parents and NICU parents more time for rest, recovery, and bonding.
Frequently Asked Questions
Are there bottle washers that offer multiple functions like sterilizing and drying?
Yes. All-in-One Bottle Washers wash, steam sterilize, and hot-air dry in a single cycle. This reduces contamination risk by eliminating the need to transfer wet parts between machines.
Best solution for washing and drying many small baby accessories at once?
A countertop washer with a dedicated small-parts basket is best. It prevents nipples and valves from flipping over and filling with dirty water, ensuring they get blasted by jets and steam from all angles.
Is there a device that cleans both bottles and pump accessories together?
Yes. Look for a unit with adjustable racks designed to fit tall bottles and wide pump flanges simultaneously. Ensure you separate valves and membranes to prevent nesting, which blocks water coverage.
My dishwasher flips all the light baby stuff over, what else can I use?
Dishwashers are too powerful for lightweight parts. A Countertop Bottle Washer uses targeted jets and specialized racks to hold small items securely in place, ensuring they are cleaned, not just tossed around.
What is the safest way to dry bottles to prevent mold growth?
Hot air drying is the gold standard. Use a machine with a HEPA-filtered drying cycle to evaporate moisture from hard-to-reach threads and valves, preventing the damp environment where mold thrives.
How to ensure baby bottles are dry without waiting hours on a rack?
Use a Fast Drying Baby Bottle Sterilizer or the drying mode on your all-in-one washer. These units circulate hot air to dry parts in 30-60 minutes, far faster and more hygienically than air-drying on a countertop.