
A bottle sterilizer or washer is a must-have for parents who want to ensure their baby’s feeding equipment is free from harmful bacteria and germs. However, many parents overlook the importance of cleaning the sterilizer itself.
Over time, mineral deposits, milk residue, and bacteria can accumulate inside the device, reducing its efficiency and potentially posing health risks. Regular cleaning not only maintains the baby bottle sterilizer’s performance but also extends its lifespan.
In this article, you will learn how to clean a bottle sterilizer & washer.
Why Clean The Bottle Washer/Sterilizer?

While the primary purpose of a feeder bottle sterilizer or bottle washer is to eliminate germs from baby bottles, the device itself can become a breeding ground for bacteria and mineral buildup if not cleaned regularly. Here’s why keeping your baby bottle sterilizer or washer clean is crucial:
Prevent Bacterial Growth
Over time, moisture and leftover milk residue can create an environment where bacteria thrive. If the feeder bottle sterilizer or washer isn’t cleaned, it can reintroduce germs to your baby’s bottles, defeating its purpose.
Maintain Efficiency
Mineral deposits from water, especially in hard water areas, can clog the washer/sterilizer’s components, such as steam vents or UV lamps. This can reduce its effectiveness and lead to longer cycles.
Extend Lifespan
Regular cleaning prevents corrosion and damage caused by residue buildup, ensuring your feeder bottle sterilizer/washer lasts longer and performs optimally.
Ensure Safety
A clean sterilizer means a safer environment for your baby. It eliminates the risk of contaminants transferring from the sterilizer to the bottles.
By incorporating regular cleaning into your routine, you can ensure your sterilizer remains a reliable tool in keeping your baby’s feeding equipment safe and hygienic.
How to Clean The Bottle Washer/Sterilizer?
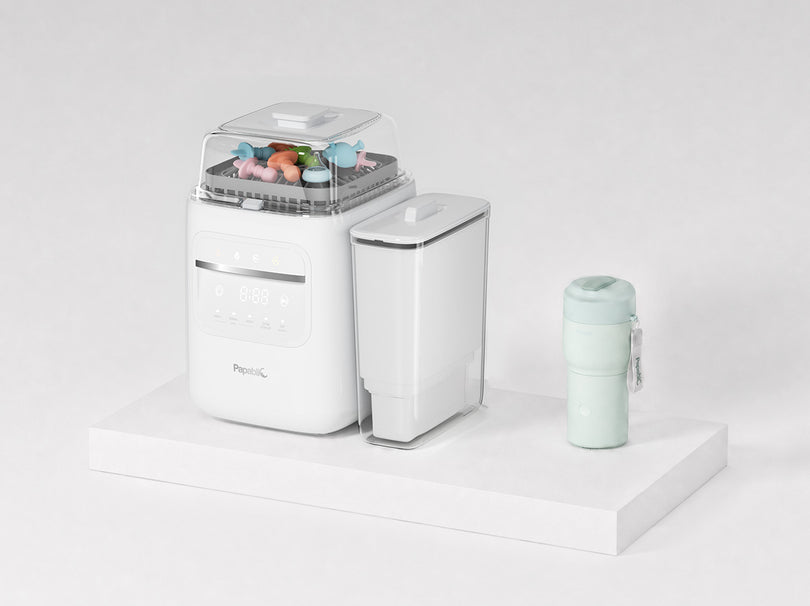
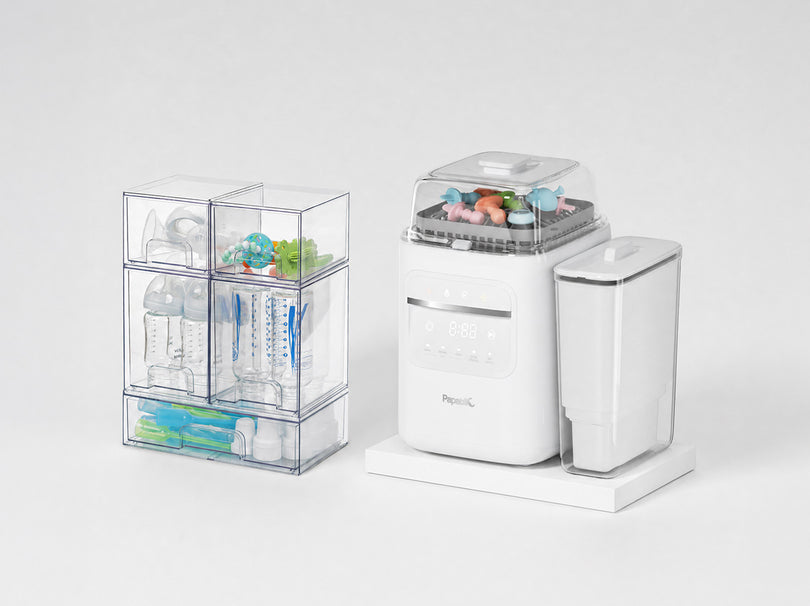
Let's illustrate with an example, using the Papablic bottle washer for cleaning.The best way to clean a bottle washer is through a systematic approach that ensures that each part is free of bacteria, residue, and mineral buildup,which helps you protect your baby's feeding tools.Here are the easy steps on how to clean a bottle washer:
Step 1: Take Apart and Pre-Clean
Remove all detachable parts (trays, racks, holders). Wash in warm, soapy water using a soft brush, focusing on crevices to remove residue.
Step 2: Clean the Inside
Wipe the base, walls, and lid with a cloth soaked in vinegar or mild detergent. Avoid harsh cleaners; use a cotton swab for tight spots.
Step 3: Remove Limescale Buildup
For light buildup, run a descaling cycle using a vinegar solution. For tougher deposits, soak with vinegar or citric acid for 15–20 minutes, then gently scrub.

Step 4: Rinse and Dry
Rinse thoroughly and let all parts air-dry completely before reassembling.
Methods to Descale a Bottle Washer/Sterilizer
Descaling removes mineral deposits that water alone can’t eliminate. Below are four safe, effective methods:
Method 1: Vinegar Solution (Most Affordable)
White vinegar is a natural and cost-effective solution for descaling. Its acidic properties break down mineral deposits, making it ideal for regular maintenance.
Step 1: Mix equal parts white vinegar and water.
Step 2: Pour into the sterilizer’s water tank.
Step 3: Run a complete cycle, then let the solution sit for 30 minutes.
Step 4: Drain, rinse with fresh water, and run a plain water cycle to eliminate vinegar odor.
Pros:
● Non-toxic and budget-friendly.
● Effective against moderate limescale.
Cons:
● Strong odor (ensure thorough rinsing).
Method 2: Baking Soda Solution
Baking soda is a gentle yet effective option for light descaling. It’s odorless and safe for frequent use, making it a great choice for regular cleaning.
Step 1: Dissolve 2 tbsp baking soda in 1 cup warm water.
Step 2: Pour into the tank and let sit for 30–60 minutes.
Step 3: Scrub gently with a soft brush, then rinse.
Pros:
● Gentle on surfaces.
● Odorless and safe for frequent use.
Cons:
● Less effective on heavy buildup.
Method 3: Citric Acid Descaler
Citric acid is a natural and fast-acting descaler, perfect for tackling tough mineral deposits, especially in areas with hard water.
Step 1: Mix 1 tbsp citric acid powder with 1 cup warm water.
Step 2: Run a sterilization cycle with the solution.
Step 3: Rinse thoroughly and run a plain water cycle.
Pros:
● Natural and fast-acting.
● Works well in challenging water areas.
Cons:
● Requires purchasing citric acid.
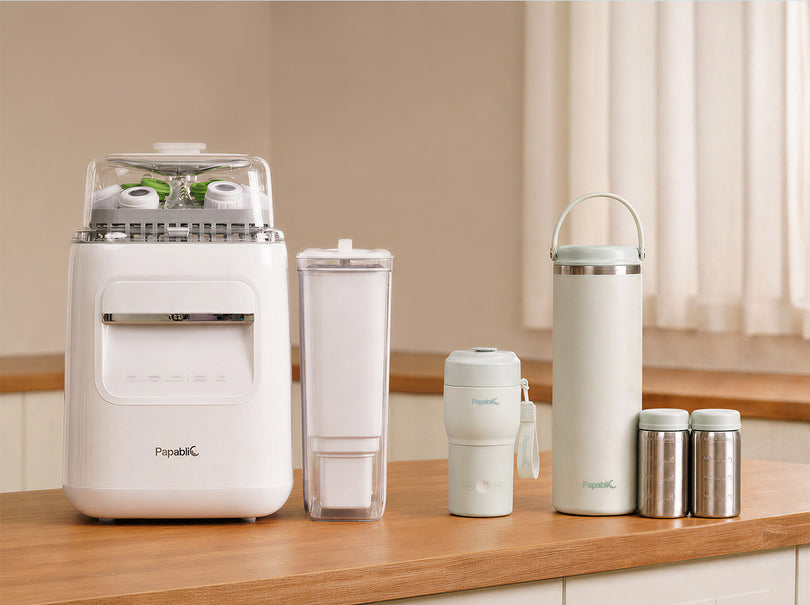
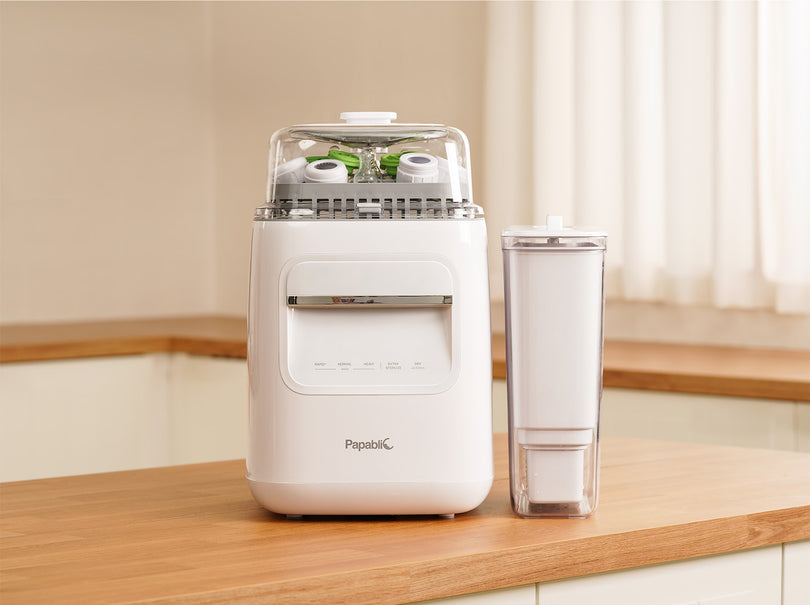
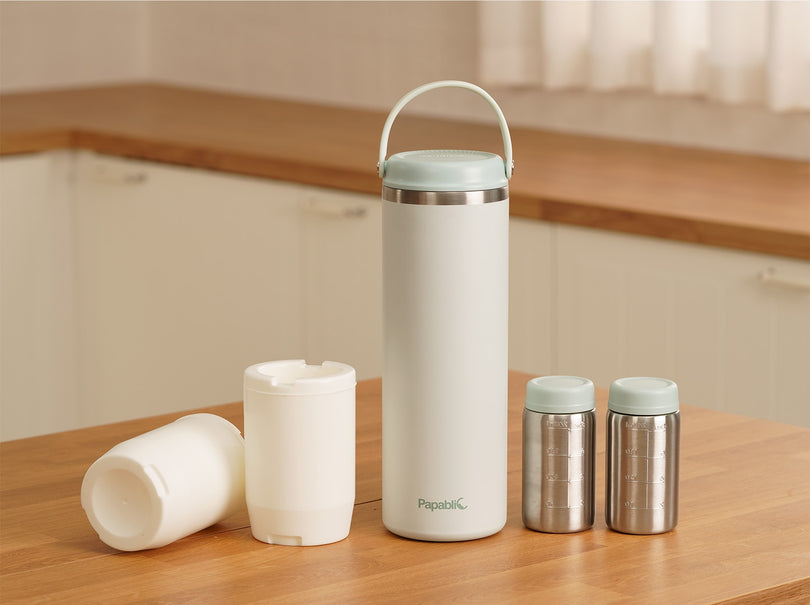
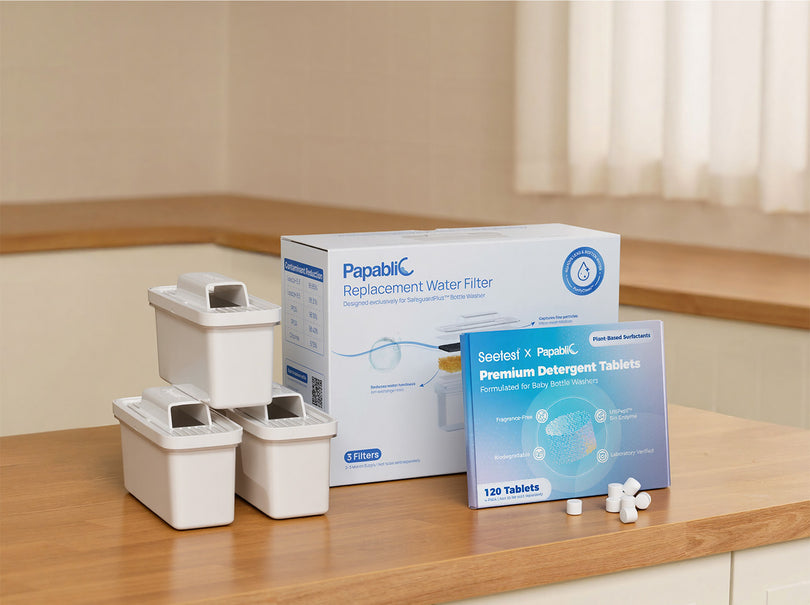
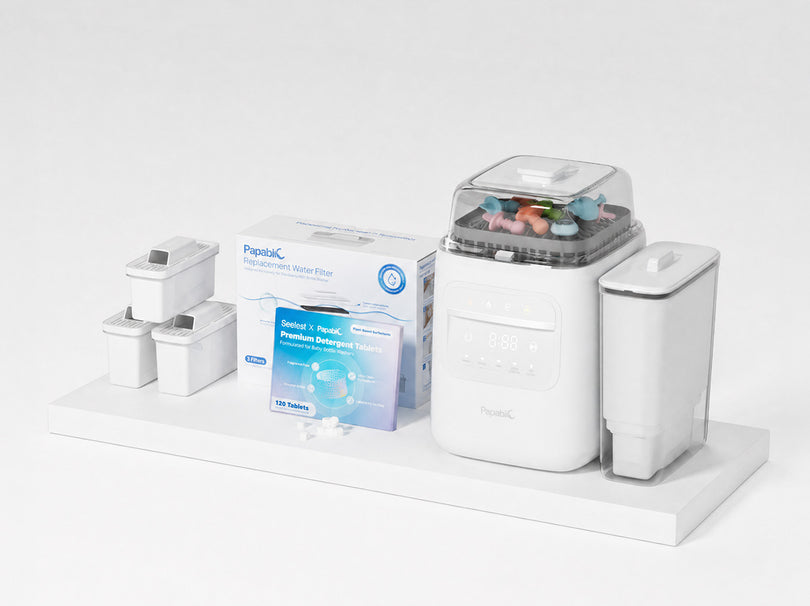
Method 4: Choose SafeguardPlus with Built-In Water Filtration
The First & Only with Built-in Filtration.SGS-Tested Filtration,Ensuring Safer Water.
Four-Stage Deep Filtration:
1.Micro-mesh filtration
Captures fine particles
2.Coconut shell activated carbon
Reduces lead,PFAS and other contaminants
3.Lon-exchange resin
Reduces water hardness
4.Micro-mesh filtration
Remove small-size particles
Pros:
● Save Money: save up to $300 per year.
● Save Plastic: save 475 bottles per year.
● Filter Faster: sofeten water & reduce contaminants within 1 minute.

How Often Should You Clean Your Bottle Sterilizer?
If you use your bottle washer without a filter on a daily basis, it’s recommended to clean it every month. If you notice any buildup or residue forming inside the unit, you should clean it more frequently.
How often you need to descale—removing mineral deposits—depends on how often you use it and the hardness of your water. If your water is high in minerals (hard water), descaling may be needed every 1–2 weeks.
Always follow the manufacturer’s cleaning instructions and make sure to rinse thoroughly to ensure no cleaning residue remains inside.

FAQs About How to Clean Bottle Sterilizers
Q1: Is Bleach an Acceptable Option for Cleaning Sterilizers?
No. bleach can corrode surfaces and leave dangerous residues. Avoid using chemical strippers and cleaners on delicate surfaces; vinegar, baking soda, or citric acid will clean and disinfect safely without potential damage and risk of inhalation of chemical use.
Q2: What Should I Do When the Metal Plate in the Sterilizer Has Become Dirty?
Dip a cloth in vinegar or lemon juice, wipe the plate gently, and rinse. For tough deposits, allow the solution to sit for 10 minutes before scrubbing to loosen mineral buildup.
Q3: My Sterilizer Smells after Cleaning. Why?
Residual cleaning agents, such as vinegar, can linger if they aren’t rinsed well. Neutralize odors by running 1–2 empty sterilization cycles with plain water before reusing.
Q4: Can I Put the Sterilizer into the Dishwasher?
The vast majority of sterilizers have electrical parts and aren’t dishwasher-safe. Consult the manufacturer’s manual for particular cleaning instructions to avoid damage.
Conclusion
Cleaning and descaling your bottle sterilizer regularly are essential for both the safety of your baby and the longevity of your appliance.
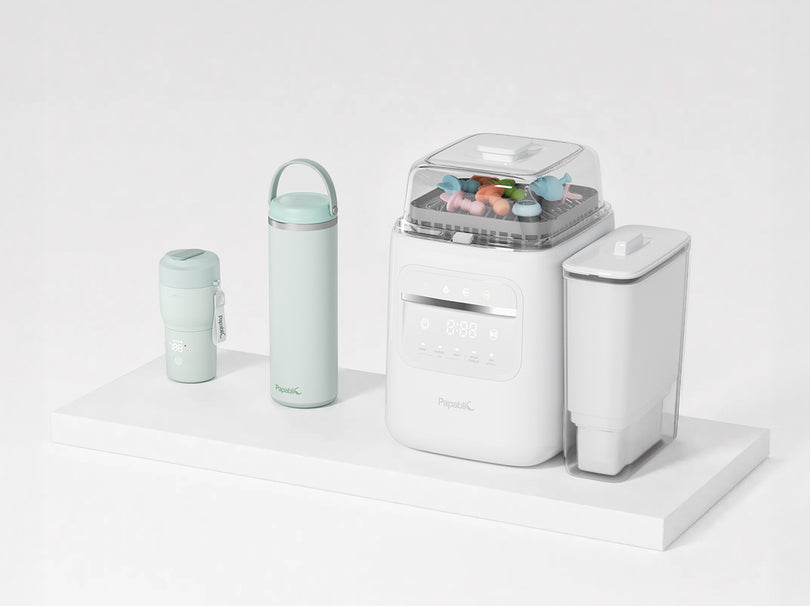
For those who want to minimize maintenance and maximize convenience, investing bottle washer with built-in filter like the Papablic Baby Bottle Washer, Sterilizer, and Dryer All-in-One is the ultimate solution. With its advanced cleaning technology and user-friendly design, it’s the perfect choice for busy parents who want the best for their baby.