
Introduction
You stare at a counter covered in damp, scattered plastic parts. Your partner asks if the tall bottle is actually clean. You honestly have no idea anymore.
Stop guessing. You need a Baby Bottle Washer. Forget the endless scrolling through confusing Amazon reviews. You need a machine that fits your actual daily chaos. Use this practical 5-step checklist. Find the exact system that will save your sanity in 2026.

Official Site: Papablic
How to Choose a Baby Bottle Washer Step by Step
Step 1: Define your hygiene needs
First, let's clear up a common misconception: Cleaning is not Sterilizing.
- Cleaning removes visible milk and dirt.
- Sanitizing reduces bacteria to safe levels.
- Sterilizing kills 99.9% of germs, including resistant bacteria.
Ask yourself: "Who is this for?"
If your baby is a newborn (under 3 months), was born prematurely (preemie), or has a compromised immune system, you fall into the High Hygiene Profile. You cannot rely on a machine that just "washes with hot water." You need a device that is certified to sterilize using steam or UV.
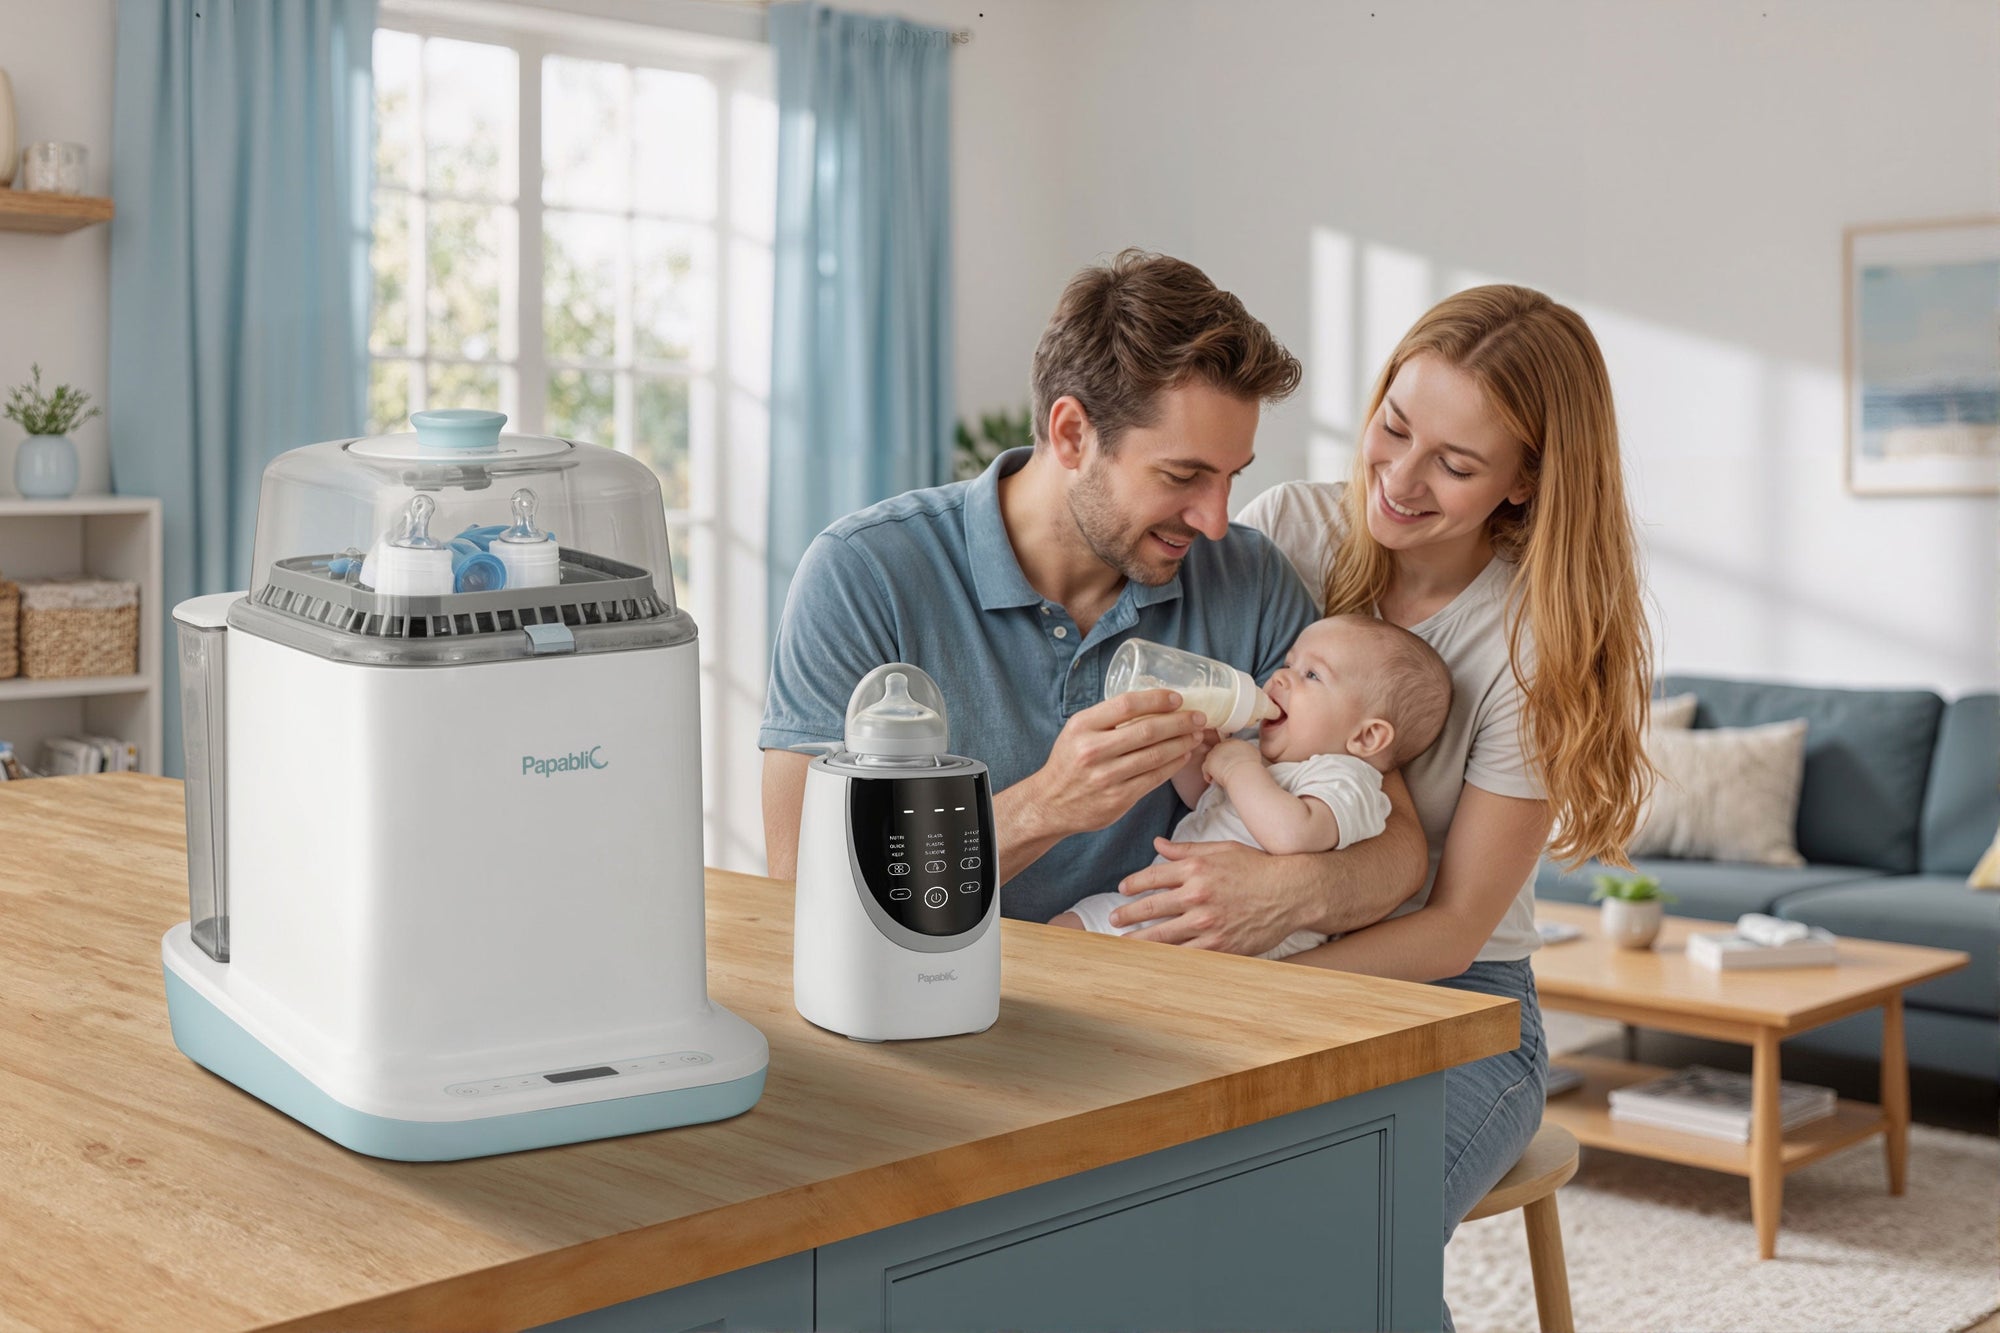
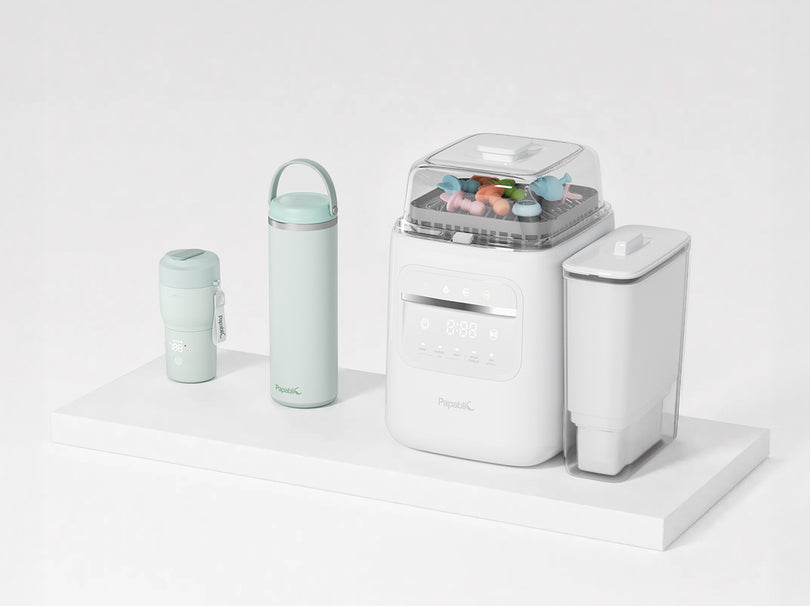
Look for a dedicated unit like the Papablic Baby Bottle Washer. It uses medical-grade steam to obliterate hidden bacteria. It guarantees a true hospital-grade clean at home.
Step 2: Demand total automation
The difference between a gadget you love and one that gathers dust is automation.
Many "bottle washers" on the market are actually just "bottle sterilizers." This means you still have to stand at the sink, scrub the milk off with a brush, rinse them, and then load them into the machine. That is only half the job done.
The Real Upgrade: You want a machine that takes you from Dirty to Shelf-Ready without you lifting a finger in between.
A true all-in-one machine handles all 4 critical steps:
- Wash: High-pressure jets blast away milk fat.
- Rinse: Removes detergent residue.
- Sterilize: Steam kills the germs.
- Dry: Hot air prevents mold growth.
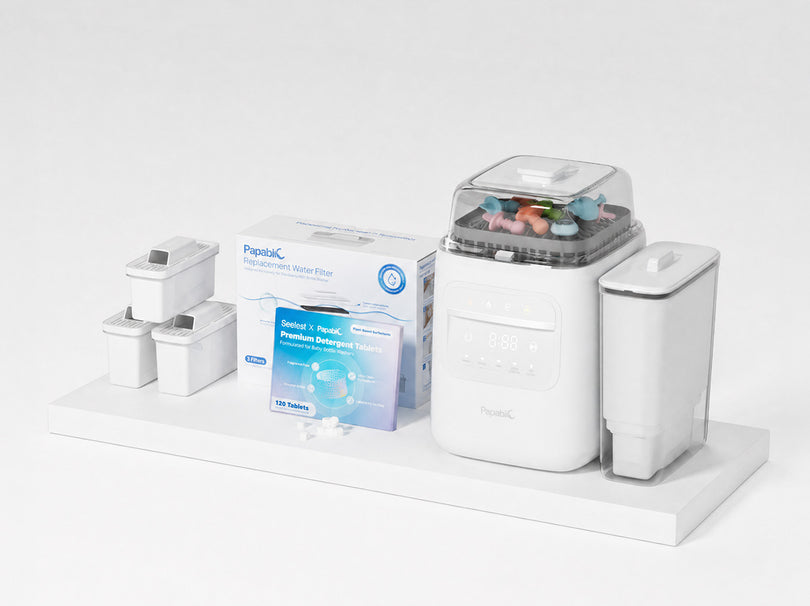
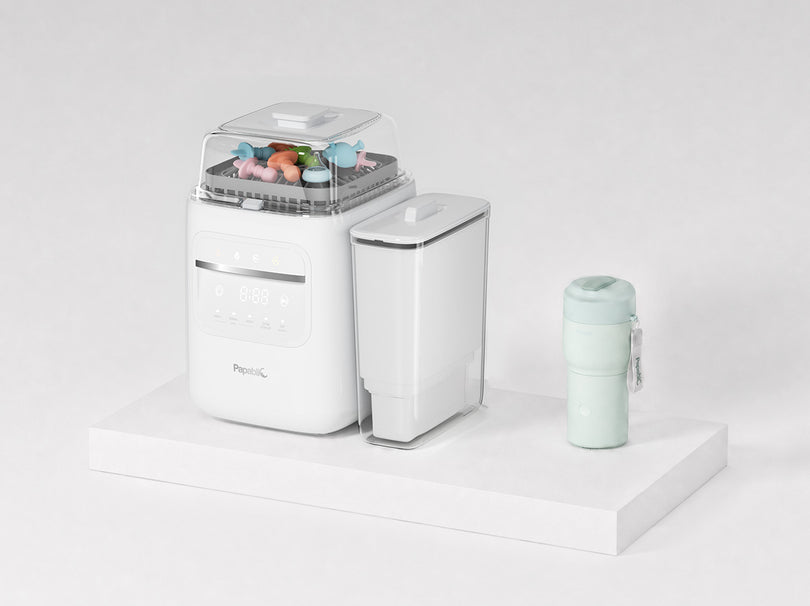
Why Papablic Wins Here: The Papablic Baby Bottle Washer allows you to bypass the sink entirely. You put dirty, milky bottles in, press one button, and walk away. No pre-scrubbing required.
Shop: Baby Bottle Washer Sterilizer and Dryer All in One Bottle Cleaner
Step 3: Do the real "Bottle Math"
Ignore the glossy marketing photos. Look closely at the internal racks. Newborns eat constantly. A tiny washer forces endless daily cycles. This wastes water and tests your patience.
Evaluate your evening sink pile. Can the machine handle it all?
Check these exact specs:
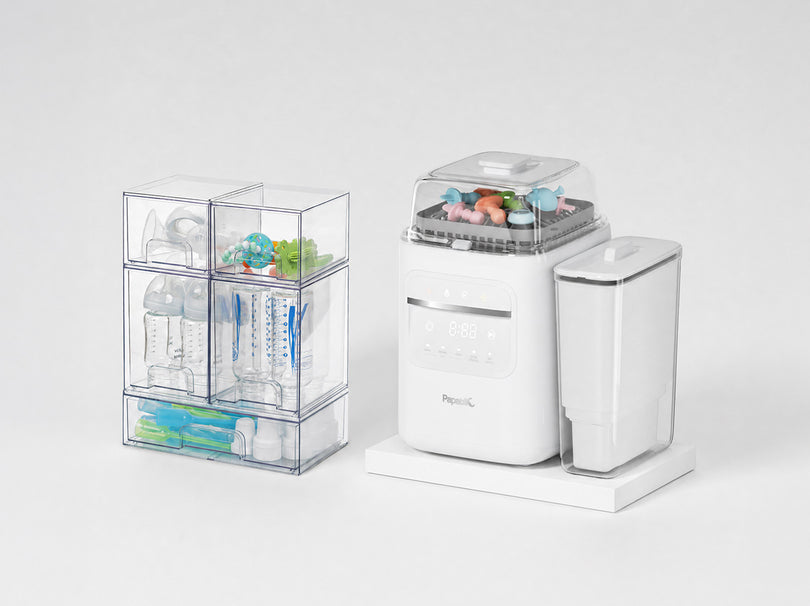
- Vertical clearance: Fits tall 9oz bottles easily.
- Accessory baskets: Locks down loose nipples and valves.
- Pump part space: Swallows bulky flanges and collection cups.
The Papablic washer holds a massive daily load. Reduce your dish duty to just once a day.

Never towel-dry your bottles. Towels transfer aggressive germs right back onto clean items. A machine that finishes drying protects your hard work. (cdc.gov)
Shop: Baby Bottle Washer Sterilizer and Dryer All in One Bottle Cleaner
Step 4: Insist on safe drying
This is a non-negotiable feature for 2026.
You might think, "It's just air, right?" Wrong. If a machine takes in kitchen air (which contains dust, pet dander, and cooking grease) and blows it onto your sterile bottles to dry them, you are re-contaminating them.
Demand HEPA Filtration.
This filter captures 99.9% of airborne junk. Your bottles stay completely pristine during the dry cycle. Papablic integrates this exact germ-free drying system. The air is heavily purified before touching your gear.

Why layout matters for ratings:
- A double-stack rack helps separate clean zones and reduces crowding.
- Less crowding improves spray access, which improves cleaning consistency.
- Better separation reduces the temptation to overload, which is a common cause of poor results.
If you plan to build a Smart Baby Bottle Station at home, pick a unit with a footprint that fits your counter and still allows the lid to open without hitting cabinets.
Shop: Baby Bottle Washer Sterilizer and Dryer All in One Bottle Cleaner
Step 5: Check the maintenance reality
Finally, consider the "hidden" work. Any machine that uses water will eventually build up mineral scale (limescale). If a machine is hard to clean, it will stop working effectively or start smelling funky.
Ask these questions:
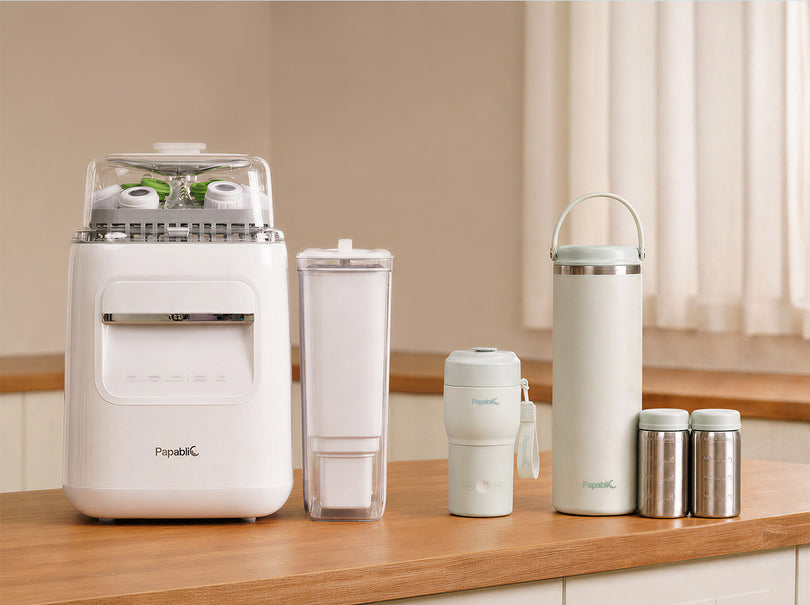
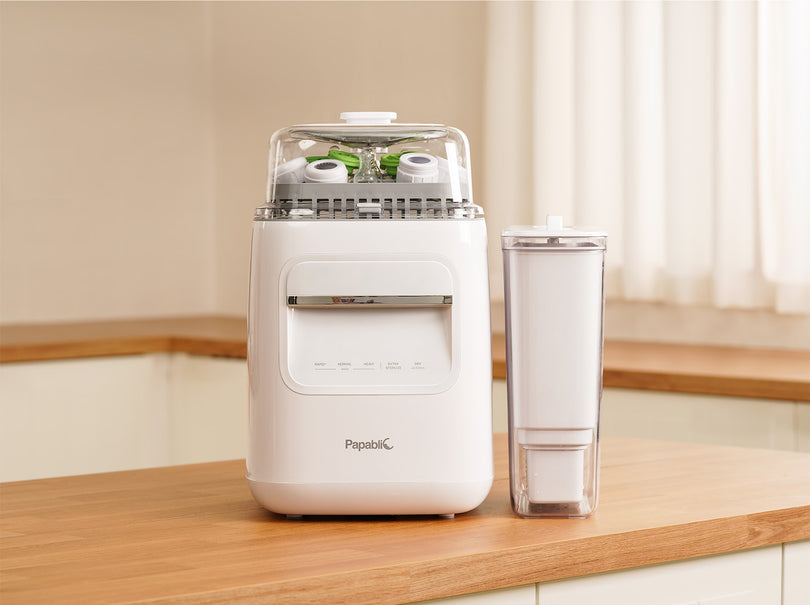
- Water Source: Does it need to be hooked up to plumbing (hard installation) or does it have a removable tank (countertop ready)? A removable tank is usually best for renters or those who don't want to call a plumber.
- Descaling: Is there an easy way to descale the heating plate? (e.g., using vinegar or a specific tablet).
- Tank Visibility: Can you see the water level so you don't overfill it?
Smart Parents Choose: A countertop model like the Papablic because it requires zero installation. You just plug it in, fill the tank, and go. Plus, the maintenance is straightforward, ensuring the machine lasts through multiple kids.
Shop: Baby Bottle Washer Sterilizer and Dryer All in One Bottle Cleaner
Adapting Your Approach in Different Scenarios
NICU parents
For NICU parents, default to daily sanitizing and strict dry storage. The CDC notes daily sanitizing is especially important for premature babies, so prioritize a washer that reliably completes Baby Bottle Disinfection and full drying. (cdc.gov)
Exclusively pumping
If you pump 6 to 10 times per day, pump-part capacity becomes the deciding factor. Choose a Bottle Washer with Sterilizer that can handle bottles plus full pump kits in one load, so you do not fall behind during peak hours.
Small kitchens and shared counters
In tight spaces, a compact footprint and vertical rack matter more than maximum bottle count. Also, keep the unit away from diapering areas to reduce splash and cross-contamination risk. (cdc.gov)
Travel feeds and overnight warming
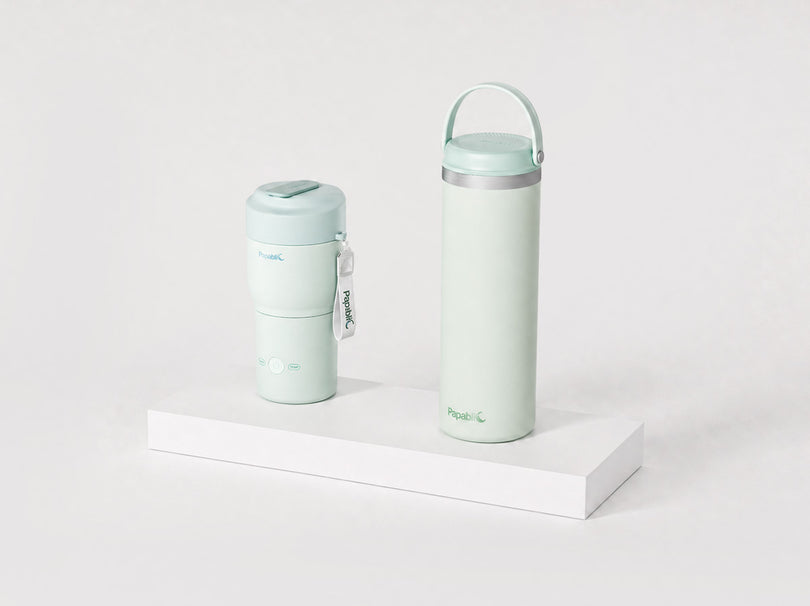
If you frequently feed away from home, pair the home washer with a Portable Bottle Warmer so your routine stays consistent. Papablics portable unit is described as a portable warmer with built-in sterilization, which can support cleaner handling when you cannot access a full sink setup. (papablic.com)

Shop: Papablic Portable Bottle Warmer & Sterilizer Pro
What You Will Need Before You Start
Required Tools and Materials
Use a consistent kit so you do not improvise with kitchen sponges.
- Dedicated wash basin or a clean sink insert for baby feeding items.
- Bottle brush and nipple brush reserved only for baby care.
- Clean tongs for removing sanitized parts.
- Baby-safe detergent with measured dosing.
- Distilled or softened water if you see mineral spots.
- A clean paper towel area for any air-dry overflow.
- Descaling plan (tablets or approved descaling method).
Safety Considerations
These steps reduce risk and improve results for Newborn Essentials hygiene routines.
- Wash hands with soap and water for 20 seconds before handling clean parts. (cdc.gov)
- Do not wash feeding items directly in the sink unless you have cleaned it first; the CDC advises using a clean basin used only for feeding items for handwashing.
- Avoid washing bottles near diapering areas to reduce contamination risk.
- If you need a manual backup method, the CDC describes boiling disassembled feeding items for 5 minutes to sanitize. (cdc.gov)
To reduce formula-related risk, the FDA also notes sanitizing feeding items once daily can be done by boiling for 5 minutes, running a dishwasher with a heated drying cycle, or steaming in a microwave or steaming appliance according to the makers instructions. (fda.gov)
Troubleshooting
If your Automatic Bottle Cleaner results are inconsistent, use this table to diagnose the cause fast.
| Problem | Likely cause | Solution |
|---|---|---|
| Spots on dried bottles | Hard water mineral buildup | Use distilled water; descale regularly |
| Cloudy plastic or haze | Heat wear or abrasive scratches | Replace old parts; separate items during wash |
| Wet storage odor | Damp storage or short dry cycle | Extend drying time; store fully dry only |
| Remaining milk film | Overloaded racks blocking spray | Reduce density; angle bottles downward |
| Dirty pump valves | Parts nested or flipped | Lock securely in small-parts basket |
Conclusion
Stop chasing shiny, useless gadgets. Match the machine to your true daily volume. Demand a system that actually reduces your physical workload.
The Papablic All-in-One dominates here. It washes, sterilizes, dries, and safely stores. It reclaims your lost sleep effortlessly.
Official Site: Papablic
FAQ
What features should I look for in a bottle washer for my baby?
Look for strong wash coverage, a true steam or high-heat sanitizing mode, and drying that finishes fully dry. A good rack layout should hold nipples, rings, and small valves without flipping during the cycle. If you pump, prioritize space for full pump kits, not just bottles. Finally, choose controls you can operate one-handed during night feeds.
Which bottle washer has the best ratings from parents?
The best-rated option is usually the one that removes milk residue consistently and produces fully dry parts without extra handwork. Parents also rate machines higher when they can run one predictable cycle after each feed block and not babysit the process. Focus on verified reviews that mention residue, odor control, and drying results after several months of use. A model can look impressive at first and still rate poorly if upkeep is difficult.
Are there bottle washers that offer multiple functions like sterilizing and drying?
Yes, many all-in-one units combine washing, steam sterilizing, and hot-air drying in one appliance. The biggest differences are cycle time, how well small parts stay positioned, and whether the unit can store items hygienically after drying. For daily use, a shorter sterilization cycle and a strong drying stage make it easier to keep up. If your baby is premature, prioritize consistent sanitizing and dry storage.
Is a bottle washer worth it in the long run compared with handwashing or dishwasher?
It can be worth it if you wash bottles and pump parts multiple times per day and want consistent results with less labor. A dedicated system can reduce the steps that lead to re-contamination, like towel-drying or moving parts between devices. Dishwashers can work well when they have hot wash and heated dry, but results vary by dishwasher performance and how you load small parts. Handwashing works, but it demands strict basin hygiene and careful air-drying every time.
How to ensure baby bottles are 100% sterile for a premature baby?
Wash every part thoroughly right after use so milk proteins do not dry onto surfaces. Sanitize at least daily, and increase frequency if your care team recommends it for your babys medical needs. Keep parts completely dry before storage, because trapped moisture can lead to odor and microbial growth. Replace worn nipples, cracked valves, or cloudy parts, because damaged surfaces are harder to clean completely.
Is it better to wash baby bottles with a bottle washer or a dishwasher?
Either can work if bottles are cleaned properly, sanitized when needed, and dried fully before storage. A bottle washer can be more consistent for small parts and pump components because it is designed for that layout and spray coverage. A dishwasher can be effective when it uses hot water and heated drying and when small items are secured so they do not fall into the filter. Choose the option that you will use consistently without shortcuts.